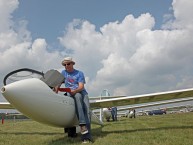
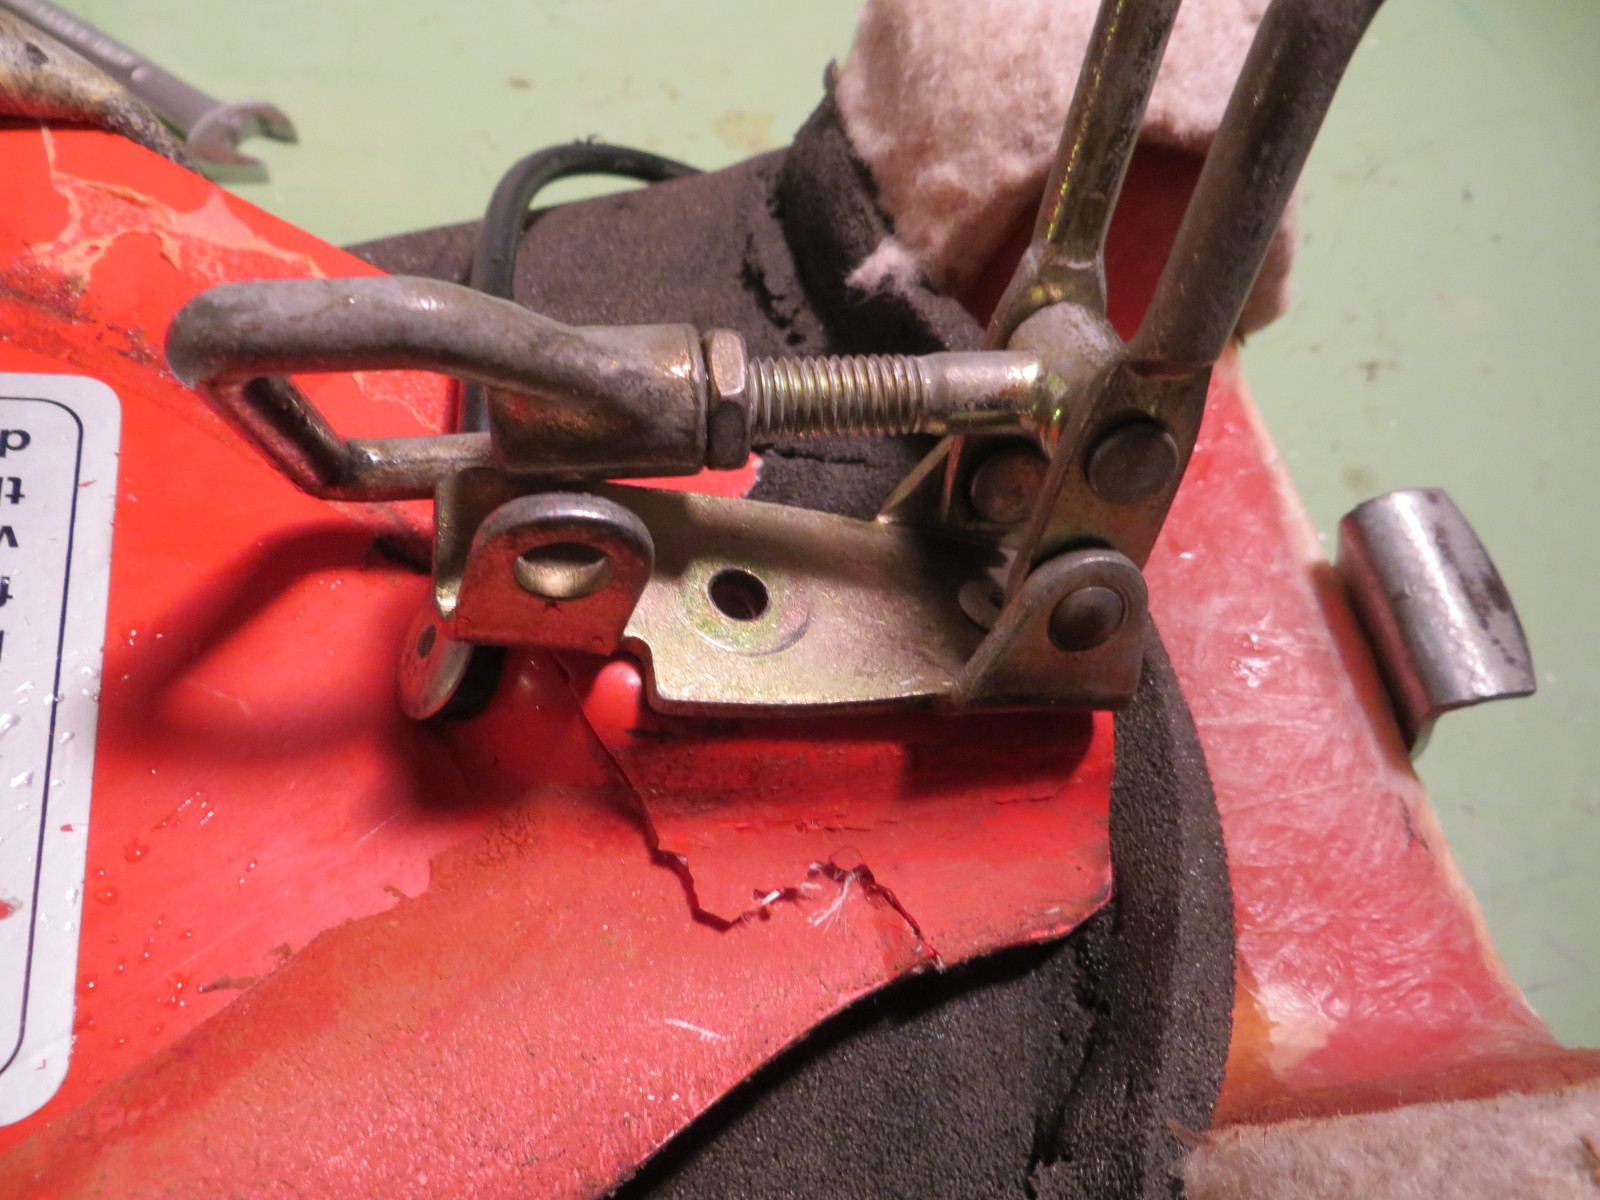
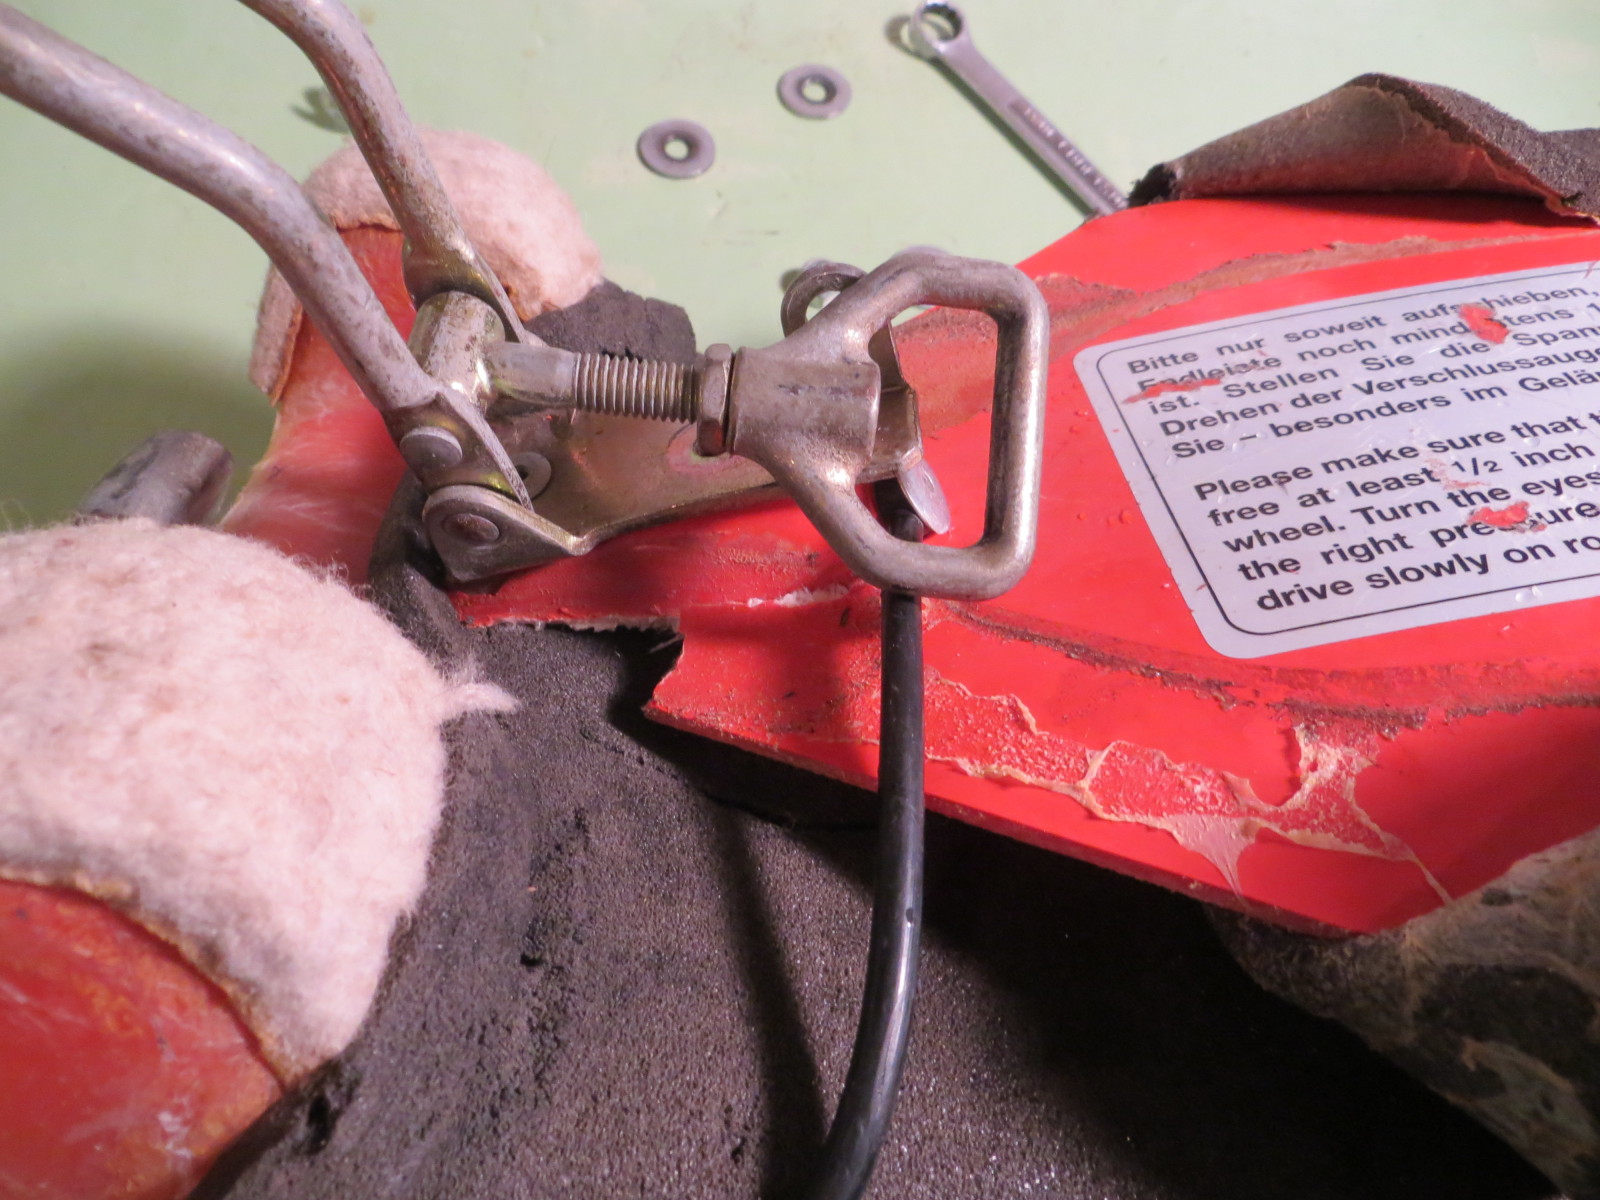
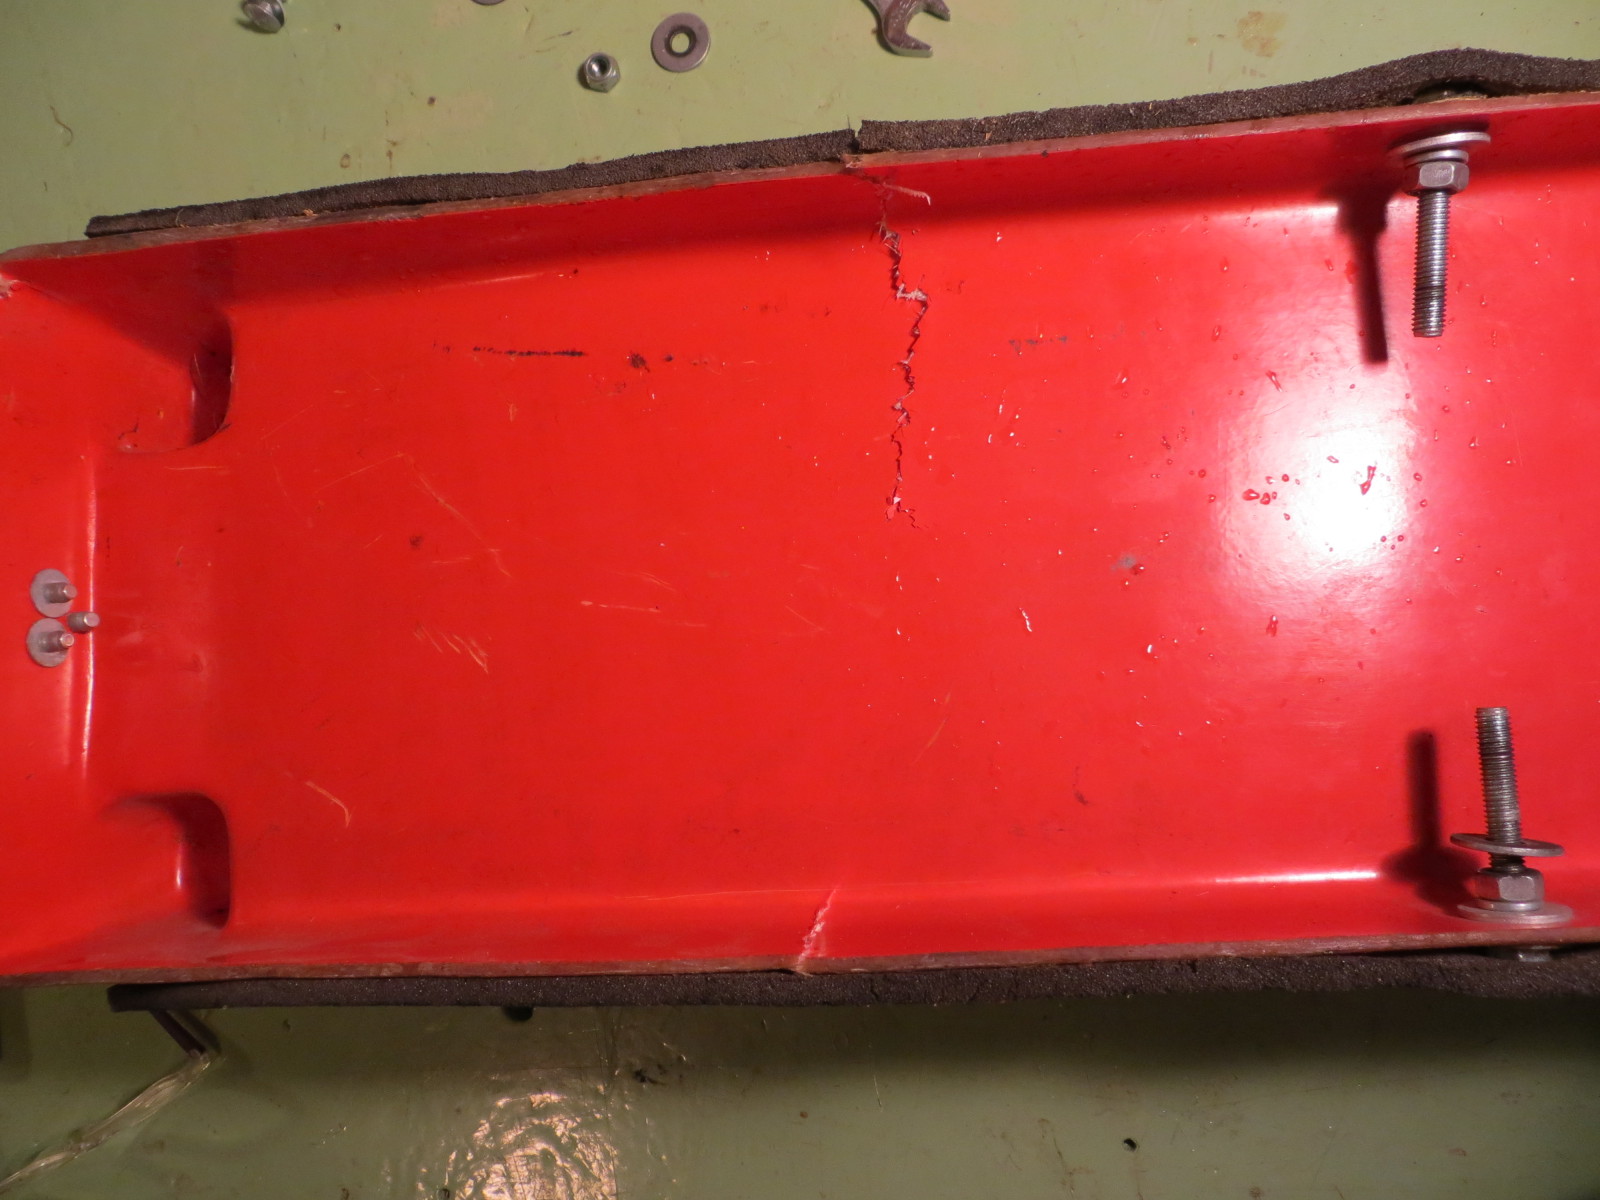
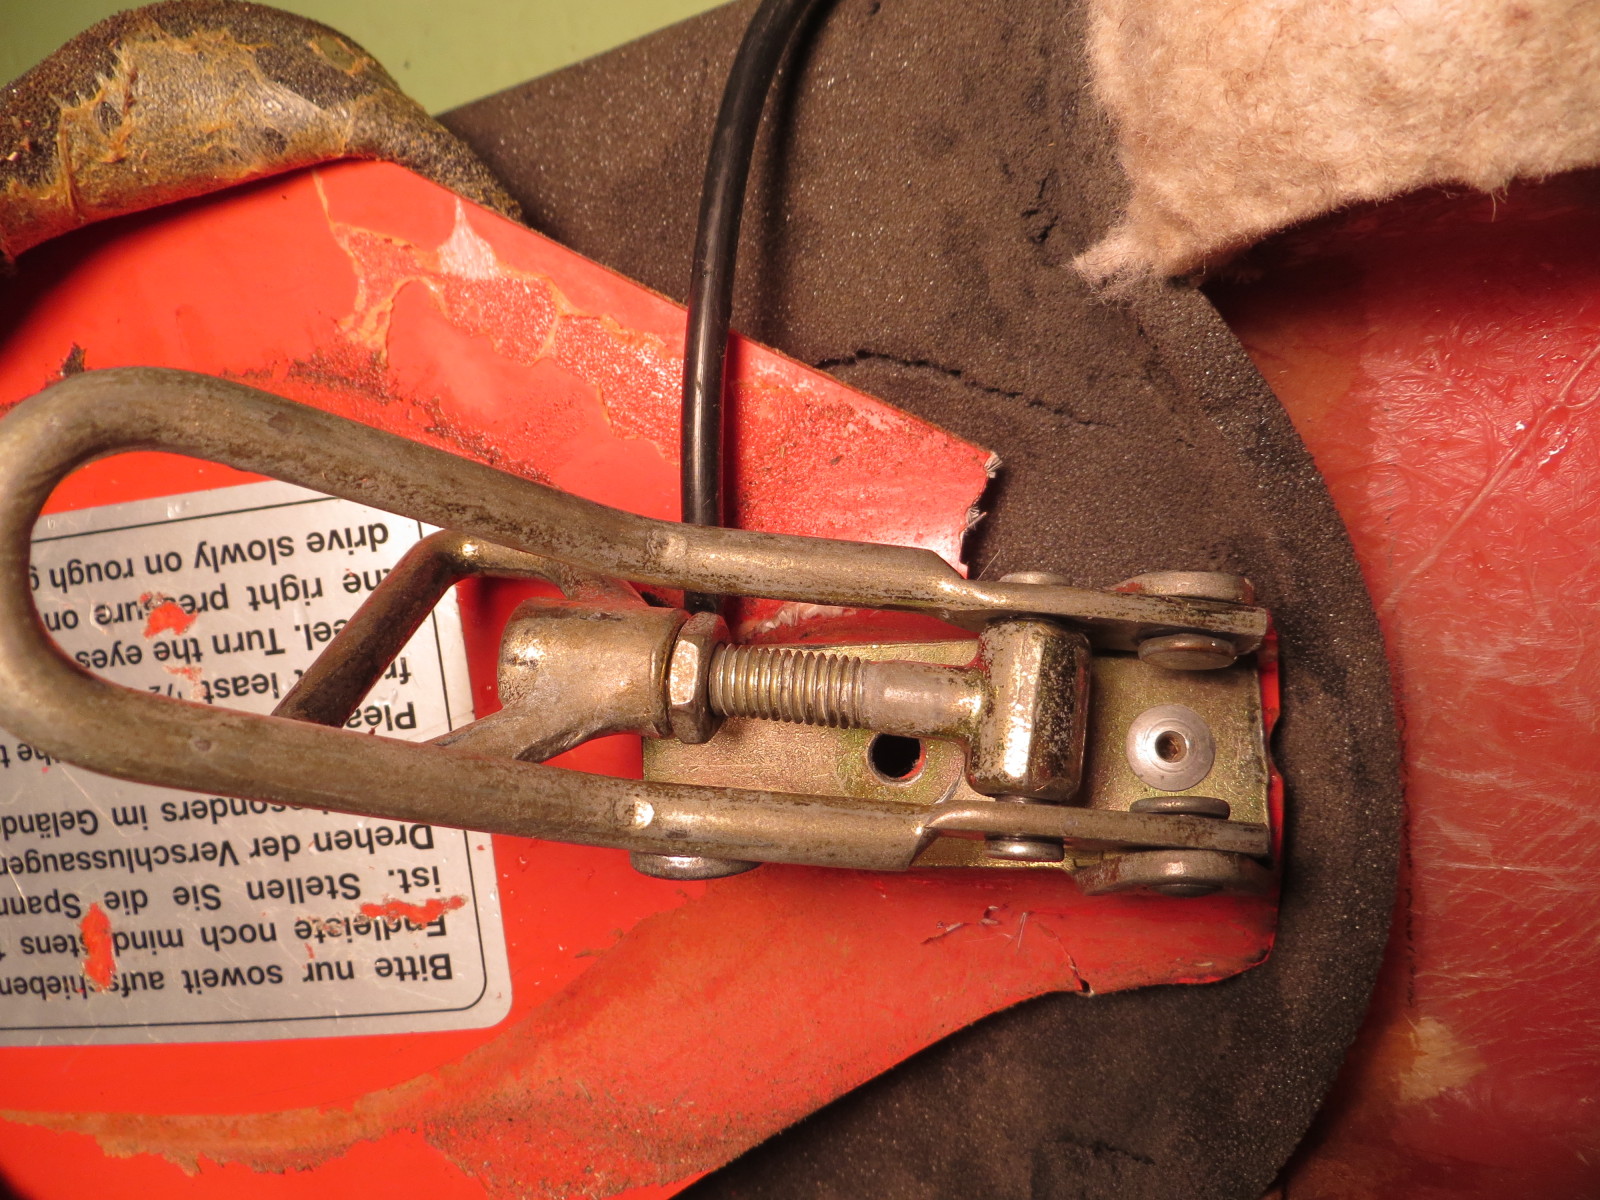
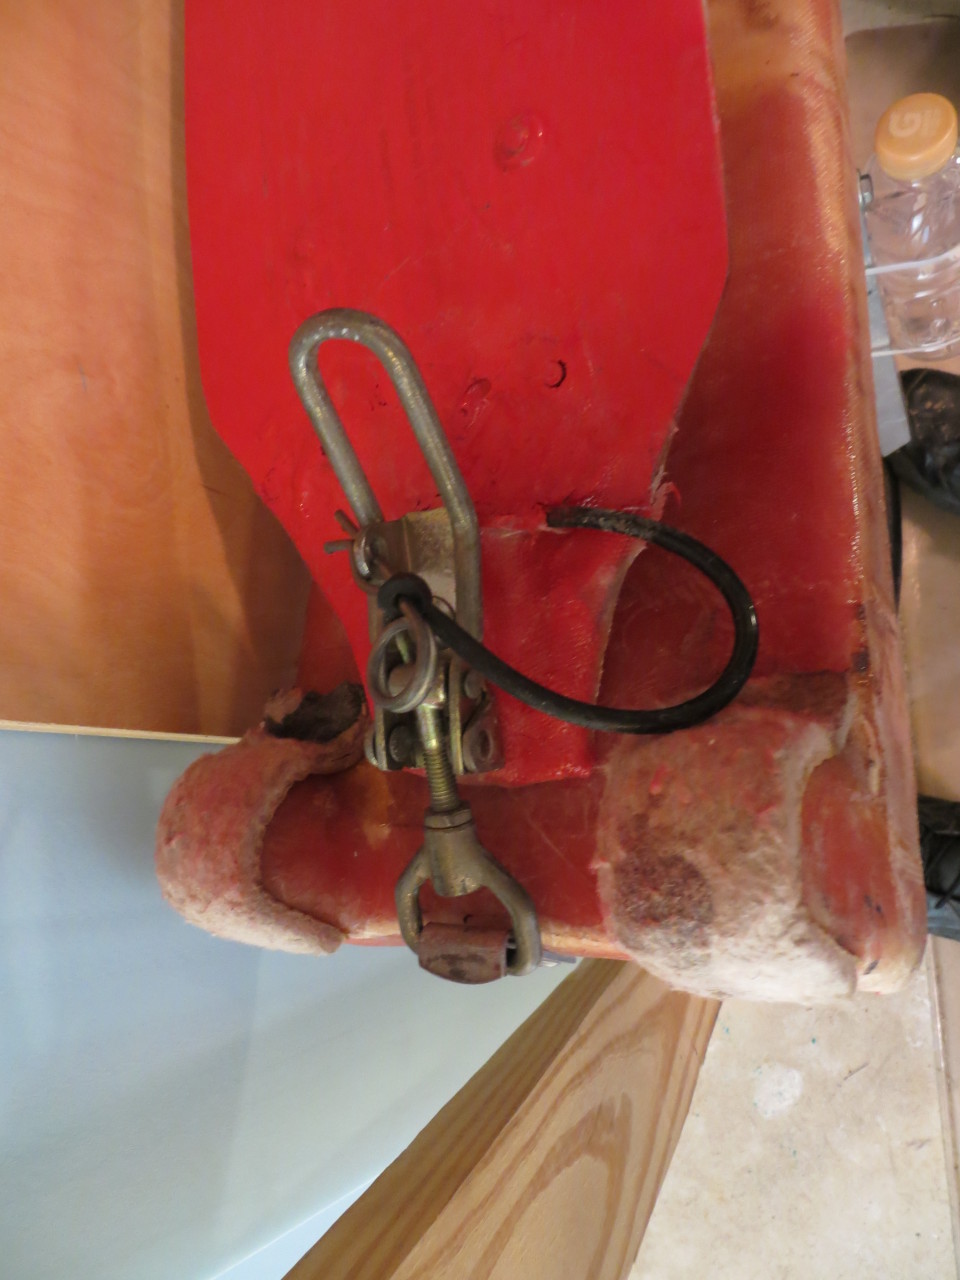
At the recently concluded Bermuda High regional contest, TA’s wing wheel suffered an unfortunate encounter with a crew vehicle, and came off a bit worse for the wear. In the immortal words of scorer Rick Sheppe “every wing wheel ends its life by being run over”, and so it was with mine. The good news is that I actually had a spare wing wheel as a result of my ‘crash upgrade’ program last summer. The bad news is that I sold it at the end of last season–bummer! What to do, what to do? I called Mark Mocho and ordered one of his ‘Moriarty Special’ wing wheels (I call it that because it is set up to ride much closer to the fuselage than the normal Cobra wheel so both the glider’s main wheel and the wing wheel can fit onto a Moriarty taxiway at the same time). I have wanted one of these for some time, but the expense ($650 + $75 shipping) and the manufacturing delay has always stymied me. This time I decided to commit to the new Mocho wheel, but this still left me wheel-less for Mifflin, coming up next week. So, I decided to see if I could repair the existing wing wheel, at least enough to get by until Mark’s wheel arrived. The following photos show the state of play before starting the repair. The bottom half of the wing carrier was badly cracked in two places, and even worse, the trailing edge clasp section was almost totally crushed, and the clasp itself was badly warped :-(.


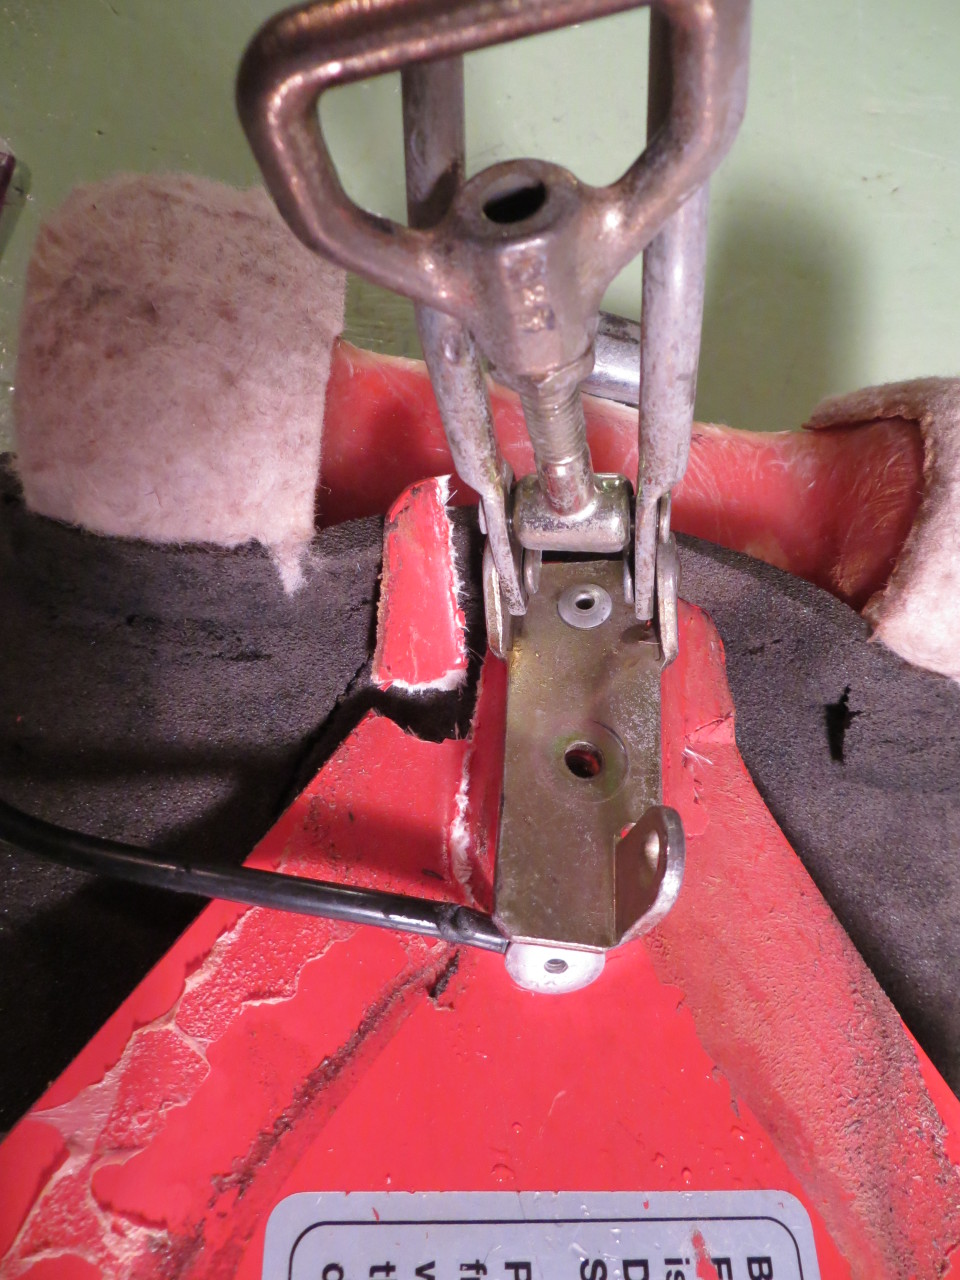
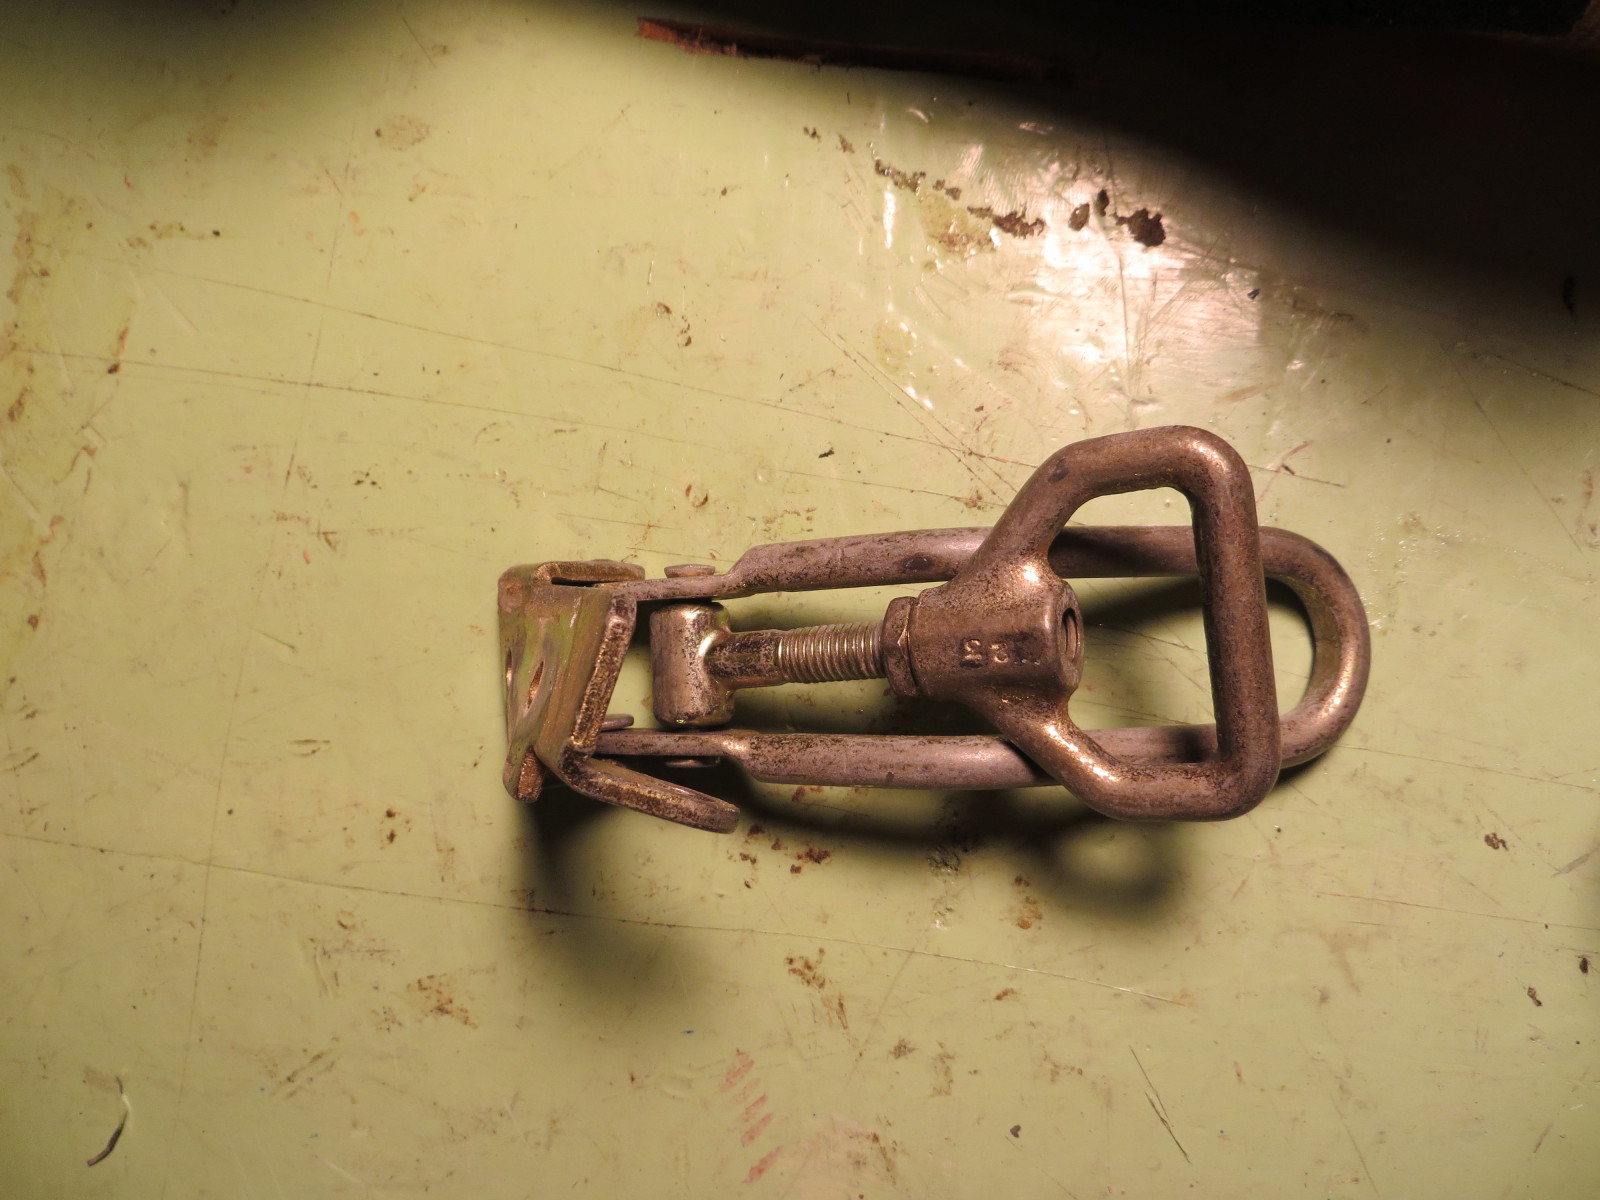
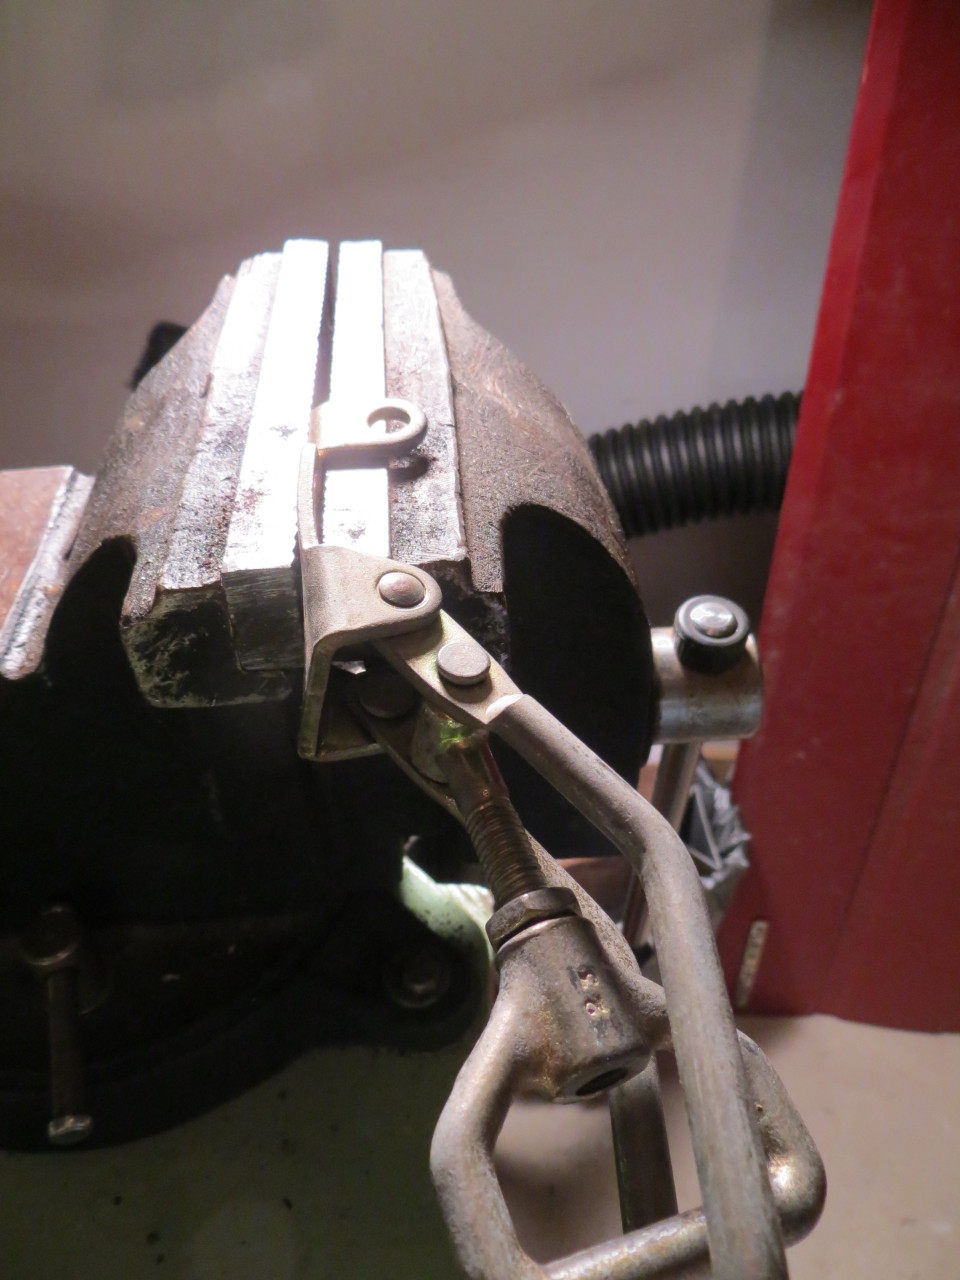
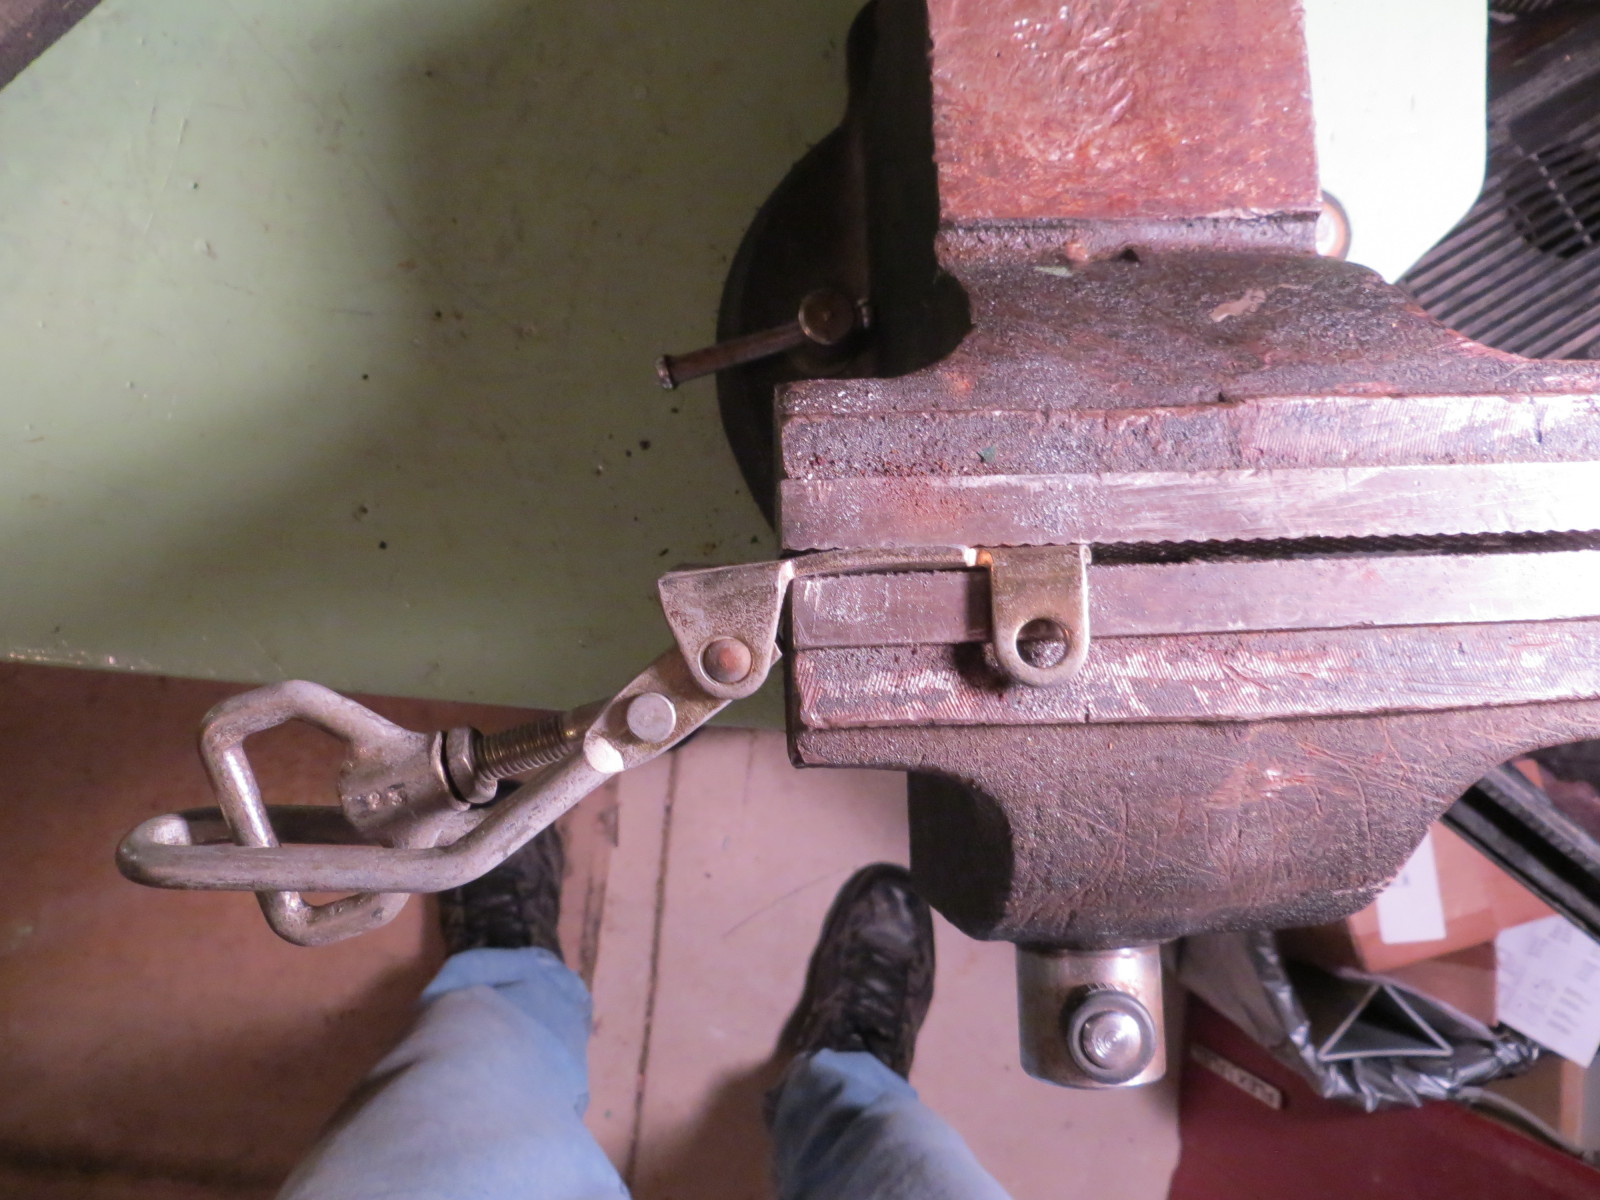
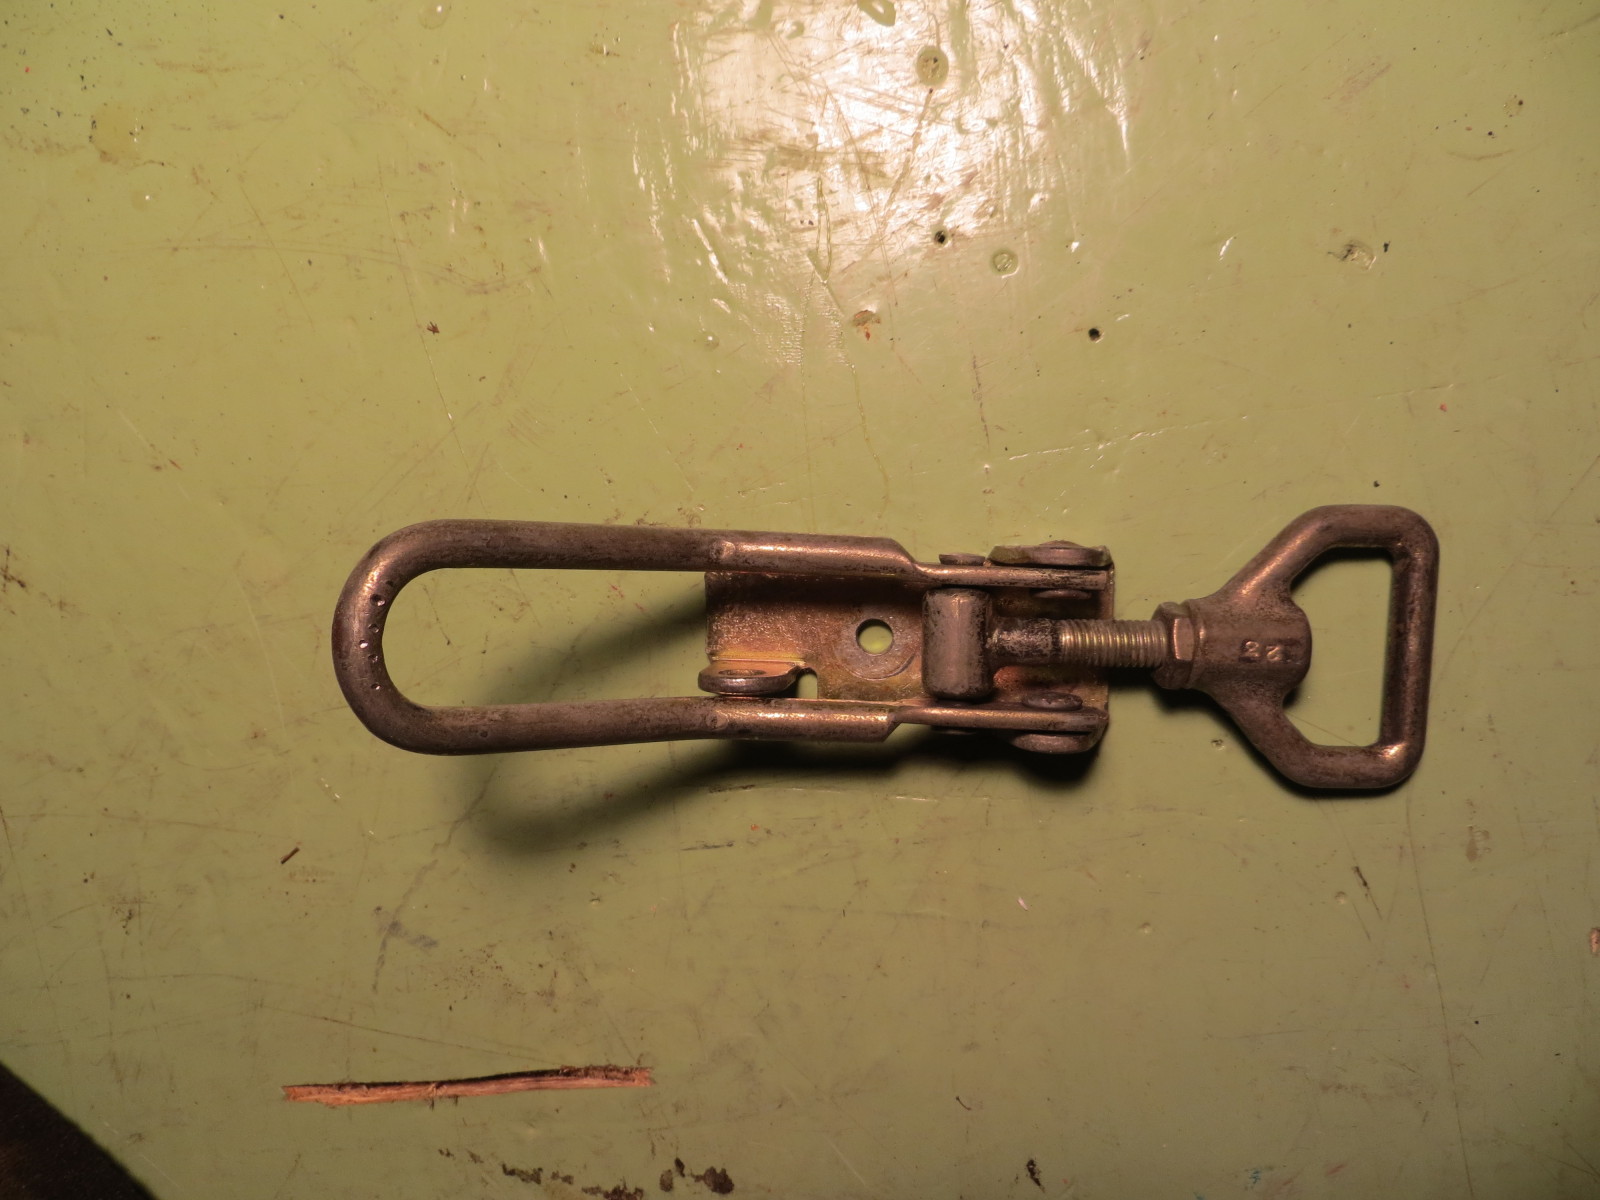
The first order of business was to repair the clasp. This was accomplished with the help of my shop vise and liberal application of the ‘get a bigger hammer’ theory. The following photos show the sequence.


Next, I pulled all the foam rubber off the wing carrier to assess the fiberglass damage and decide on a repair strategy. The following photos show the situation.


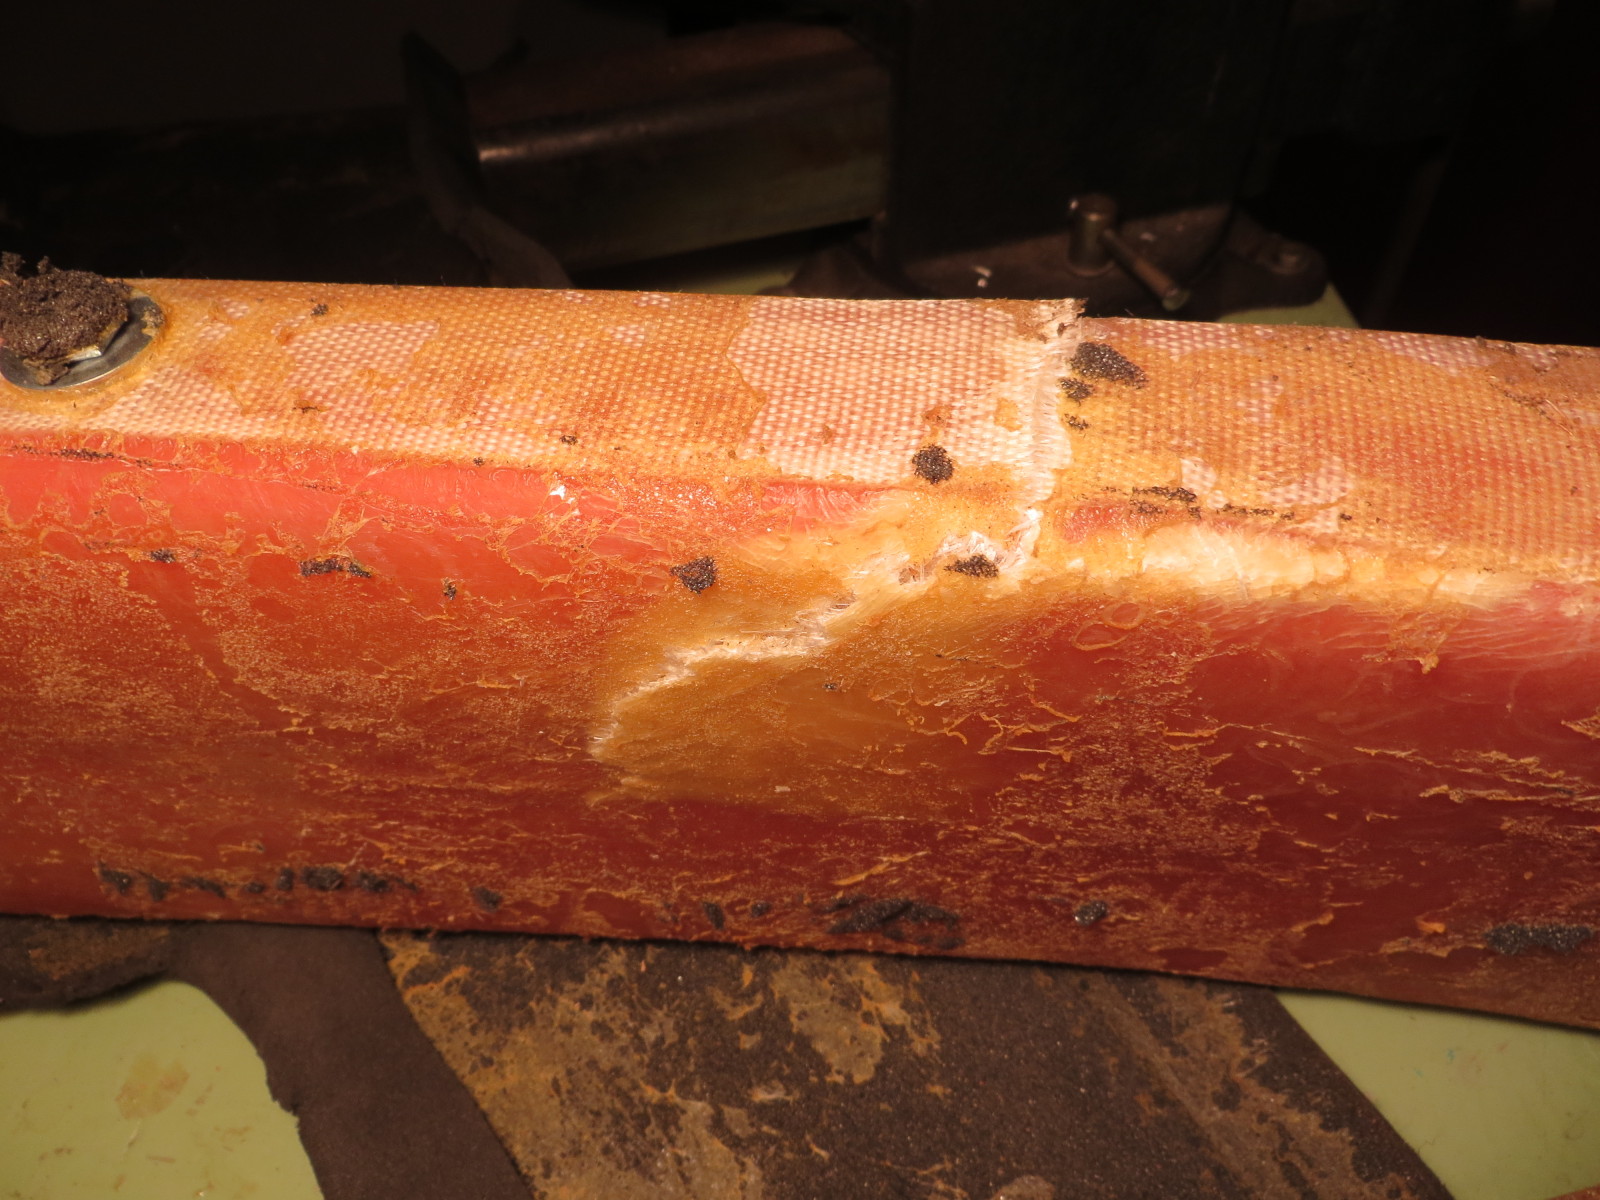
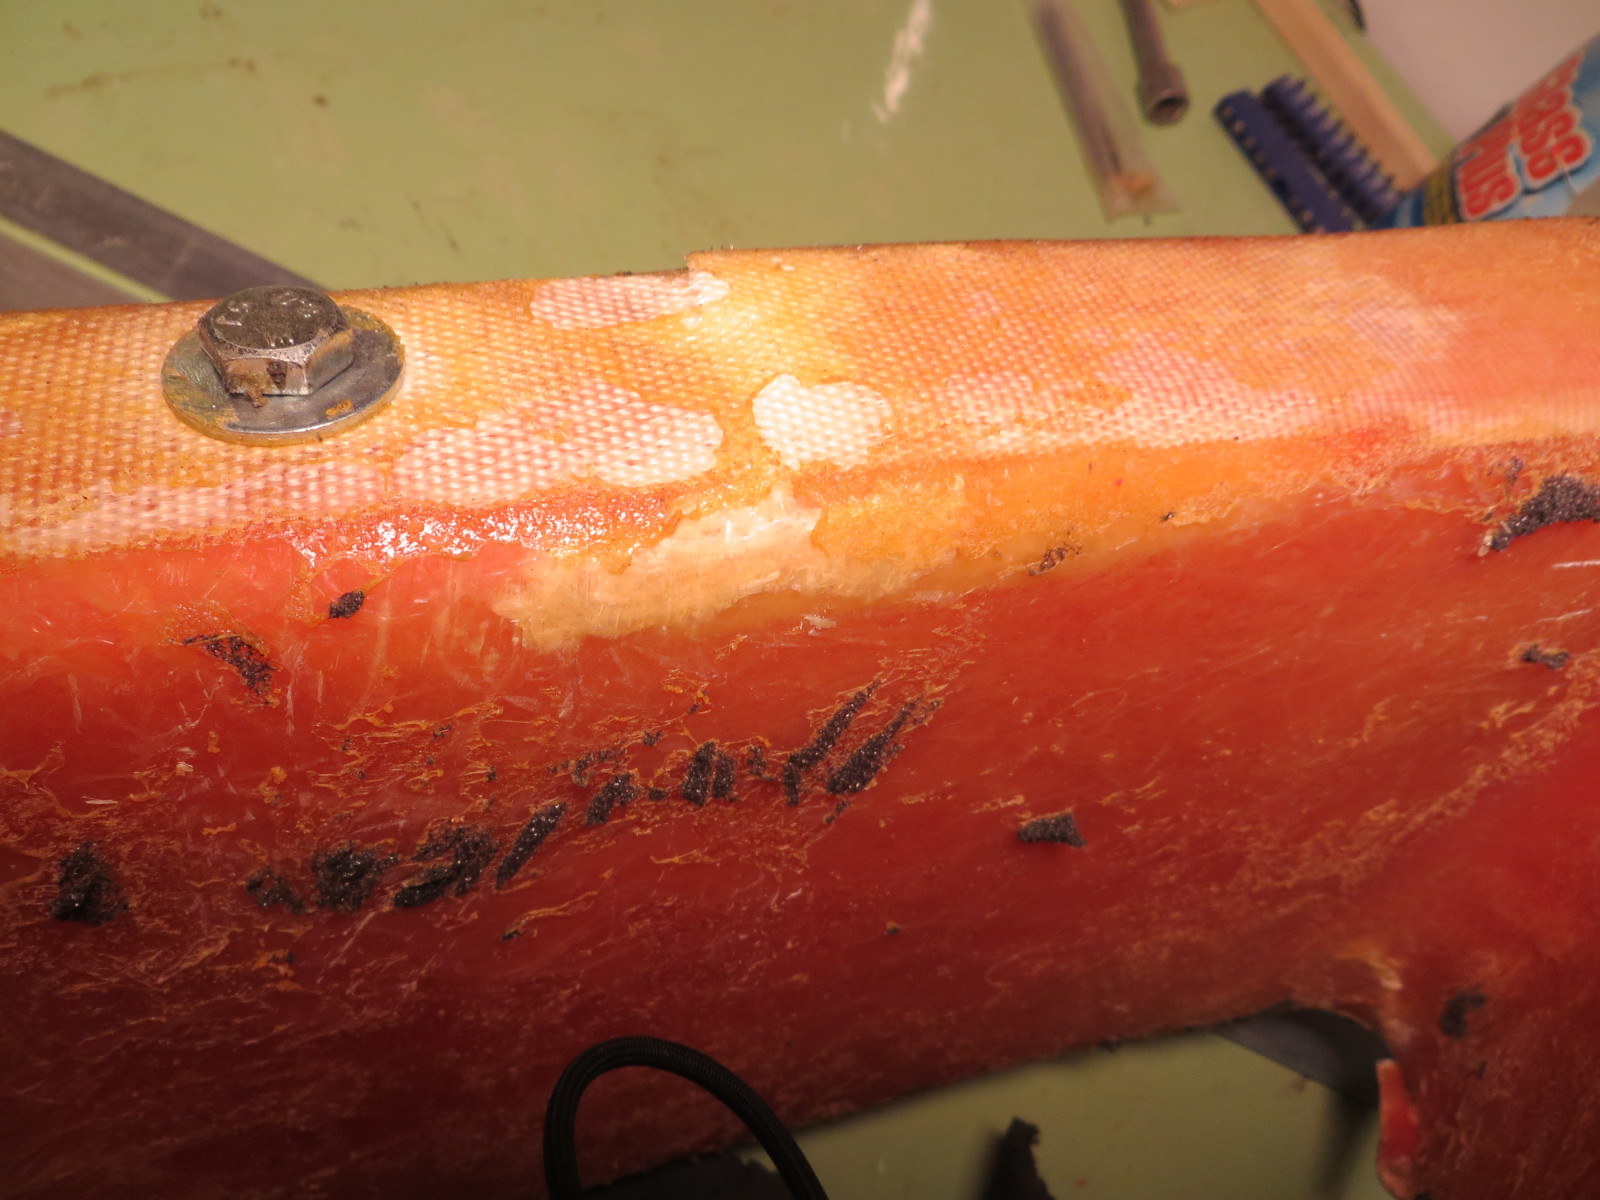
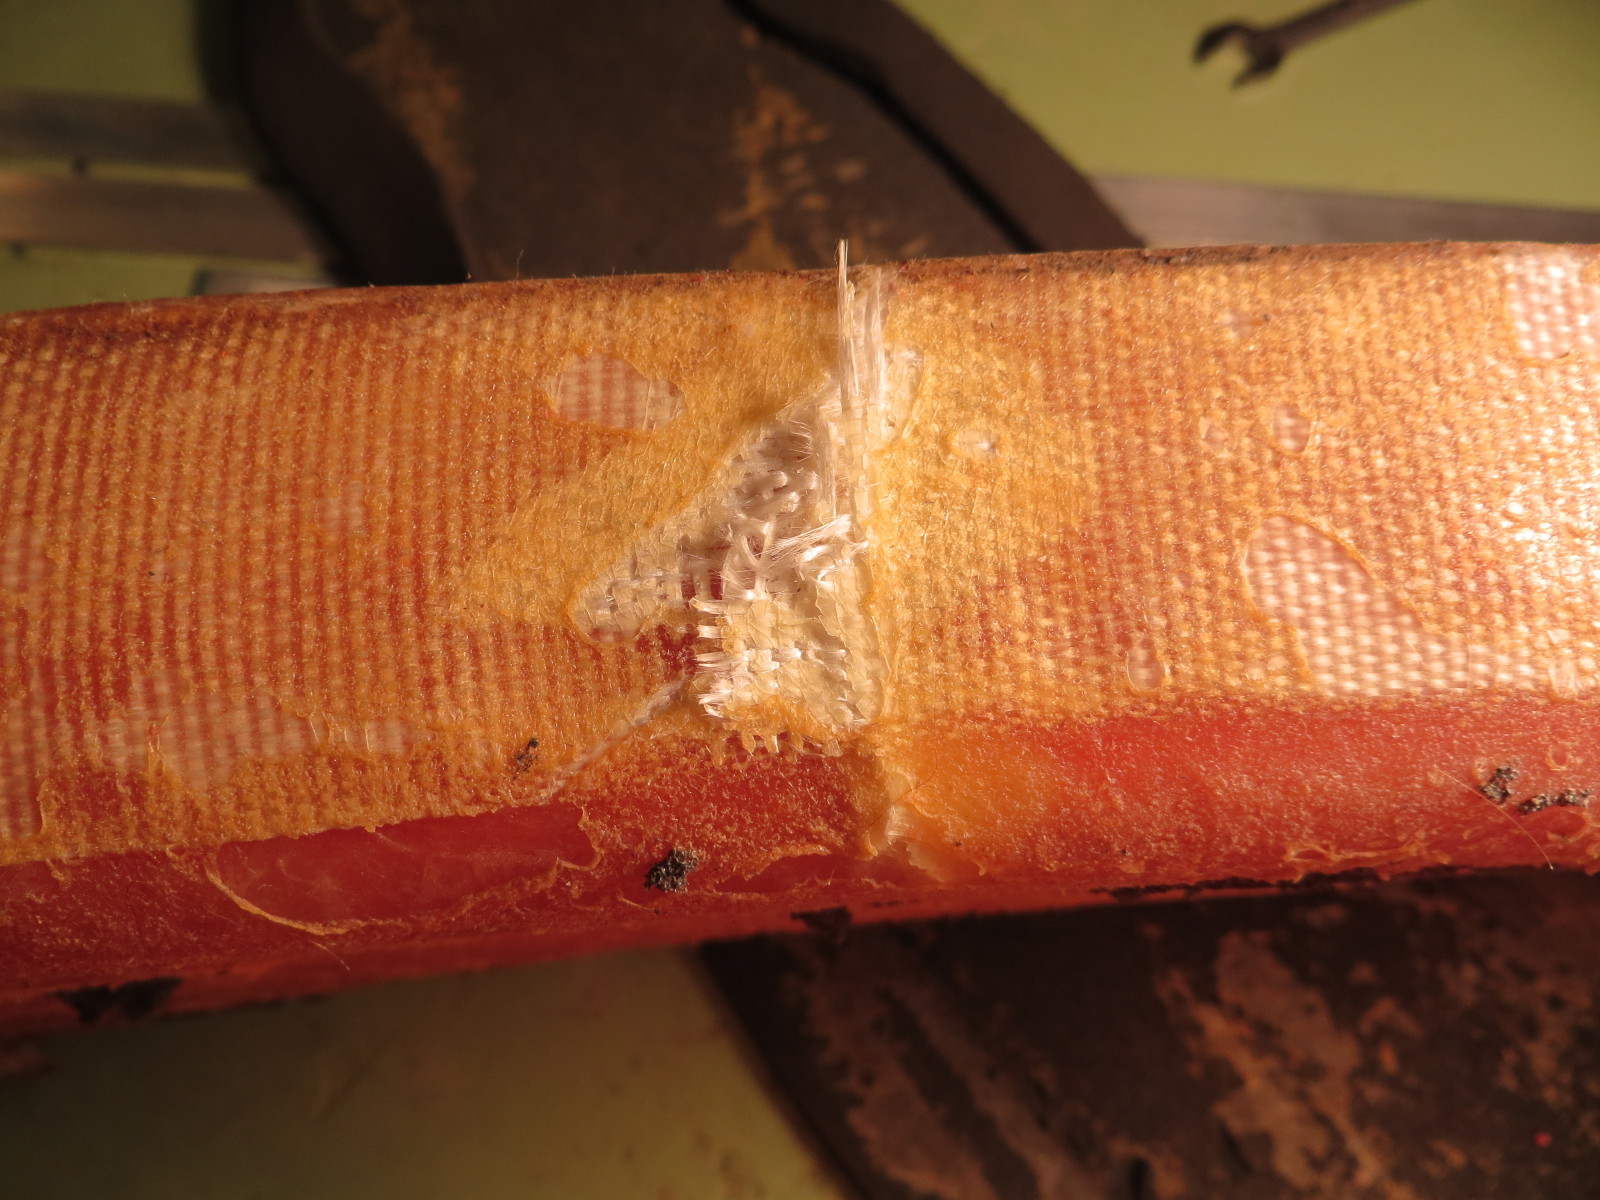
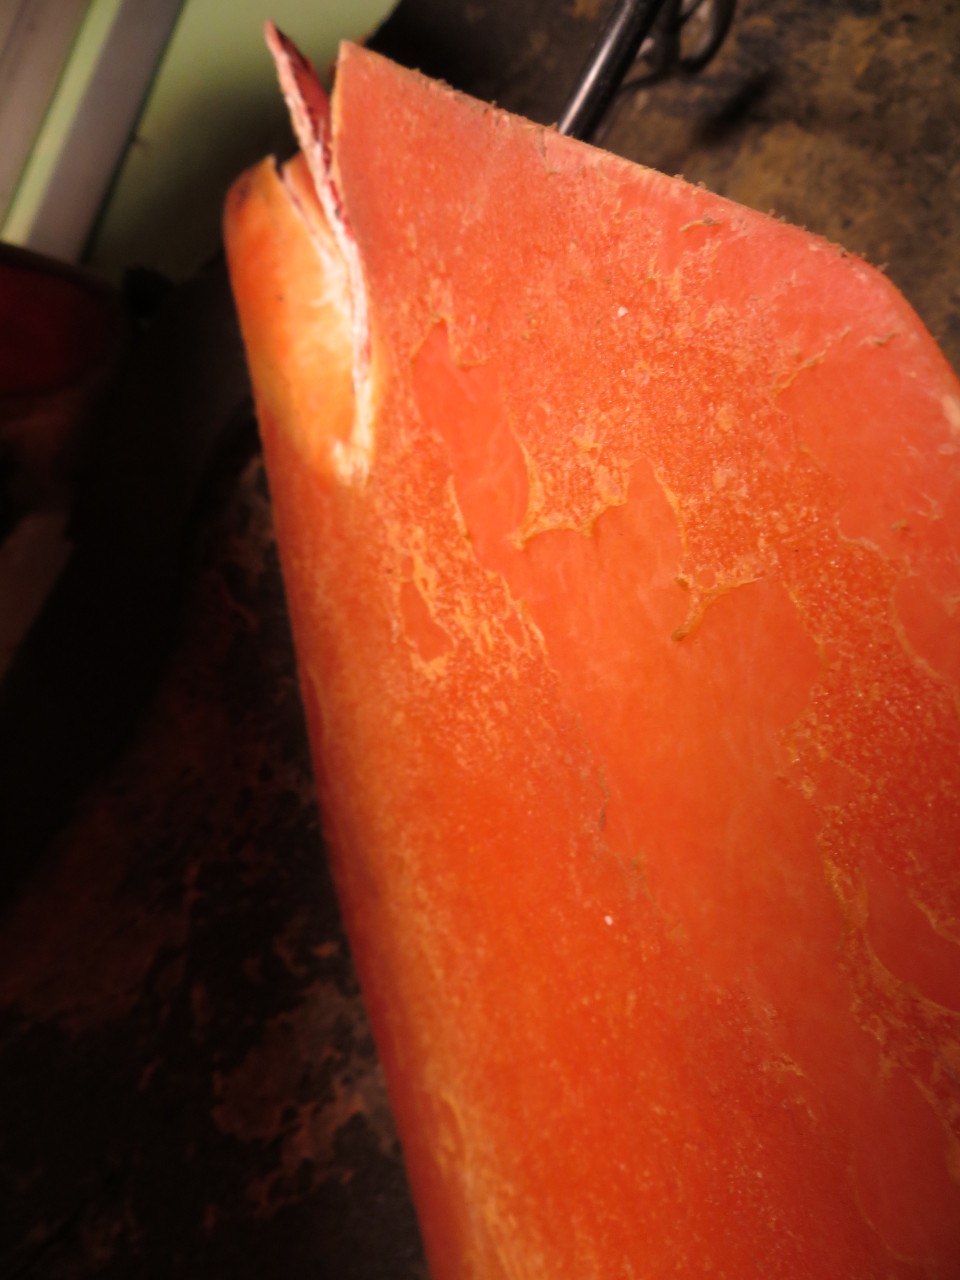

With the foam removed, I could see a number of significant cracks in the bottom half of the wing carrier, and the clasp end was badly damaged, with one piece completely detached (it was still glued to the foam rubber, so I didn’t lose it entirely). I decided on a four (or maybe five) step process for repair.
- Install a metal plate to reinforce the clasp end of the top section of the wing carrier. I felt that there was no way that a simple fiberglass-only repair here would survive the torsional and tensional stresses.
- In addition to the metal plate, fiberglass the clasp end to thoroughly unite the plate with the clasp area.
- Add a new fiberglass layer to the inside of the bottom half to regain the lost torsional stiffness.
- Replace the foam rubber protection layer, as the current material would be destroyed in the removal process.
- (Optional) install 1/8 x 1″ aluminum strips on the underside of the bottom half.
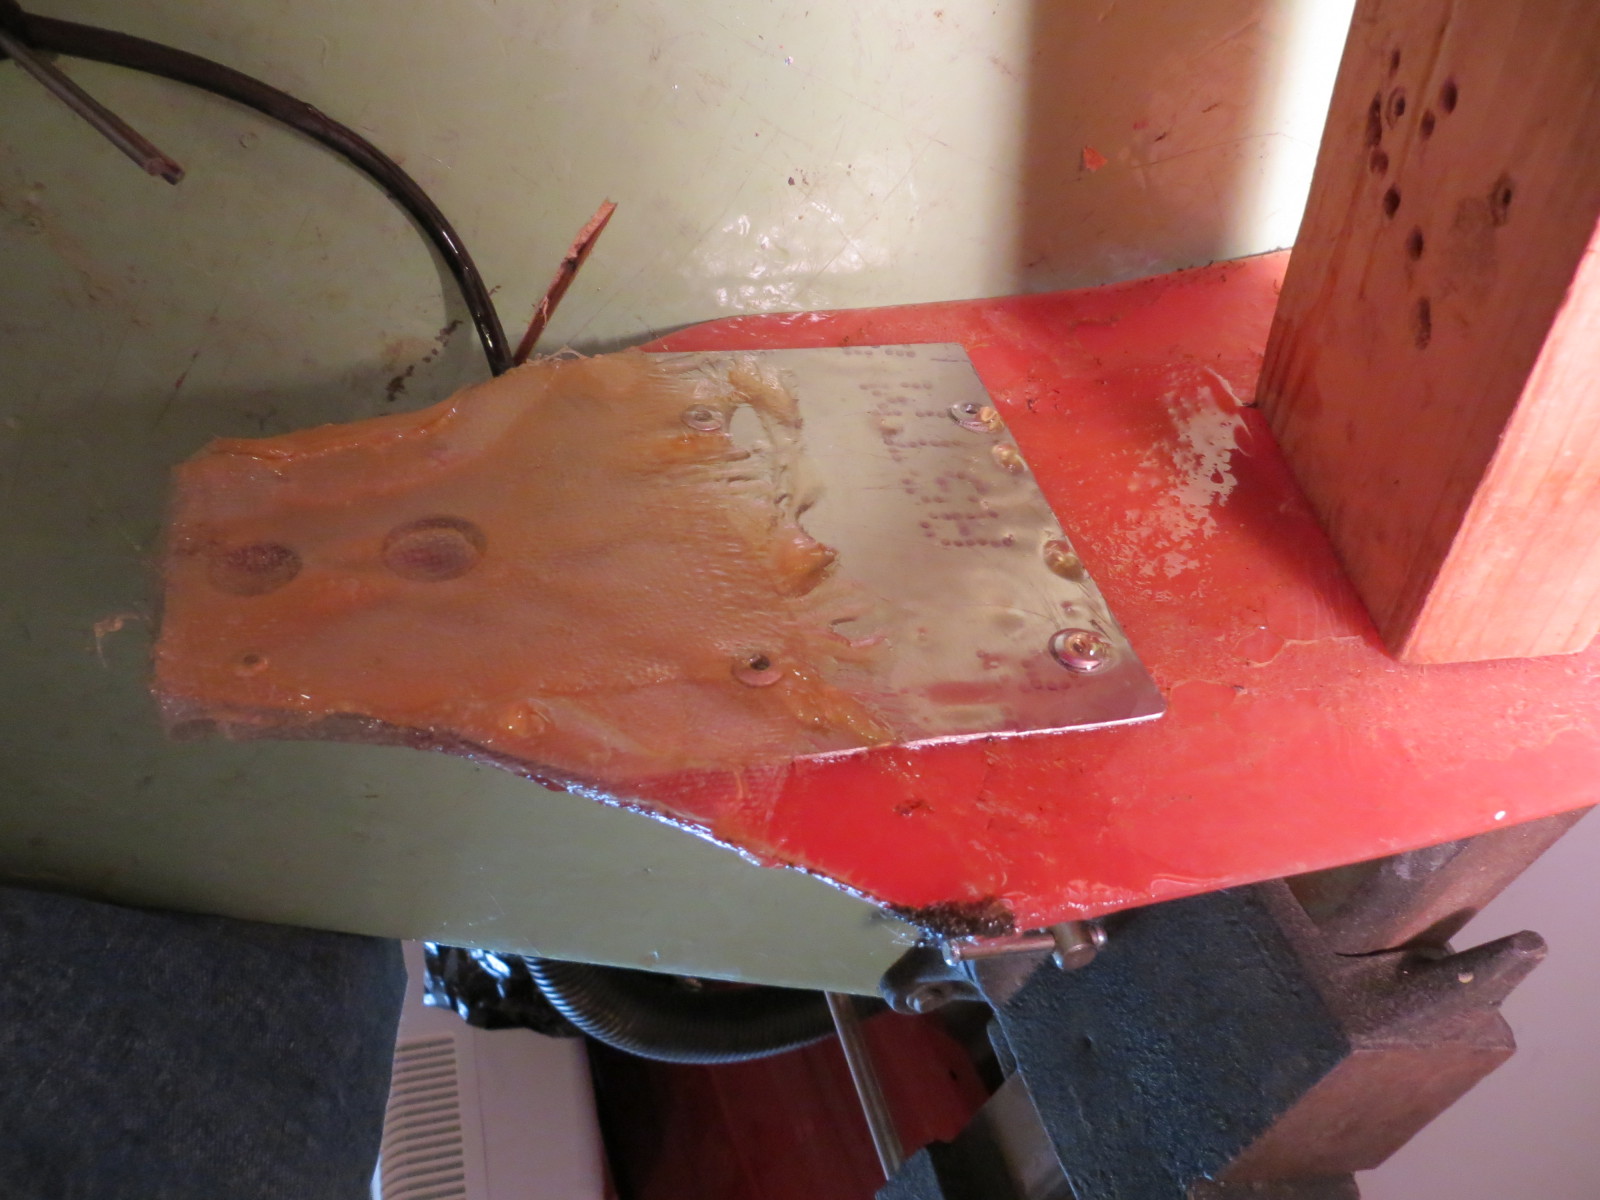
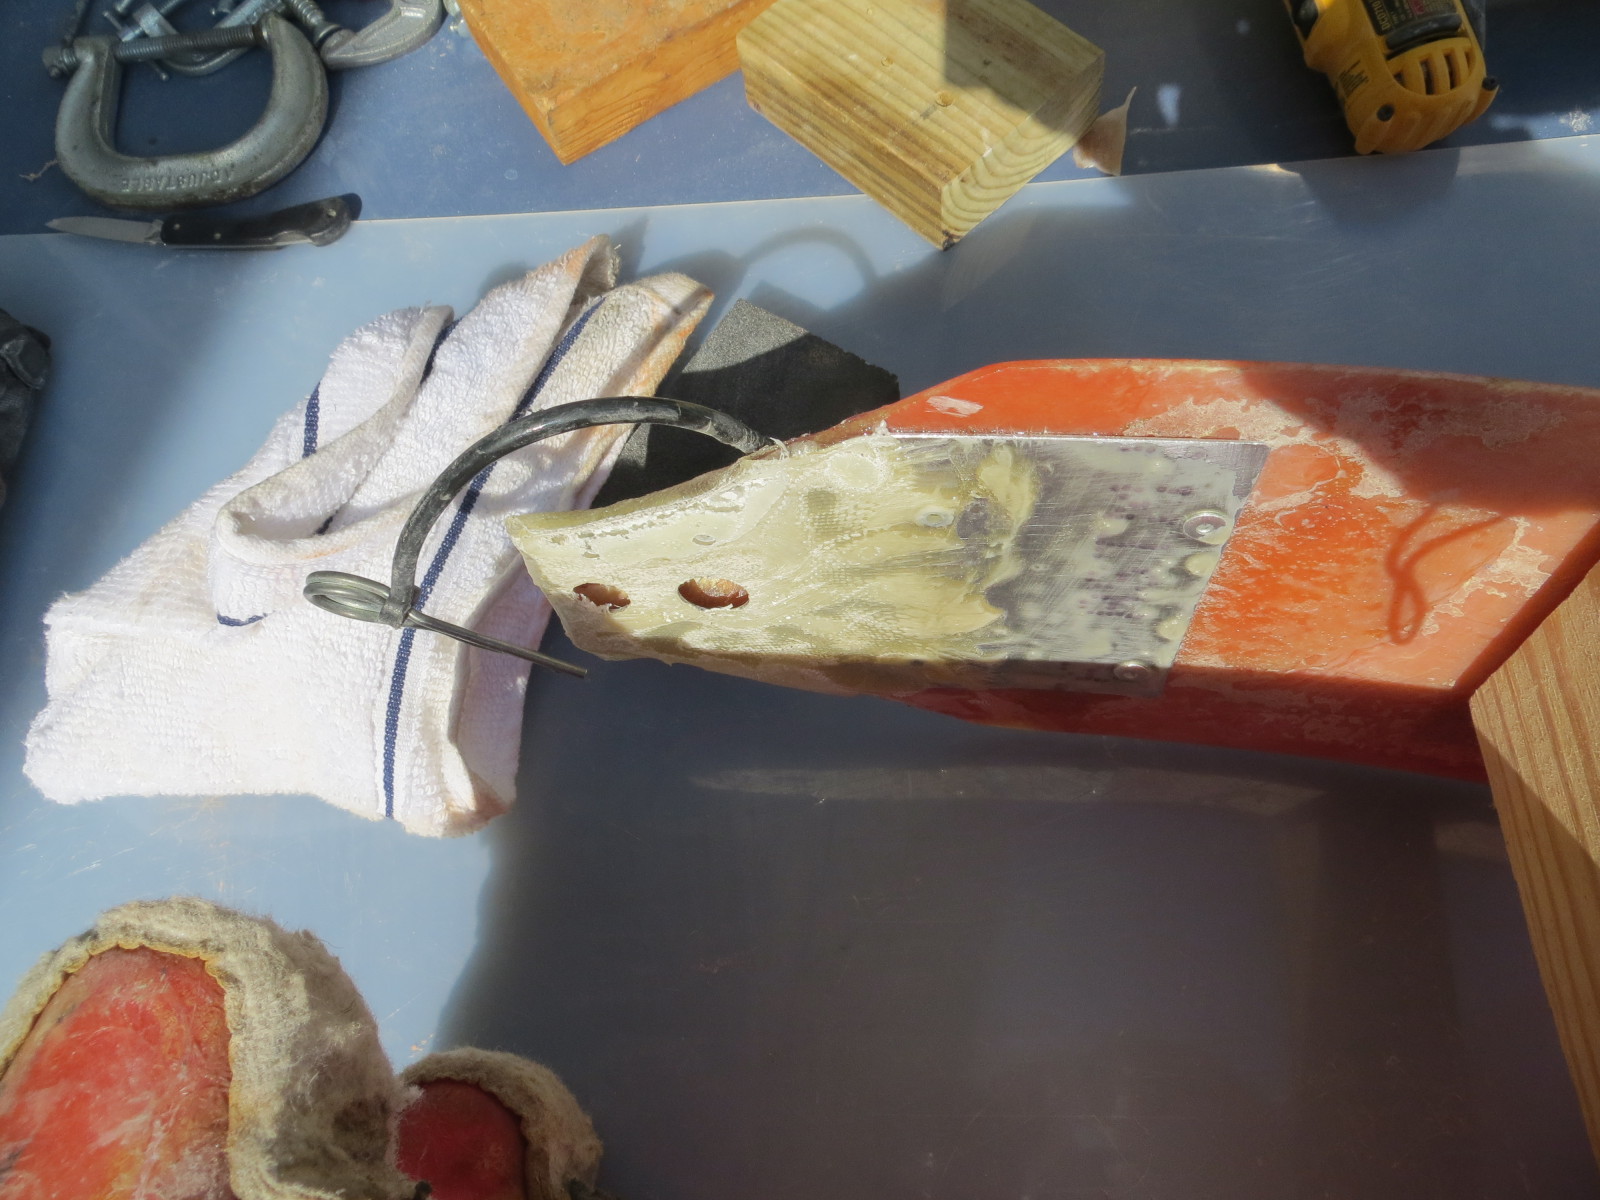
Step 1/2 – Clasp area repair: I had some aluminum sheet laying around, so I cut a piece to the correct shape and pop-riveted it to the clasp end of the wing wheel, and then applied several fiberglass layers as shown in the following photos. I used West Marine West System 105/205 Epoxy/hardener – wonderful stuff, especially with the optional proportional pumps (an equal number of pump strokes from resin and hardener pumps produces the correct mix). 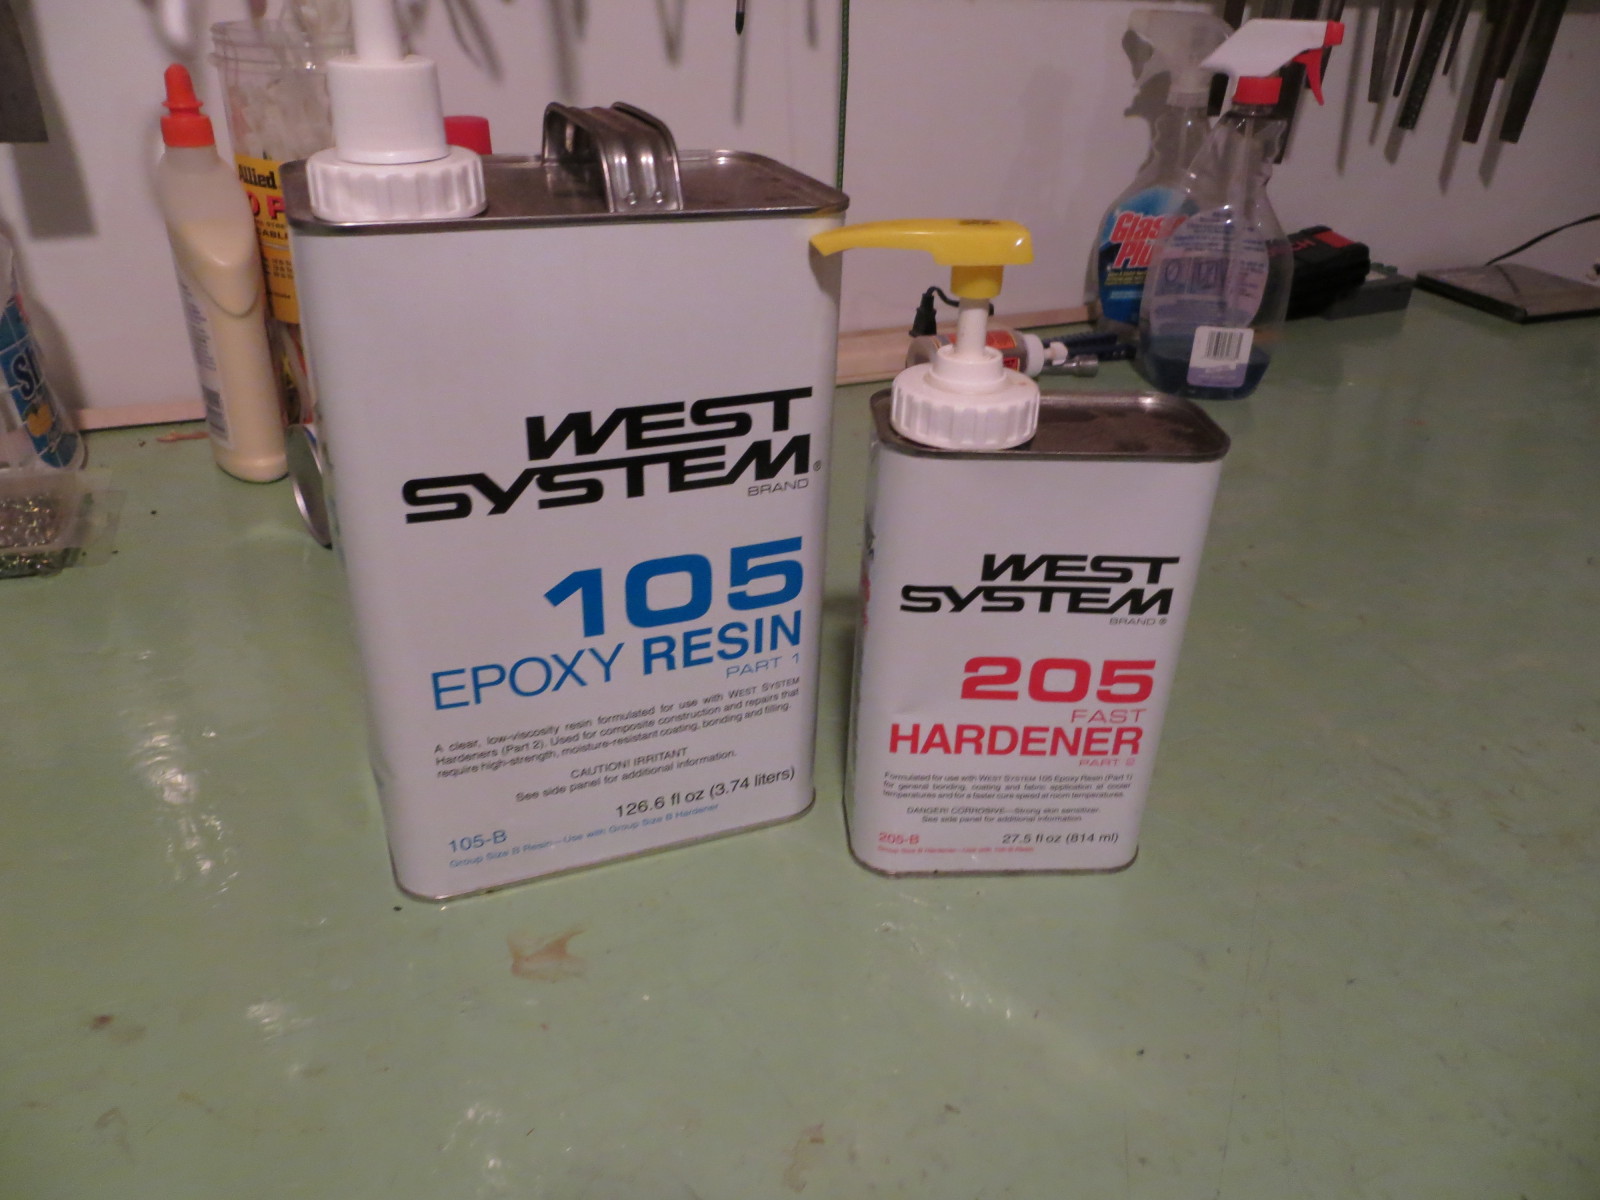 An interesting problem with this step was how to retain the ability to re-install the clasp once the repair was complete. Originally the clasp was held in place with a pop rivet at the far (trailing edge) end of the clasp, and a large slot-head machine screw and locking nut at the other (toward the leading edge) end. The raised section of the wing carrier at the clasp prevented the pop rivet and machine screw/nut from hitting the wing, but my new plate would block access to the area. So, I had to cut appropriate access holes in the plate before riveting it to the carrier. Also, I couldn’t use a pop rivet, so I used as 10-24 screw/nut instead. Note also the two small pop rivets fixing the separated clasp piece back into place.


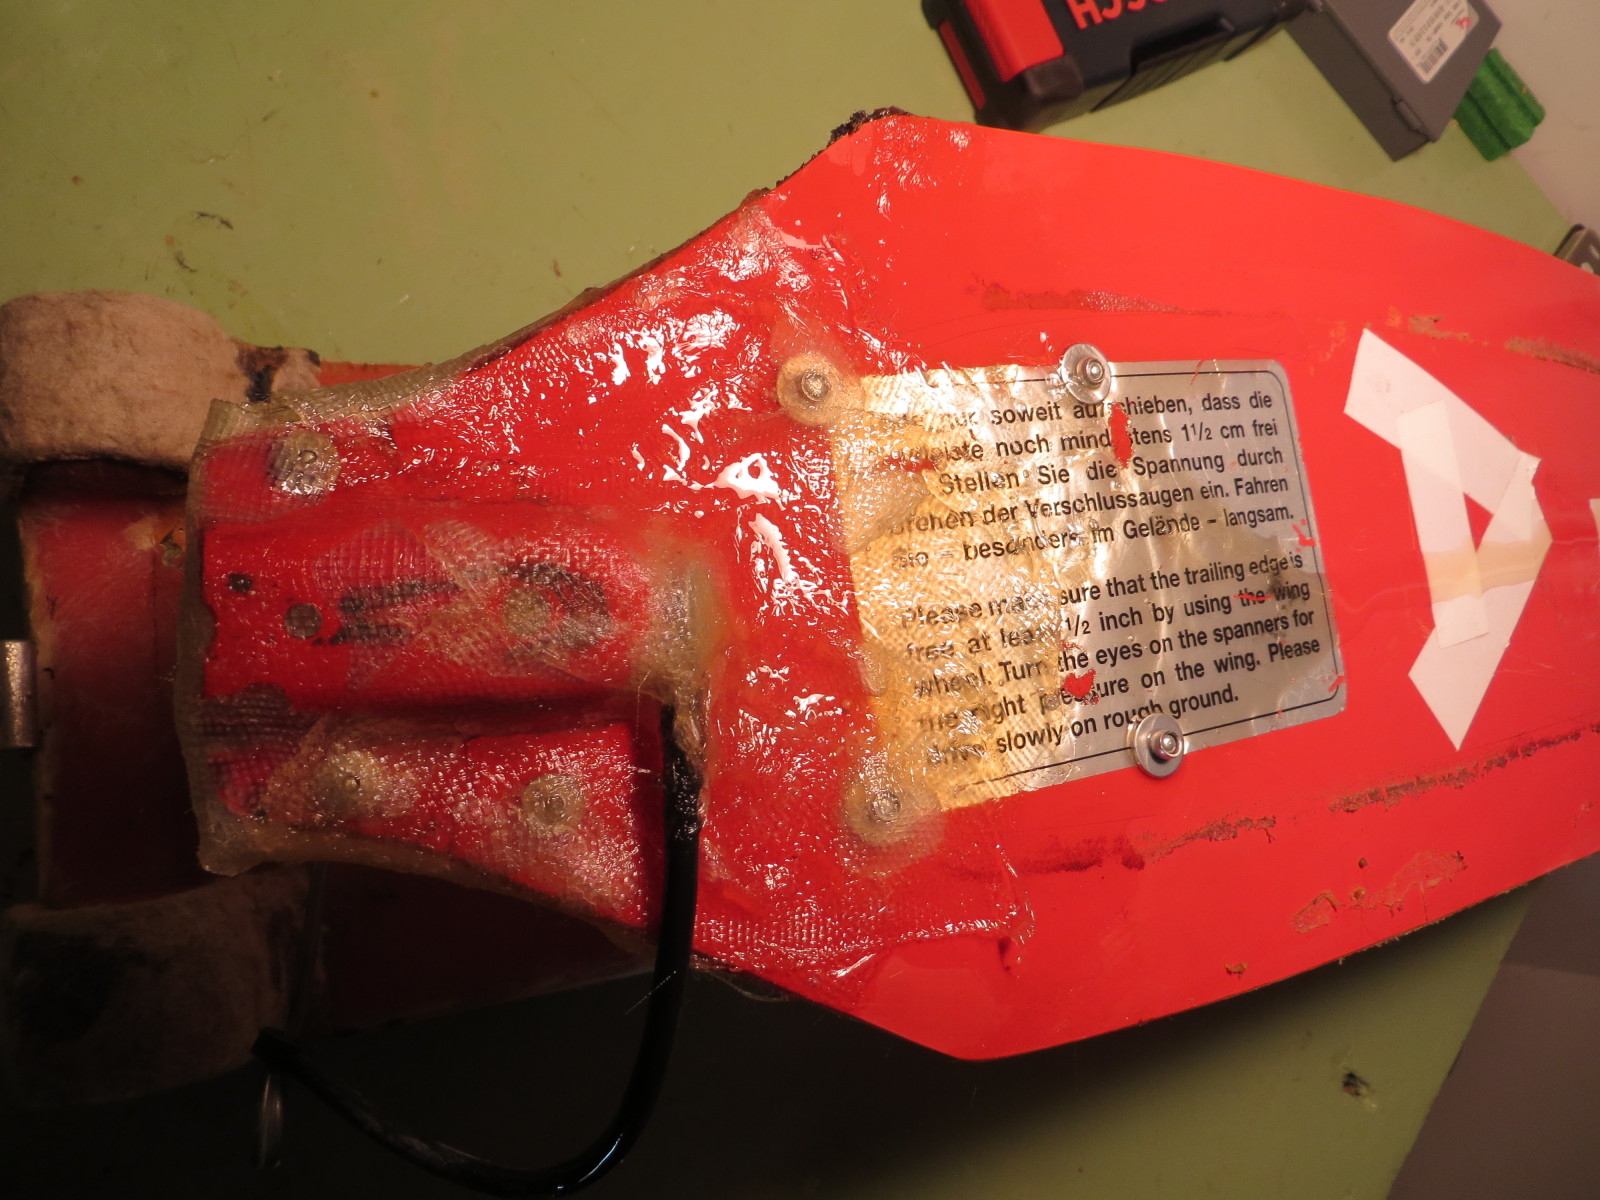
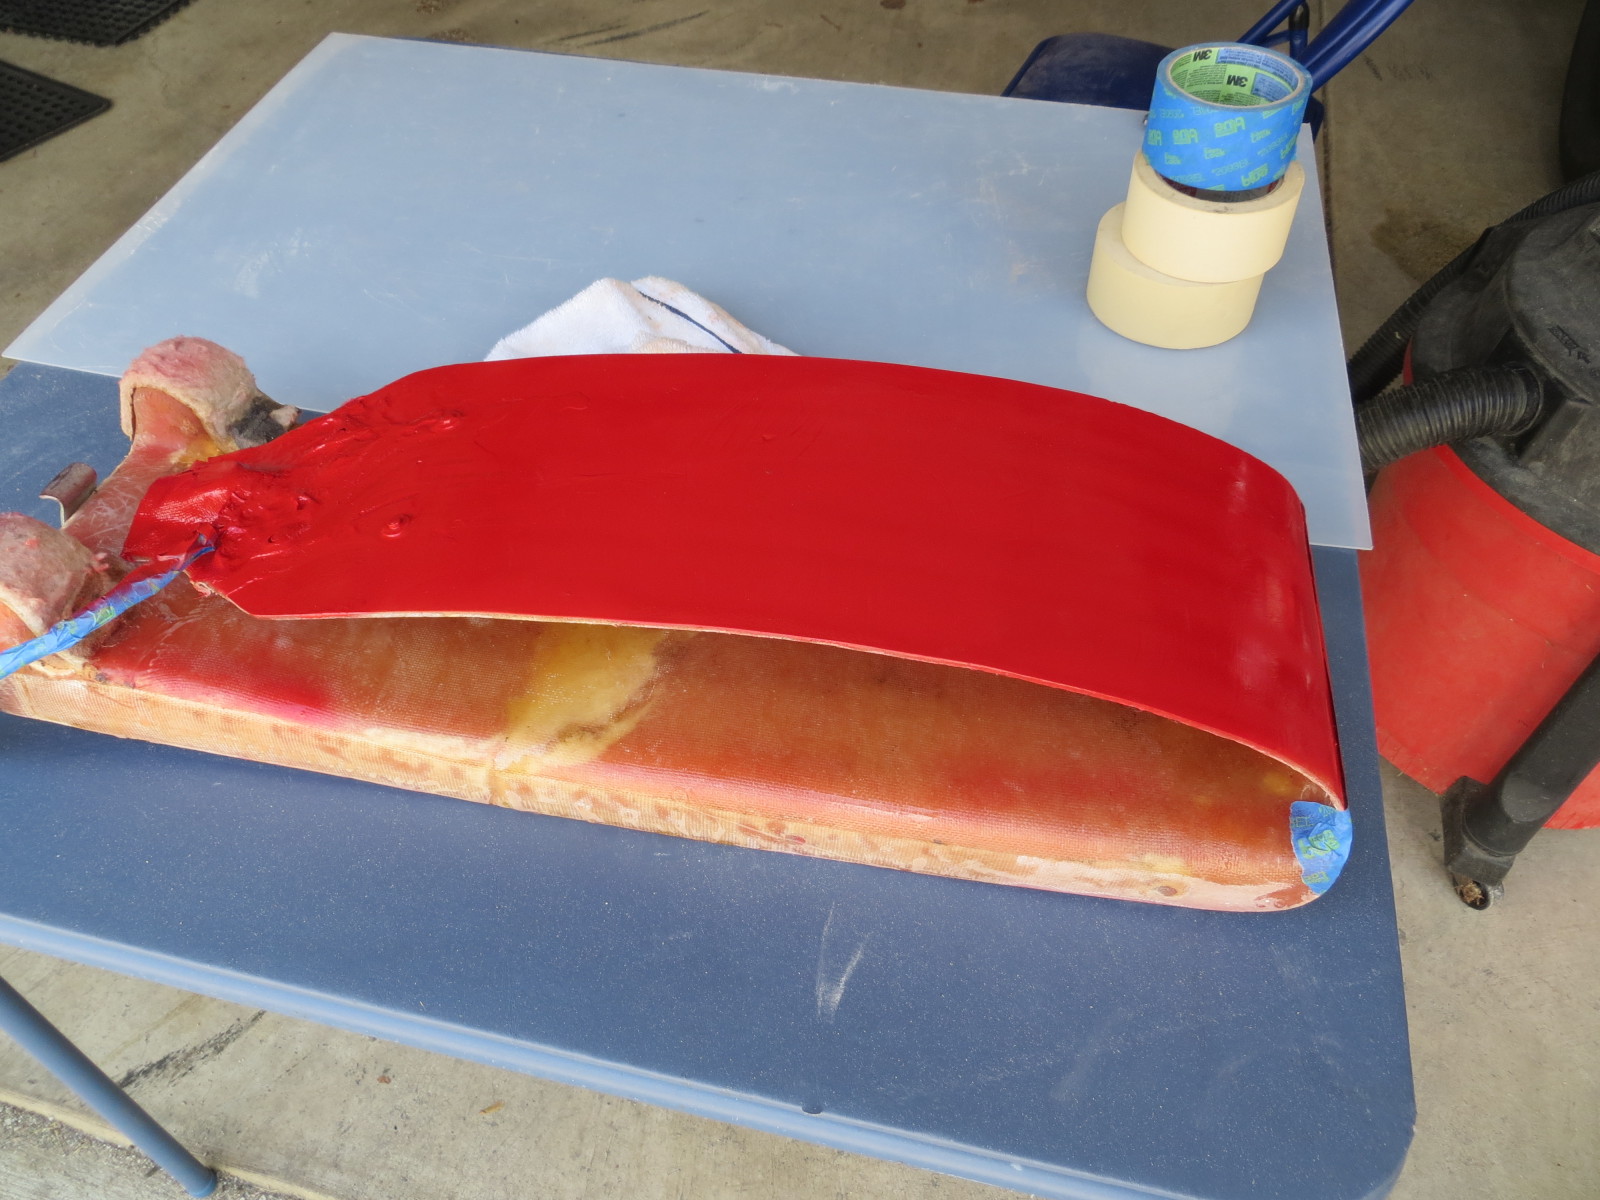
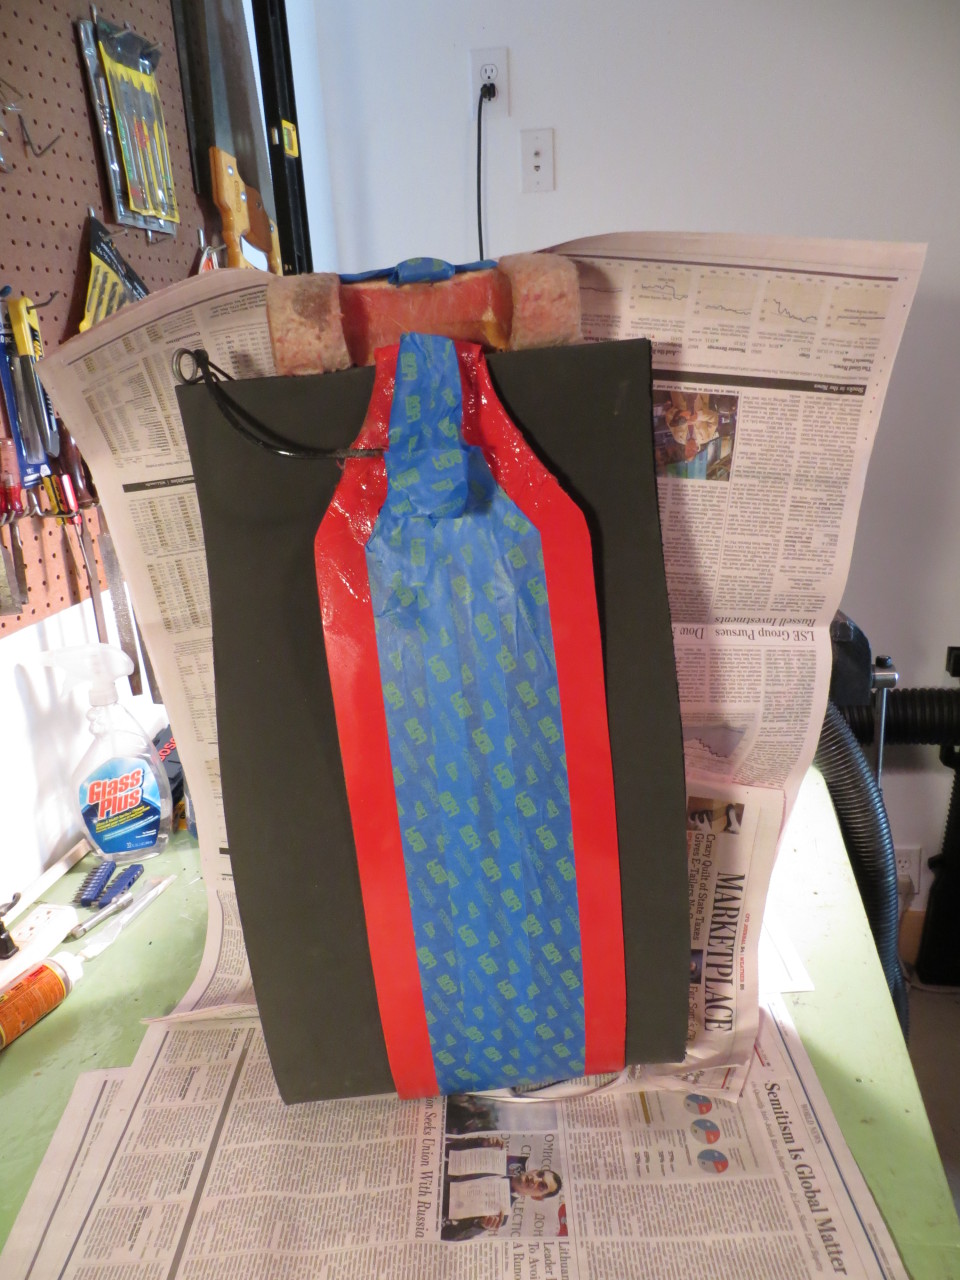
Step 3 – Fiberglass reinforcement of bottom half of wing carrier: I cut fiberglass cloth to shape to cover the bottom half of the wing carrier and applied the Marine West epoxy liberally, making sure to completely wet the fiberglass everywhere, as shown in the following photo sequence.


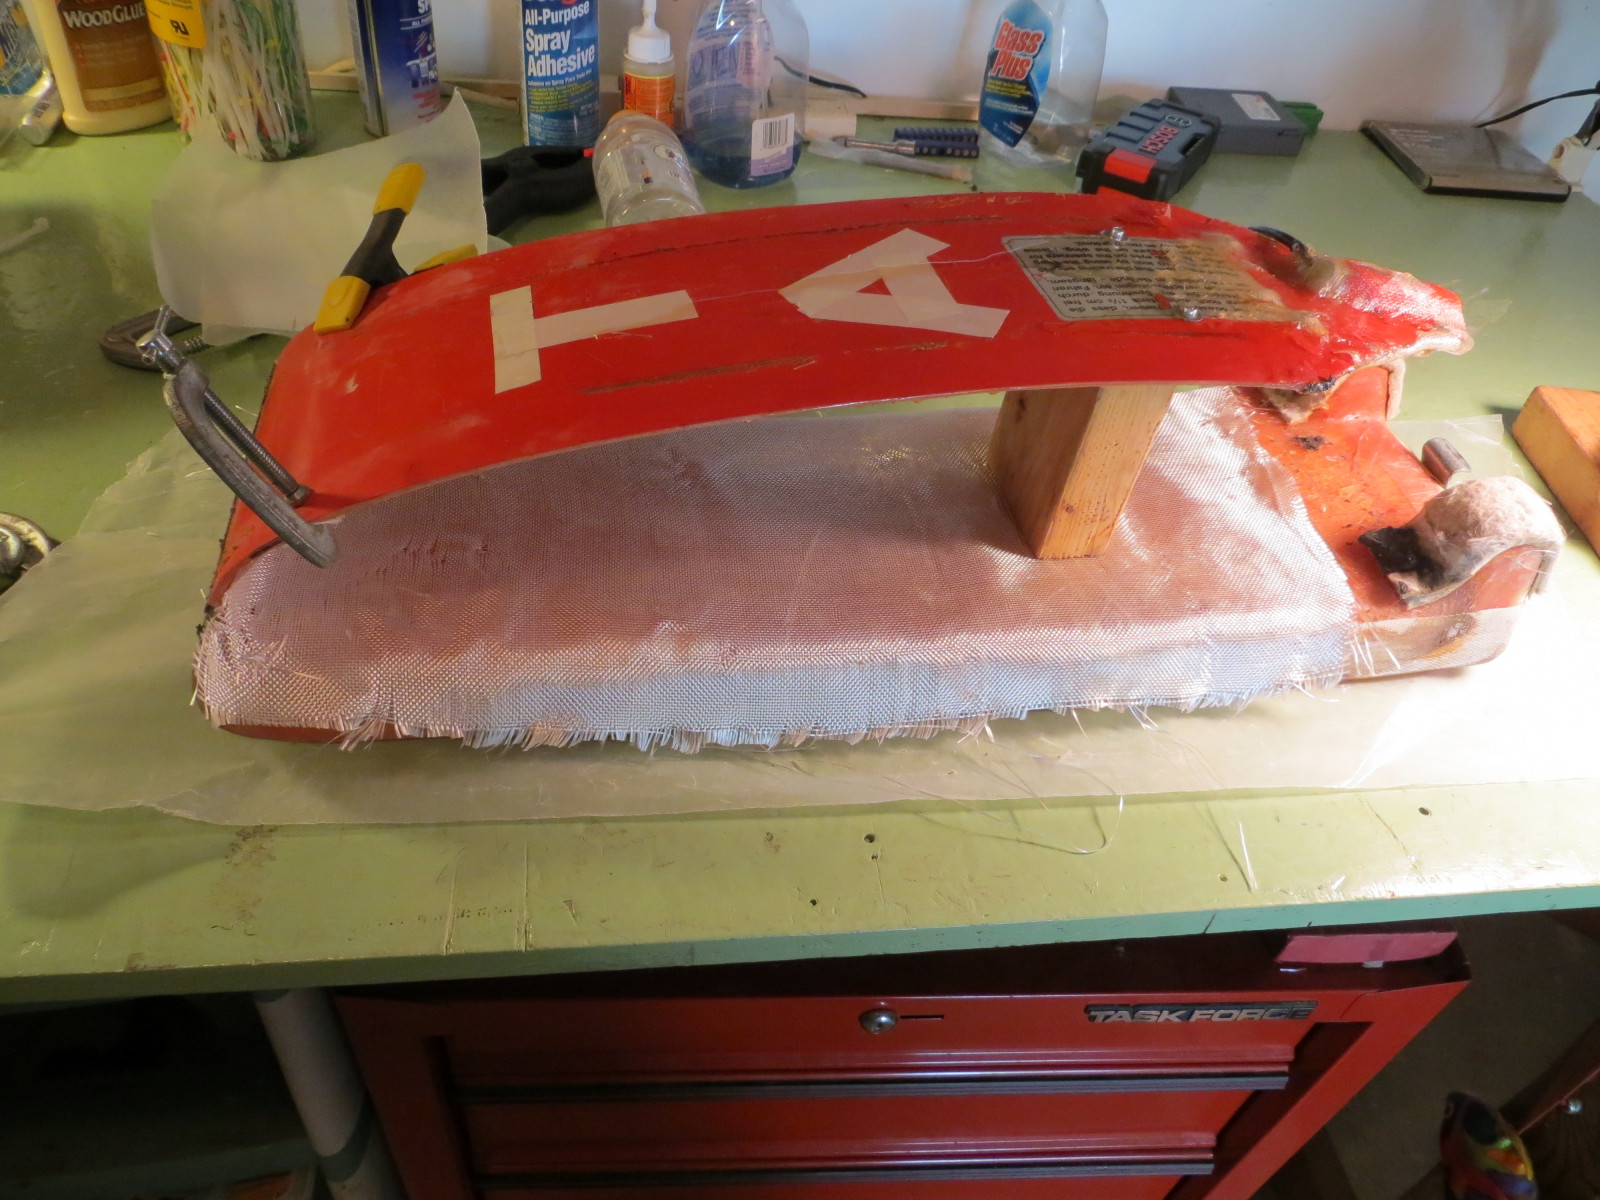
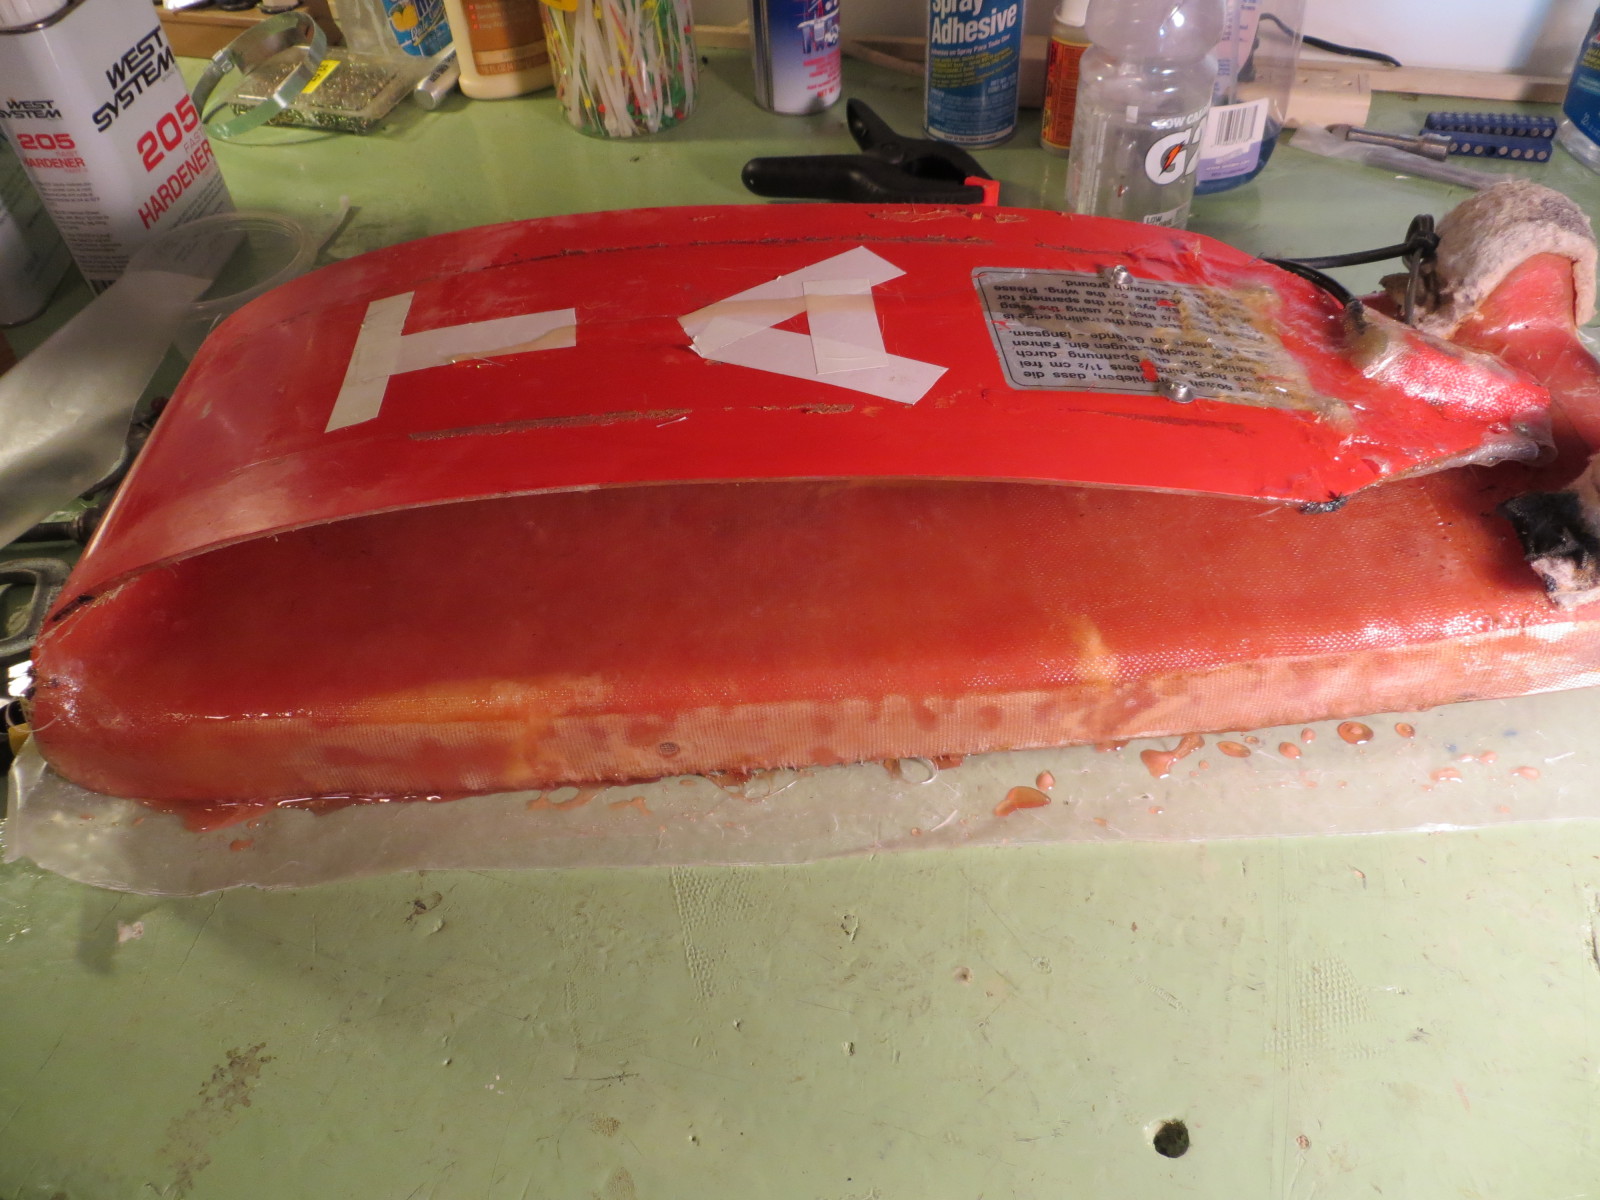
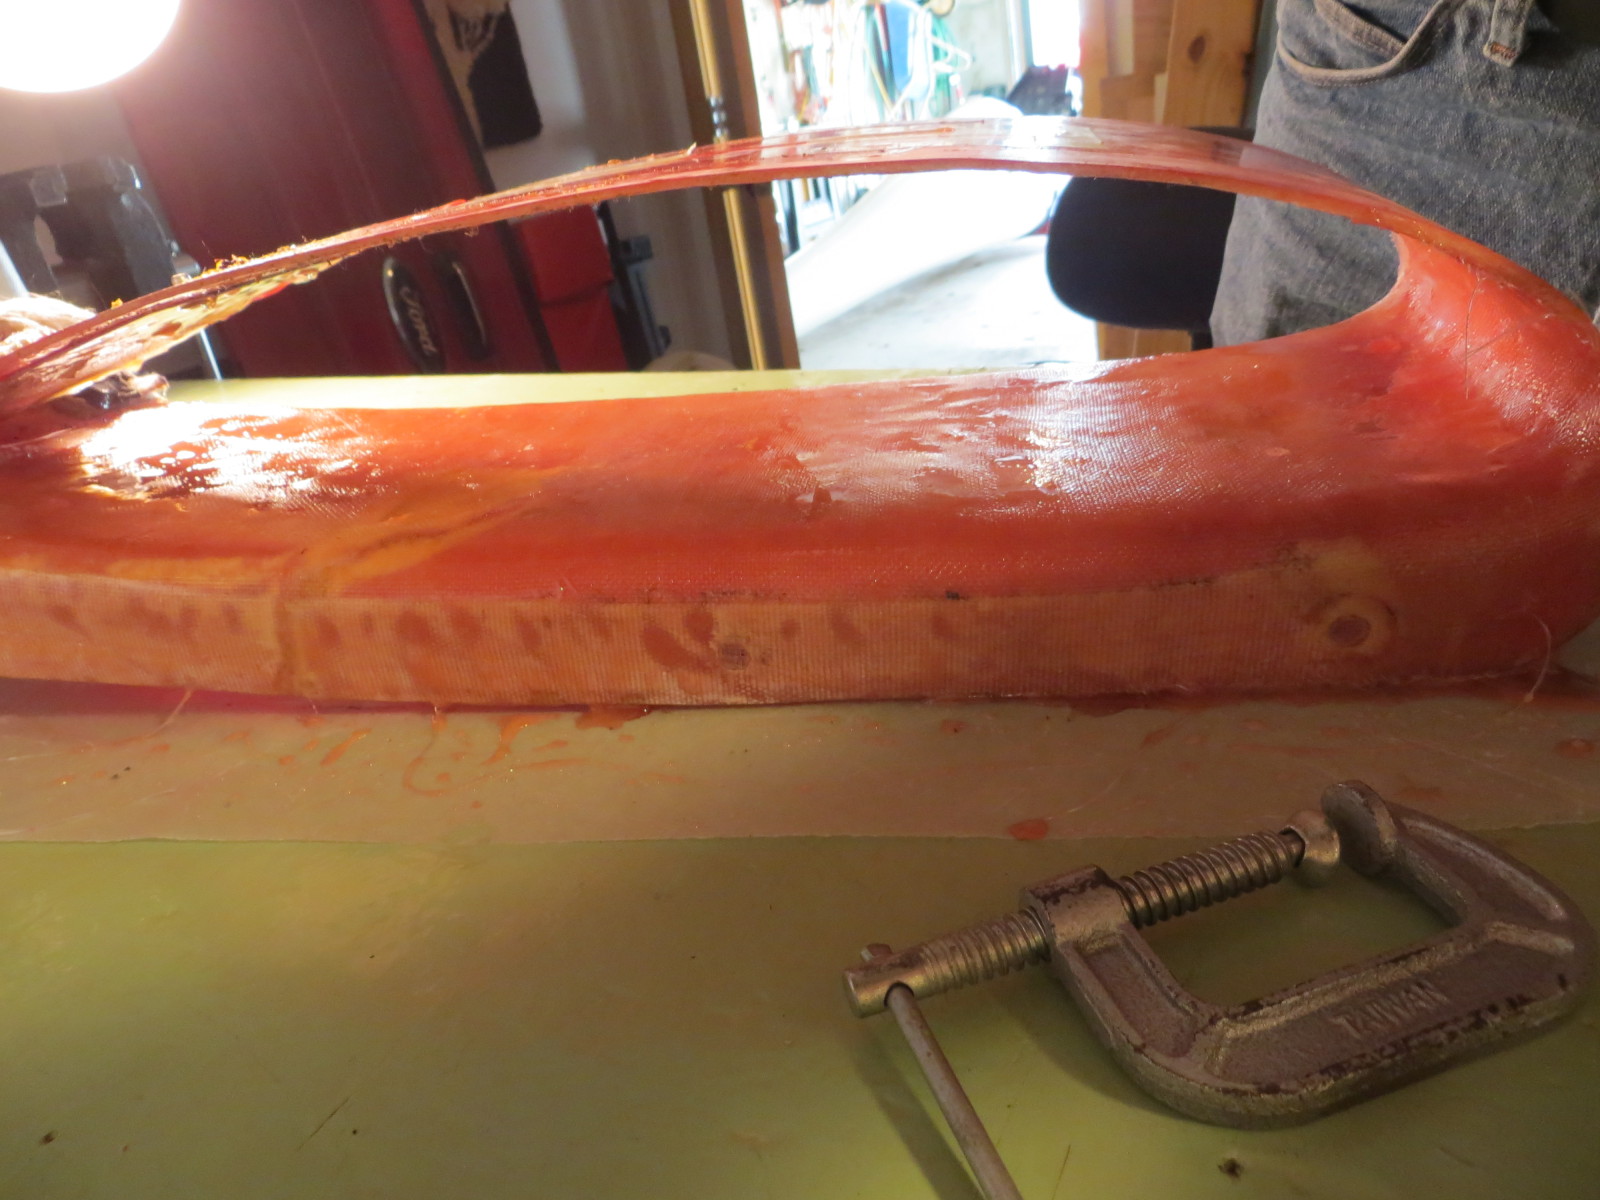
Note that I carried the fiberglass cloth a few inches through the leading edge curve and into the top section. There was a minor crack in this area, and I wanted to make sure it didn’t become a major one! ;-). Step 4 – Clean up fiberglass and re-install clasp: After the new fiberglass cured overnight, I sanded everything down and prepared the clasp area for re-installing the clasp hardware. This involved carefully sanding the top surface of the clasp mounting section to try and get as level a surface as possible. While I was at it, I took the opportunity to repaint the exposed top and bottom of the wing carrier, using the red spray paint I had left over from the last disaster ;-).


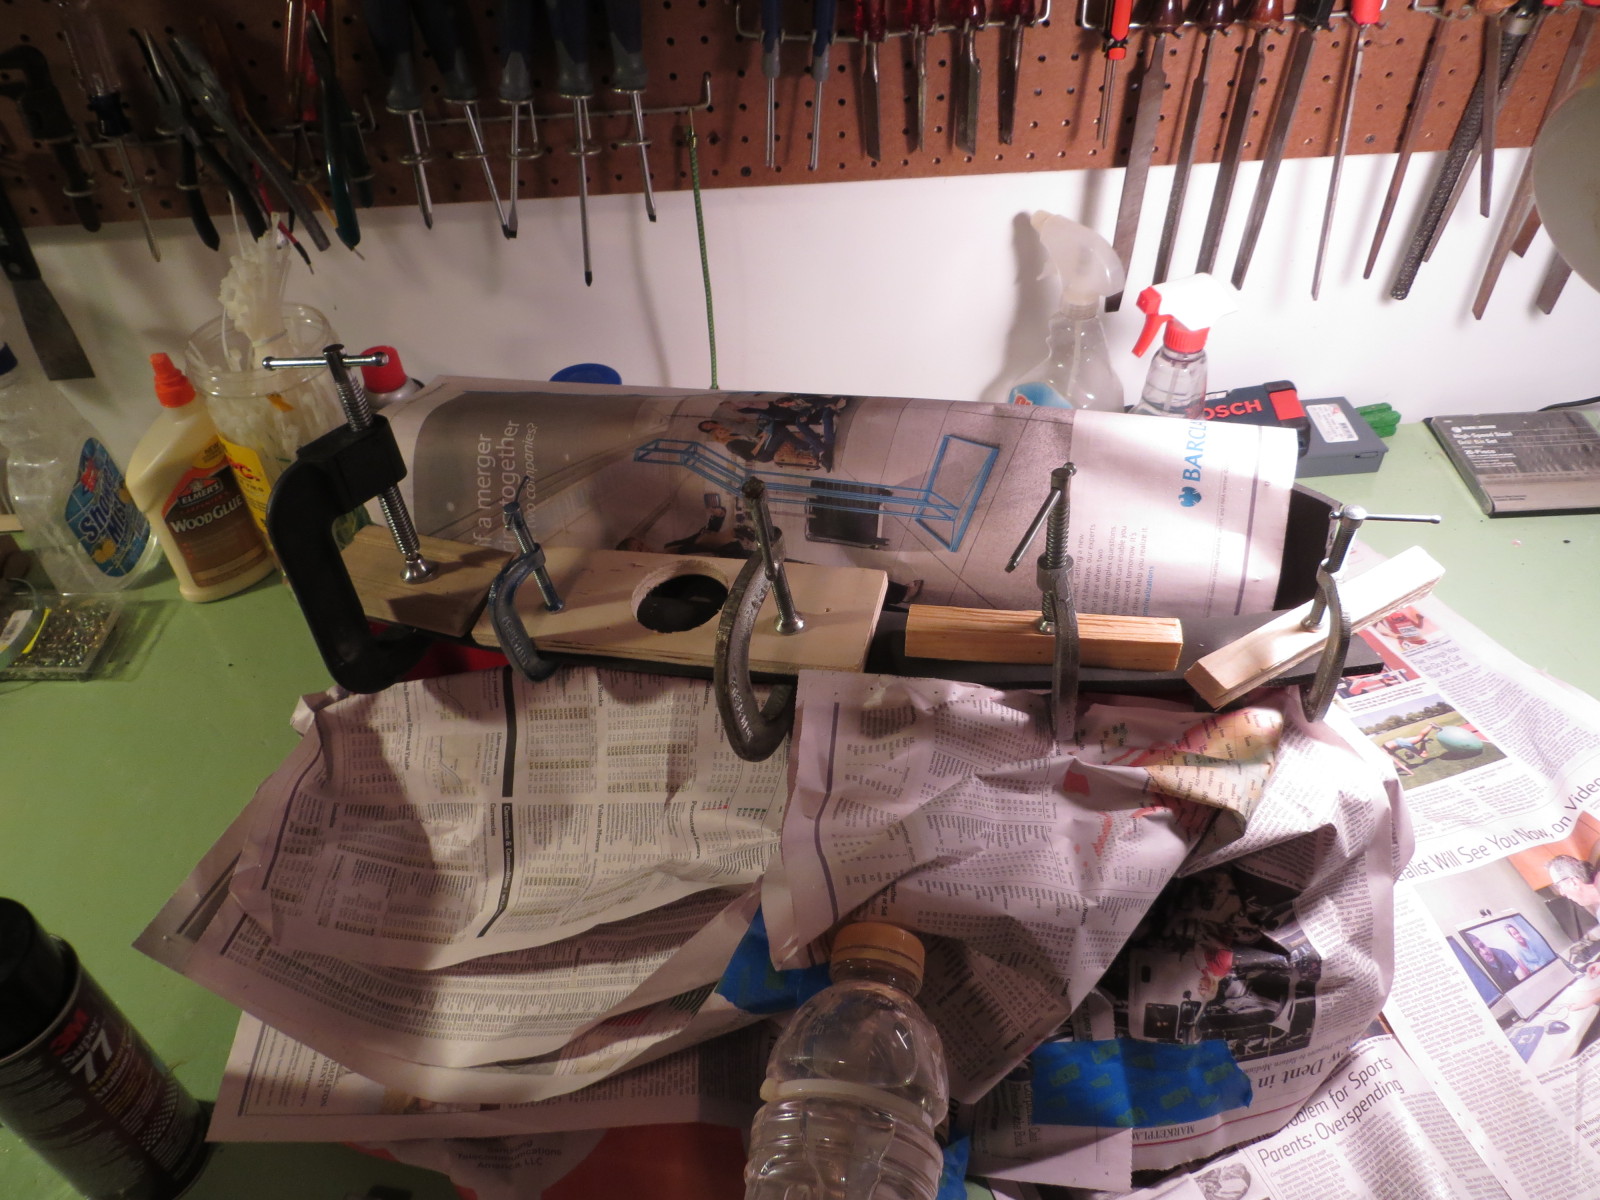
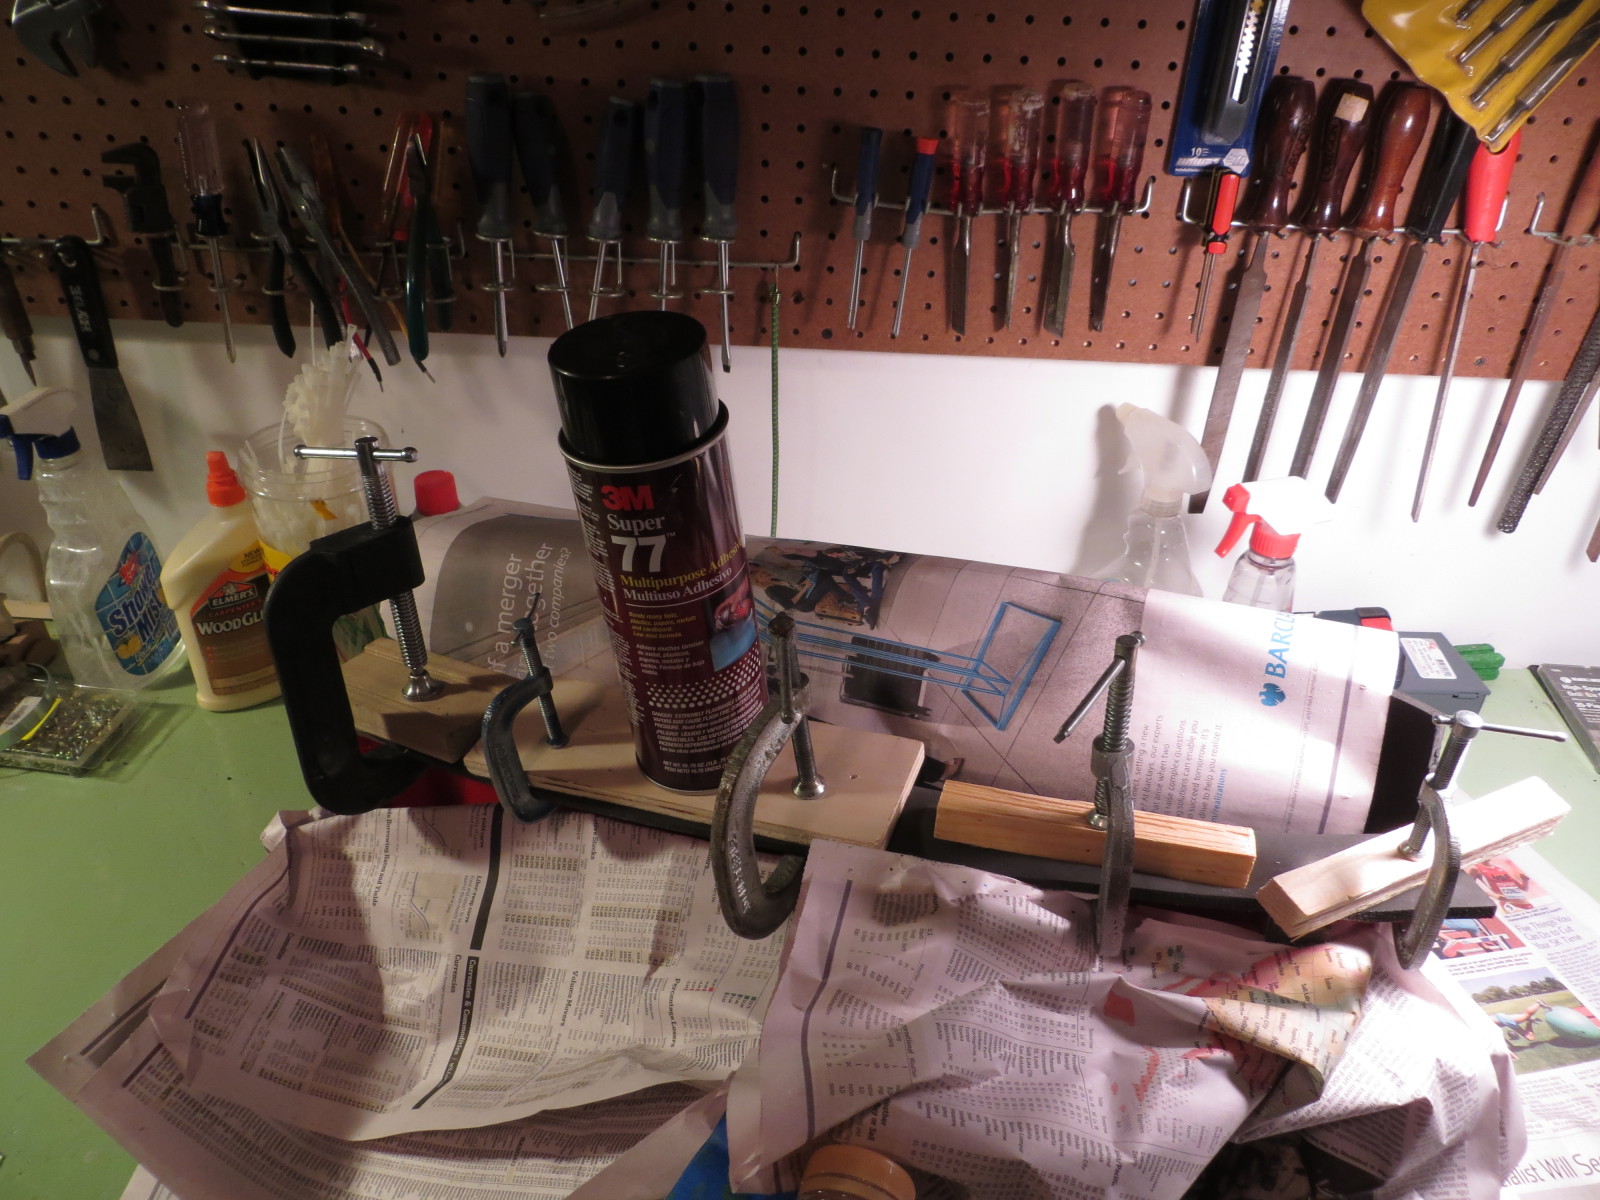
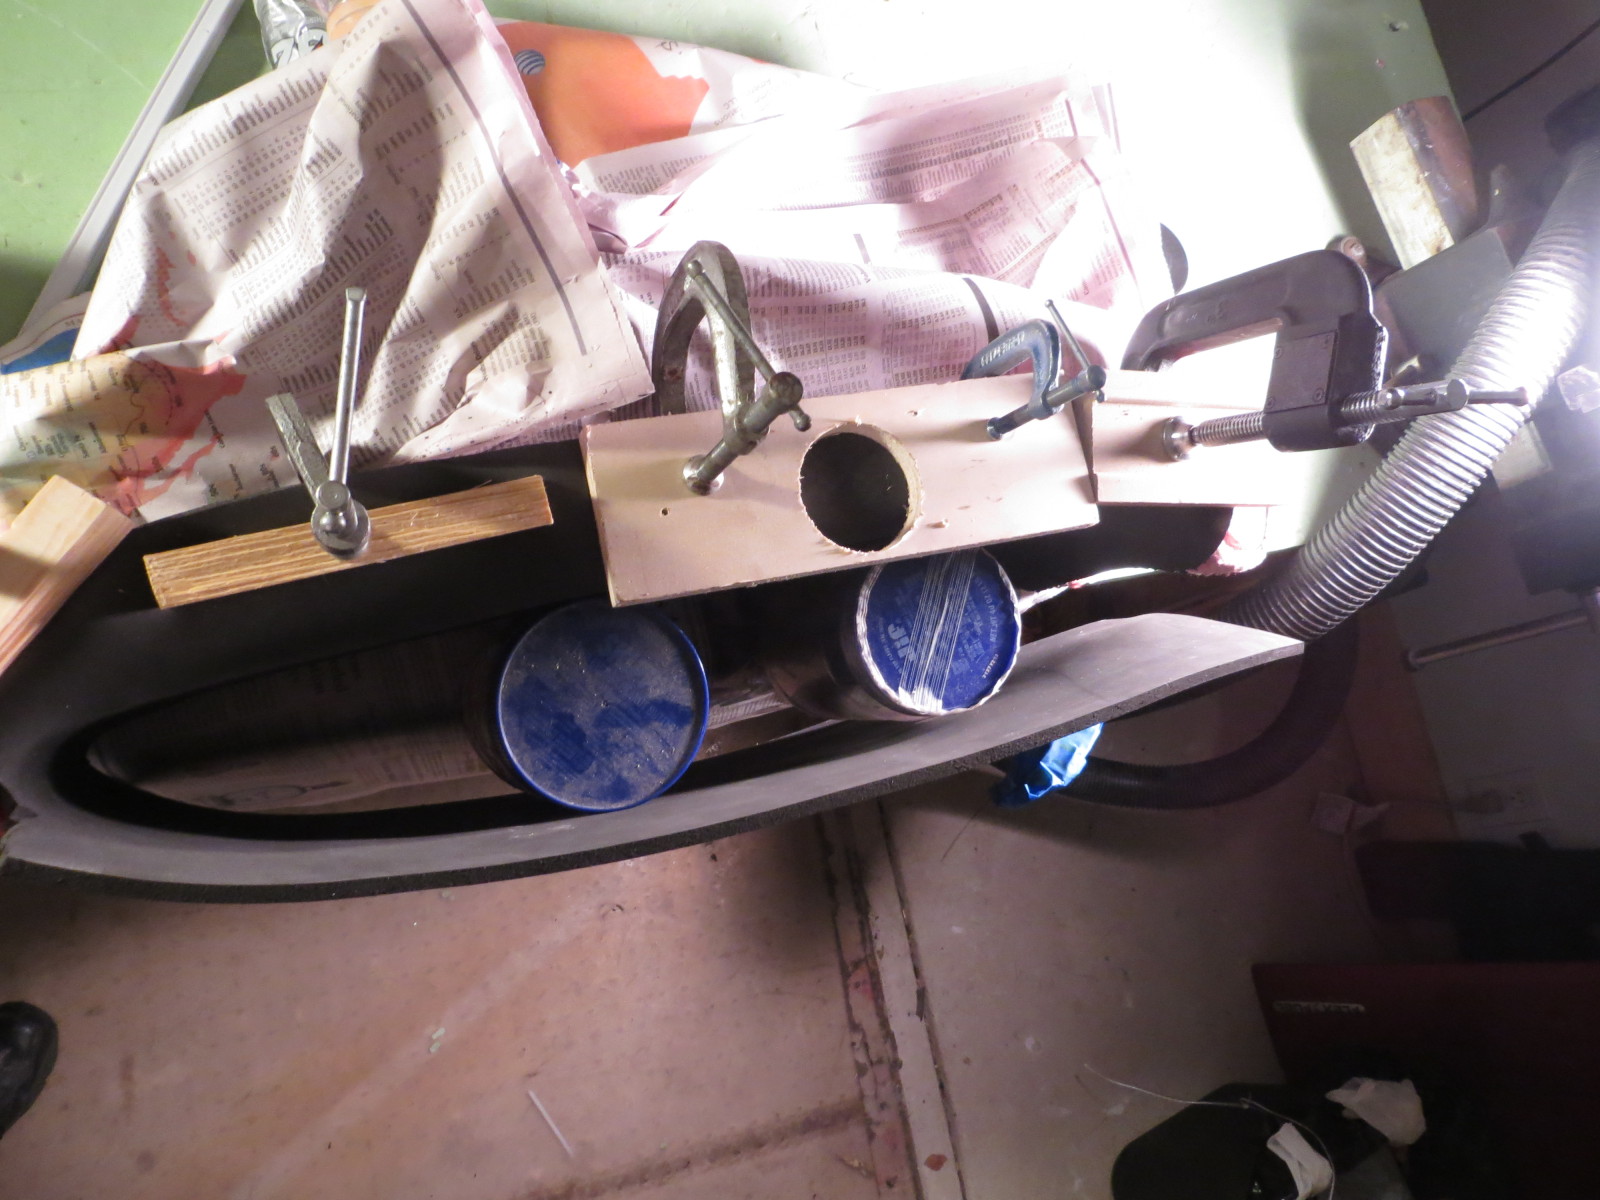
Step 5 – Foam rubber replacement: About a year ago, I did a similar (but much more extensive) wing wheel repair, after running over my old wing wheel with my glider trailer. In the previous episode, I broke the wing carrier into thee different pieces – and still managed to completely repair it. The reason I mention this here is that as part of that effort, I had to research sources for the closed-cell polyurethane rubber used for protecting the wing surface, and had already located a local company (Fournier Rubber and Supply Company here in Columbus, OH) that had 1/4 x 42 x 72″ sheets of the stuff in stock – yay! I was able to remove the old foam without tearing it too badly, and so used it as the template for cutting the new piece. After checking to make sure everything fit properly, I cut and glued it using 3M super-duty ’77’ spray adhesive, as shown in the following sequence. Optional Step 6 – install 1/8 x 1″ aluminum strips: I had originally intended to beef up the bottom half of the wing carrier with some aluminum strips, but after adding the fiberglass layer to the bottom half I realized it was going to be plenty strong enough without the aluminum strips, so I saved them for the next project.


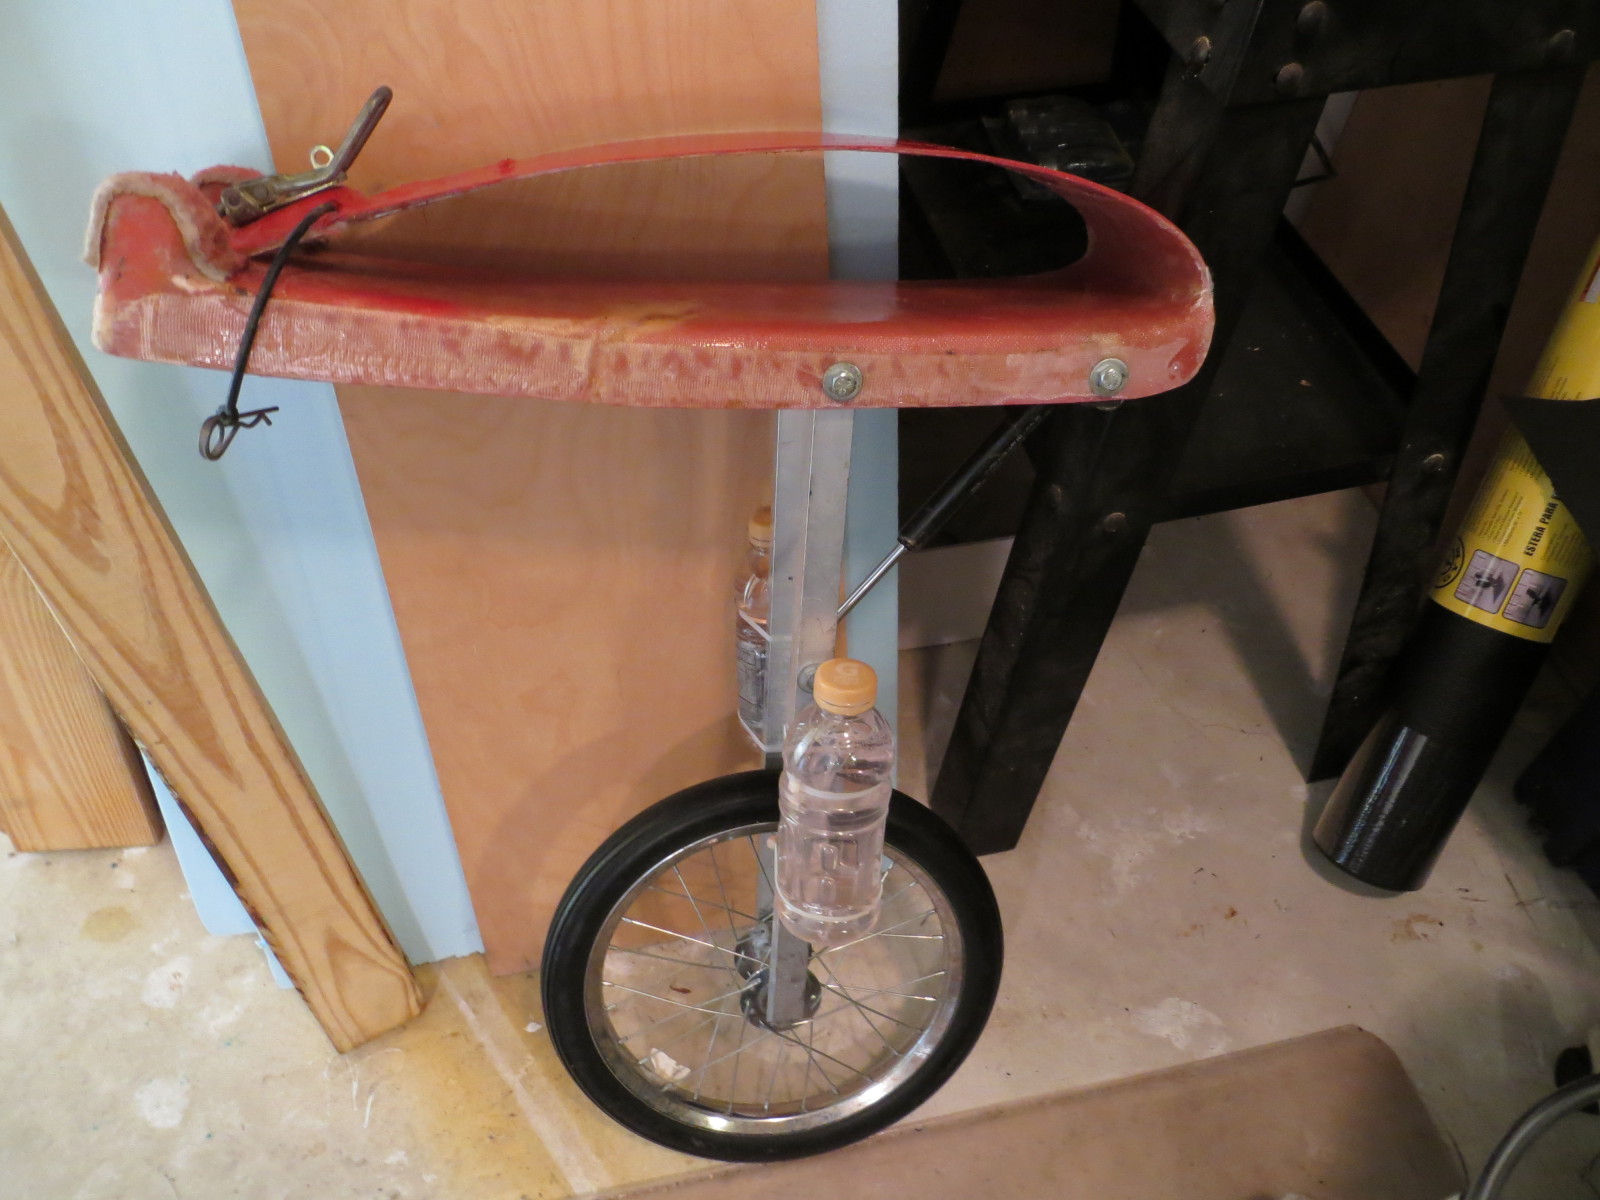
After the foam was glued and all the C-clamps removed, all that was left to do was clean everything up and re-apply my comp ID. The following photo shows the finished project. 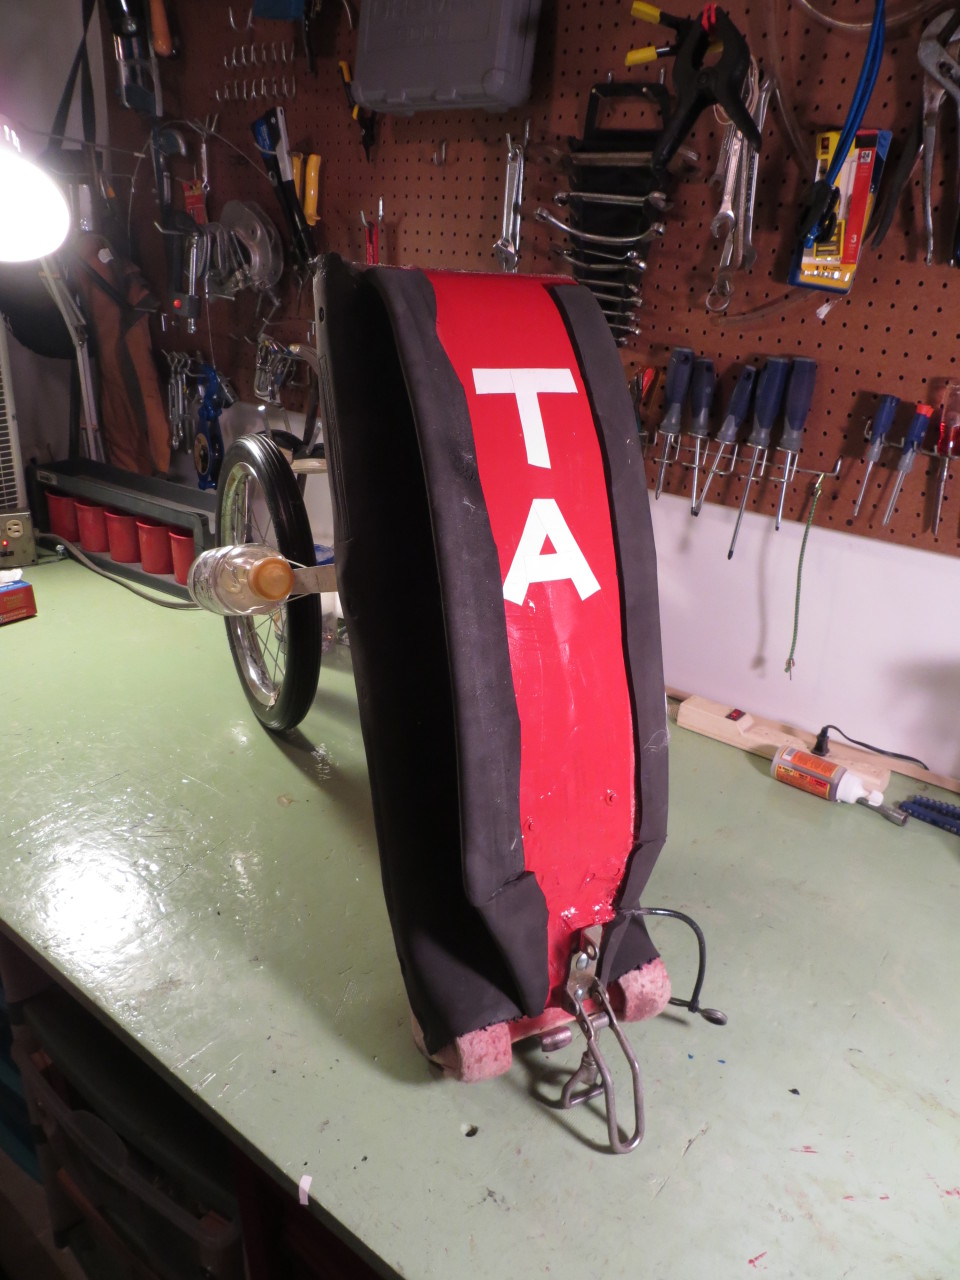 So, the moral of the story is – Don’t panic when your wing wheel gets run over. Even pretty extensive damage can be repaired with fiberglass cloth, lots of West Marine epoxy, and some elbow grease. Frank (TA).