Contents
So what happens after you landout?
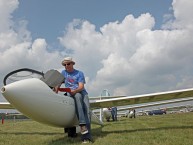
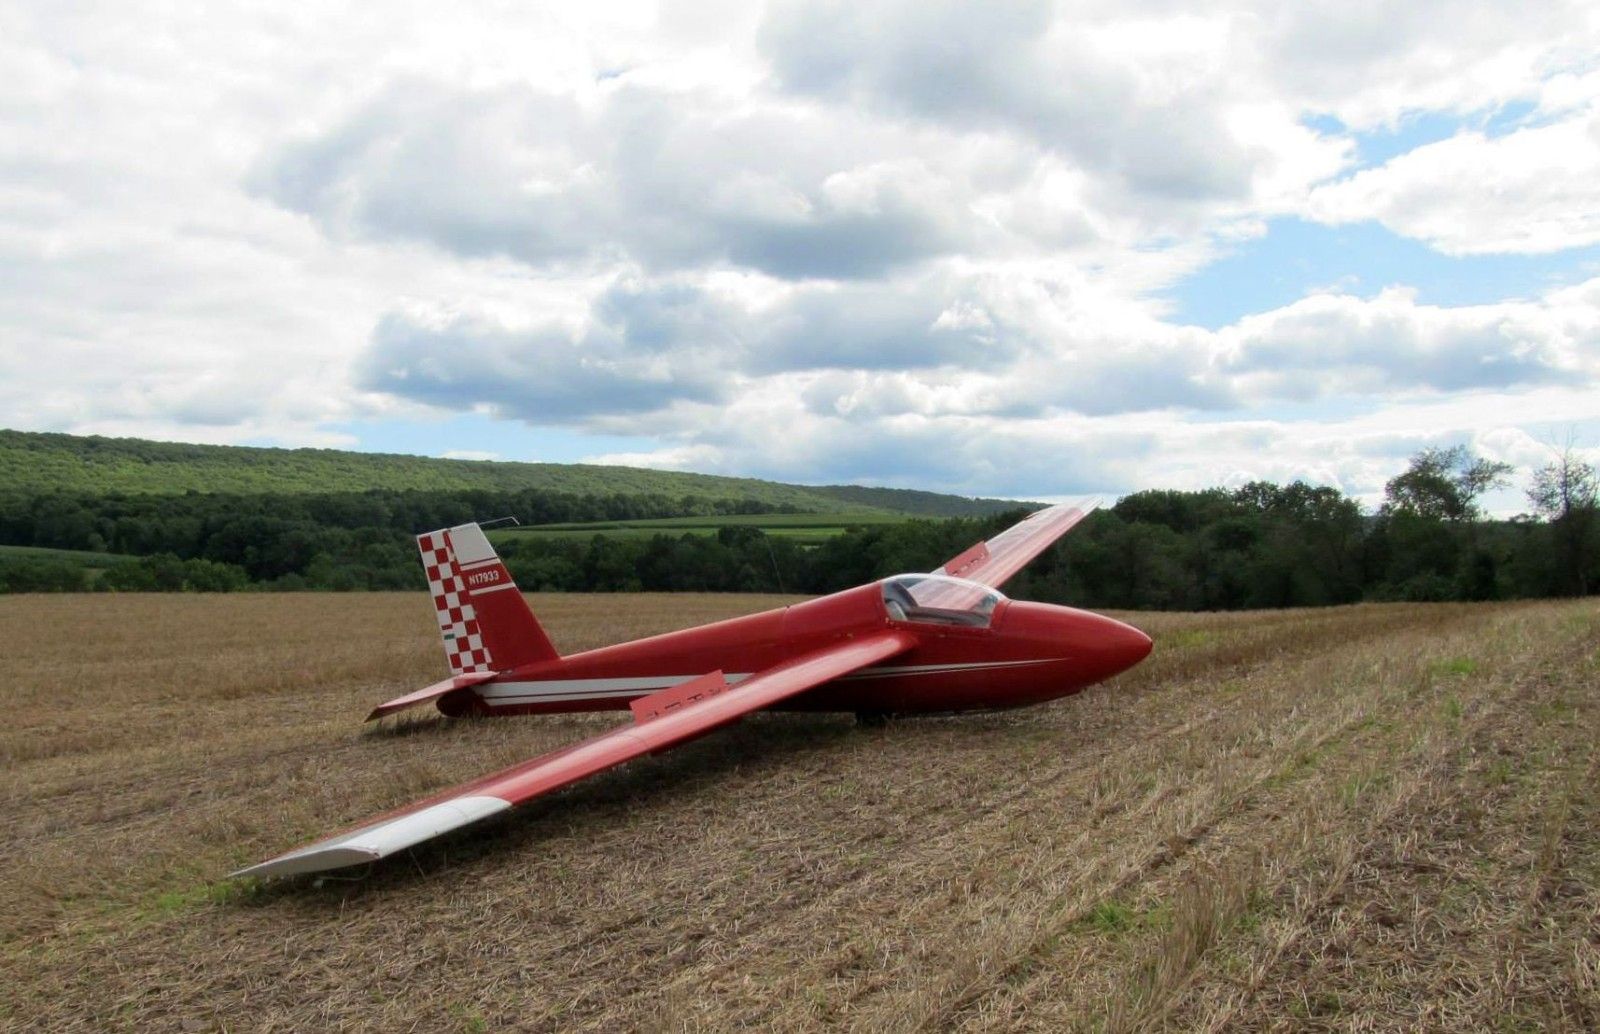
You’re in a field and have stopped, usually after a long frustrating grind. The dust has settled and it is now time for you to participate in the fabled adventure of a field retrieve. So what happens now? It is time to get you and your glider back to home! However, there is an ordered list of priorities that should be followed as closely as possible once you have stopped moving.
- Establish communication with a crew.
- Secure the glider.
- Establish communication with farmer/landowner
- Prepare glider for dis-assembly
- Position yourself near the point of entry for the field
- Take the glider apart!
1) Establish communication with a crew
If you had an accident or a very rough landing, stay in the glider and call 911. Otherwise, exit the glider, observe if any gliders are landing behind you and make room if necessary. Then, using a cellphone, satellite tracker or any other means of getting access, contact whoever will be coming to get you. Have your co-ordinates at the ready in the same format as the GPS that your crew is using to come find you. If there are any things that they need to do prior to coming out to get you, such as picking up certain tools, wing-stands, etc., now is the time to tell them. However, it is always best to have prepared your trailer and vehicle to be immediately retrieve-ready prior to flying, with all the tools ready to go, and the trailer hooked up. Being organized will make it easier for your crew and will also decrease the likelihood of issues later on.
2) Secure the glider
If it is windy, put your spoilers out and lock them with your seat belt. For a lighter glider that has a risk of the wings bopping up and down in the wind, take out the seat cushions and put them underneath the wingtips to protect them. This is especially relevant if you landed in something like corn stubble that is rather stiff and will scratch your paint if your wing scrapes against the hard and dry stalks.
If there is livestock in the field, they may have interest in your aircraft. The best thing to do is to leave your radio on with the squelch off so that there is a loud and unpleasant sound coming from the glider. This has been known to keep livestock away from aircraft.
3) Establish communication with farmer/landowner
Once the glider is secured, it is time to go for a hike looking for the landowner. Be sure to take with you a cellphone, hat, GPS, and WATER. It is likely to be hot and you’re probably dehydrated and fatigued after a long and tough flight. If you’re in a particularly humid place, it may be a good idea to have some bug-spray to use since without it you’ll look like you have the chicken pox by the time the retrieve is over.
The next step is to follow any tracks or paths out of the field to the nearest habitation. Keep as much distance from dogs and livestock as possible, for they can be dangerous. If there is a vehicle outside, there is likely to be someone inside. It doesn’t matter if this is the person who owns the field or someone else, because it is probable that whoever is inside may be able to help you get in contact with the owner.
Introducing yourself to the farmer/landowner
Always be very polite, as you are trespassing on their property uninvited until the situation is remedied. Not only is it rude to be nasty to the farmer, but it will also negatively impact any other glider pilot who may have to land in that same field some time in the future, so please be courteous and respectful. I always start off the conversation along the lines with, “Sorry to bother you but I have landed a glider in the field over there. Everything is okay.” In the rather unlikely event that the farmer/landowner is hostile to your presence, you can gently press that it was not an intentional event since the wind stopped and it was an emergency. This is no time to lecture the farmer about the specifics of the physics that keep a glider in the air, so keep it simple. If problems escalate any further, it may be necessary to contact 911 to assist, though this is almost unheard of. Bear in mind that these folks most likely have no idea what a glider is and what trouble and misfortune they are going to have to go through due to your unplanned and uninvited arrival. If you can belay these concerns immediately, you will most likely not have any trouble.
If you have landed in crop, it may require an insurance claim. Do not pay out of pocket, as your liability insurance exists for this very reason. While it may be tempting to pay immediately to defuse the situation, this provides a bad precedent for the future pilots who may land in the same field. Under most situations, even if there is crop in the field, you probably did not damage it substantially. This is mostly an issue in fully-grown corn/maize, which is not a desirable landing option in the first place. It would be best to call your insurance carrier as soon as possible and take photos of the damage you caused.
Information needed
Once you have introduced yourself, be sure to find out:
A) The address: Relay this to your crew ASAP as this will aid them in honing in your location. Your simple GPS co-ordinate tells them where your glider is, but NOT how to get to the appropriate place to enter the field.
B) The best and safest access point: You need to know where your crew can drive your trailer in order to access the field. Even if it is obvious to you where this place may be, be sure to still ask the farmer and keep him involved in the “decision-making” process. Remember, it is his property.
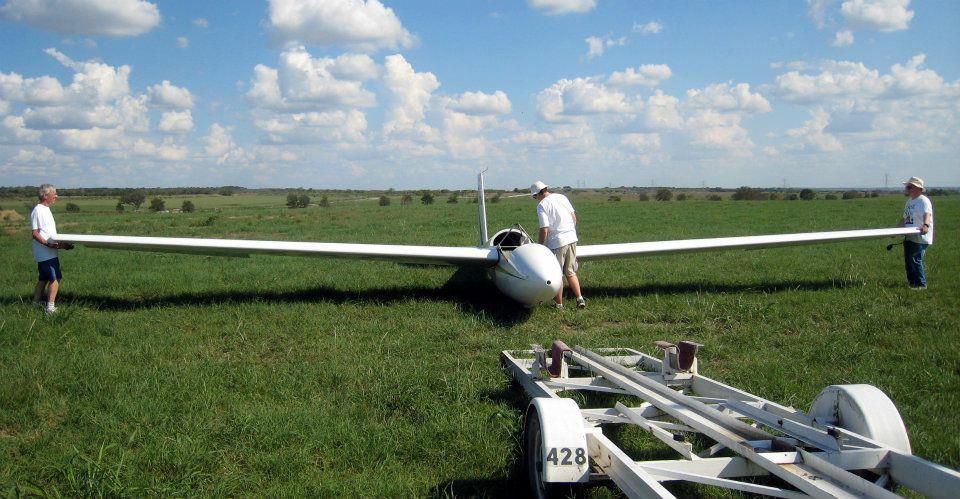
If the field is soft or if you landed in crop, you may require the farmer’s assistance to move the glider. AVOID MOVING THE GLIDER WITHOUT YOUR CREW’S HELP! Remember, you are in unfamiliar terrain with a person who is unfamiliar with ground-handling gliders. This is a perfect setup for a mishap. Also, bear in mind that your IQ has dropped at least 20 points due to the dehydration and fatigue you have experienced getting up to this point. Only, only, ONLY move the glider without your crew’s help as a last resort. If you do have to do this, think things through as far as you can ahead and take it very SLOW! Remember, it is not worth saving 20 minutes on your retrieve by damaging your glider in the process. It is always best to drive the trailer to the glider and disassemble in the middle of the field. The second best solution is to push the glider out of the field by hand. To pull the glider out with a tractor and a rope is often asking for trouble.
If a farmer/landowner could not be contacted, then relay the co-ordinates of a scouted access point to your crew. This is why it is handy to bring along your GPS when you’re going for the walk to the farmhouse. If there is a locked gate, you’re in trouble! The best, but most demanding way to solve this problem is to have a few more of your friends help you carry the wings and fuselage over the fence. It is advisable to put a carpet over the fence to avoid scratching the glider. The other option, which should be avoided if at all possible, is to cut the chain or lock in order to open the gate. For this contingency, you should keep a hacksaw or a grinder and a spare lock in your retrieve kit. It is not a bad idea to contact the sheriff prior to doing this as this can potentially run you into a lot of trouble. The best thing to do is to cut the chain, rather than the lock as the chain is usually easier to cut. Once you’re ready to leave, all you need to do is simply attach your lock to the two nearest chain-links from where you cut, thereby making your lock a new chain-link in the whole chain. Be sure to leave the key inserted in the lock.
4) Preparing for dis-assembly
After you made contact with the farmer, come back to the glider. If it is necessary to move the glider, then it should be moved as close as possible to the access point. If you can get the vehicle out to the glider, then prepare it for dis-assembly as much as you can. Your crew will greatly appreciate if you can do all the steps you can such as: taking cushions out, disconnecting the controls and batteries, removing piss bags and water bottles, etc. Remember to organize this stuff into a neat pile since it will be hard to locate things when it gets dark.
5) Go to access point

Your crew is showing up on the road, not by air, so it does not help them find you if you’re by the glider when they drive up. Stand by the access point when they show up since otherwise you will greatly complicate the retrieve process if you’re not there. The best scenario is to sit in shade, drink up (water) and relax. If you wander away, be sure to co-ordinate with your crew so that you are at the access point when they show up. Once you rendezvous, drive up to the glider with as much care given as possible to avoid damaging the farmer’s field/crop. Driving in the furrows in between the plants can often do this.
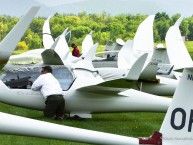
6) Take the glider apart
Now comes the most crucial task at hand: dis-assembly! But remember, you are fatigued and worn-out. Take things extra-slow to avoid mistakes. If the wings need to be put down in the field during the process and there is stubble or crop, be sure to “slide” the leading edge gently into the stalks. If you put the wing straight down on top of stiff stubble, it is likely to scratch the paint, or potentially pierce the fabric. Be sure to keep track of your tools! It is important to keep them all in the same place since it will be hard to find them later if they are spread out. Before leaving the field, do a thorough walk-around of the trailer, checking the security of the glider and to double check that all garbage and tools have been picked up out of the field.
If the glider you flew is a club glider, or one that is kept outside and it is your intention to assemble it the same day, remember that you are now doubly tired and that any help you will have is most likely going to be at least partially inebriated. Use caution accordingly and take things slow!
In the end, if you follow these steps as closely as possible and apply common sense where it is needed, you should be able to get the glider back to the airport safely in one… I mean four pieces! Good luck on your cross-country endeavors and the inevitable future land-outs.
(Author’s Note: I would like to thank the 1-26ers, Philip Chidekel, JP Stewart and Carolyn Buechly for helping me edit this article in both substance and style!)