 My passion for flying dates back as far as I can recall. I must have been the youngest subscriber to Flying magazine, devouring anything and everything I could get my hands on about flying. Interestingly, I had never come across the existence of gliders, despite all of my reading.
I received my private power plane license many years ago, (I decline to admit the year) on my 16th birthday. I flew as much as I could back then, but college and the reality of paying for renting an airplane on an extremely fixed budget, curtailed much of my flying.
I recently returned to skies, after a very long hiatus, when my wife suggested I go for a flight with a neighbor, who regularly flew to keep current. After only one flight I got the bug again and decided to do something I wish I had done many years ago, add on an instrument rating. While that rating is irreplaceable and makes me a much safer pilot, it did not make me a better stick-and-rudder pilot. Certainly, I could fly in IFR conditions and follow procedures well enough, but I felt my flying needed something.
After some research I found some information on soaring. I surmised that flying gliders should make me better at stick-and-rudder pilot. With some diligent searching, I found a club not far from my home, the Eagleville Soaring Club in Eagleville TN, just south of Nashville (eaglevillesoaring.org). The club has two great aircraft, an ASK-21 and an ASK-23. The ASK-21 is a marvelous flying airplane, fully aerobatic and a lot of fun to fly. Check out some of the aerobatics on their YouTube Channel: www.youtube.com/user/eaglevillesoaring
Acquisition
I took my first glider flight in late September 2012 and was immediately hooked. In fact, I was so captivated that only two months later in November 2012 I decided to purchase a glider of my own! The decision on what to buy probably took up most of this time. There were endless tradeoffs, weighing factors like cost, performance, ease of assembly, flight characteristics, etc. For a newbie it was very confusing.
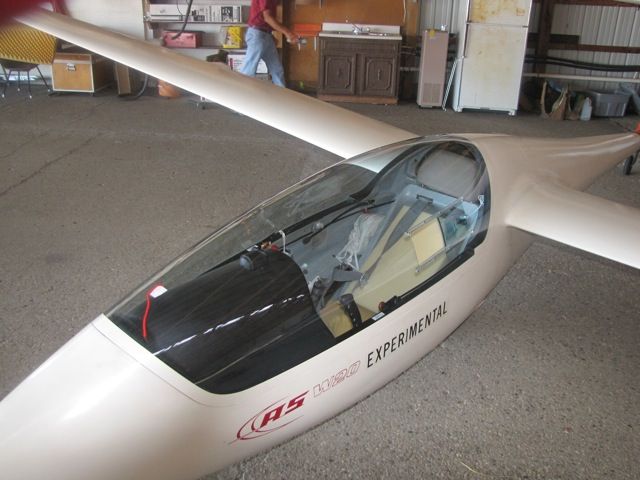
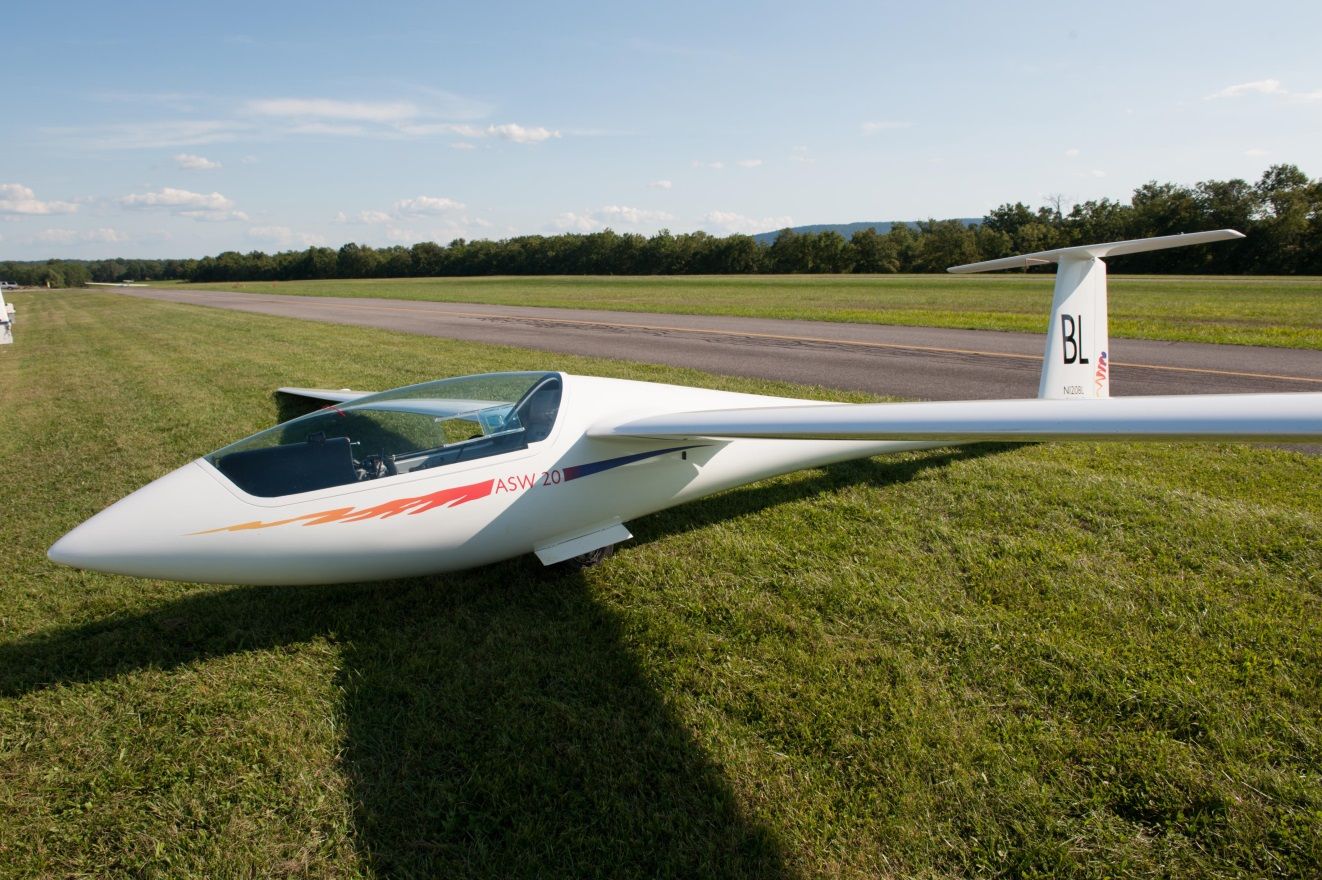
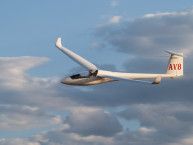
After seeking much advice, I decided I wanted an ASW-20. A very good buy for the money, respectable performance, fully flapped. I found one online that seemed to be in good condition and not too far from home. I spoke to the owner a number of times and decided to go for it. Once I finally laid my eyes on it, I was thrilled to find it in better condition than I had hoped; no damage history except for minor hangar rash.
I was very fortunate in the acquisition process; my instructor, Gary Davis, was also the owner/operator of GDX composites, a certified A&P. I could not have made this purchase or accomplished what I have without Gary.

As you can see from these few pictures, it was a beautiful aircraft. While there was no damage, it needed work. A short list would be:
- Exterior paint
- Interior paint
- Avionics
- Cleaning
- The trailer
The work began immediately.
Refurbishment
I purchased BL in November, perfect timing for an extended maintenance cycle. At this point in time I was flying the club ASK-23 solo or the ASK-21 with my instructor working towards my check ride.
Paint
External
The first thing to address was the heavy crazing of the original gel coat. Although you cannot tell from the pictures, all of the paint was cracked and felt like coarse sandpaper. Not to mention it had yellowed quite a bit. Up close it was not a pretty site.
There are a number of articles on the recoating process, so I will not go into too much detail. Albeit simplified, the steps are straight forward:
 1. Sand the existing paint until you create a solid base for the new coat of paint to adhere to. This part of the process is fairly simple; sand and when think you are done, keep sanding. Get down to a clean substrate that has no cracks in it, but not into the base fiberglass. You do not need to remove all of the gel-coat but sand until you no longer have crazing.
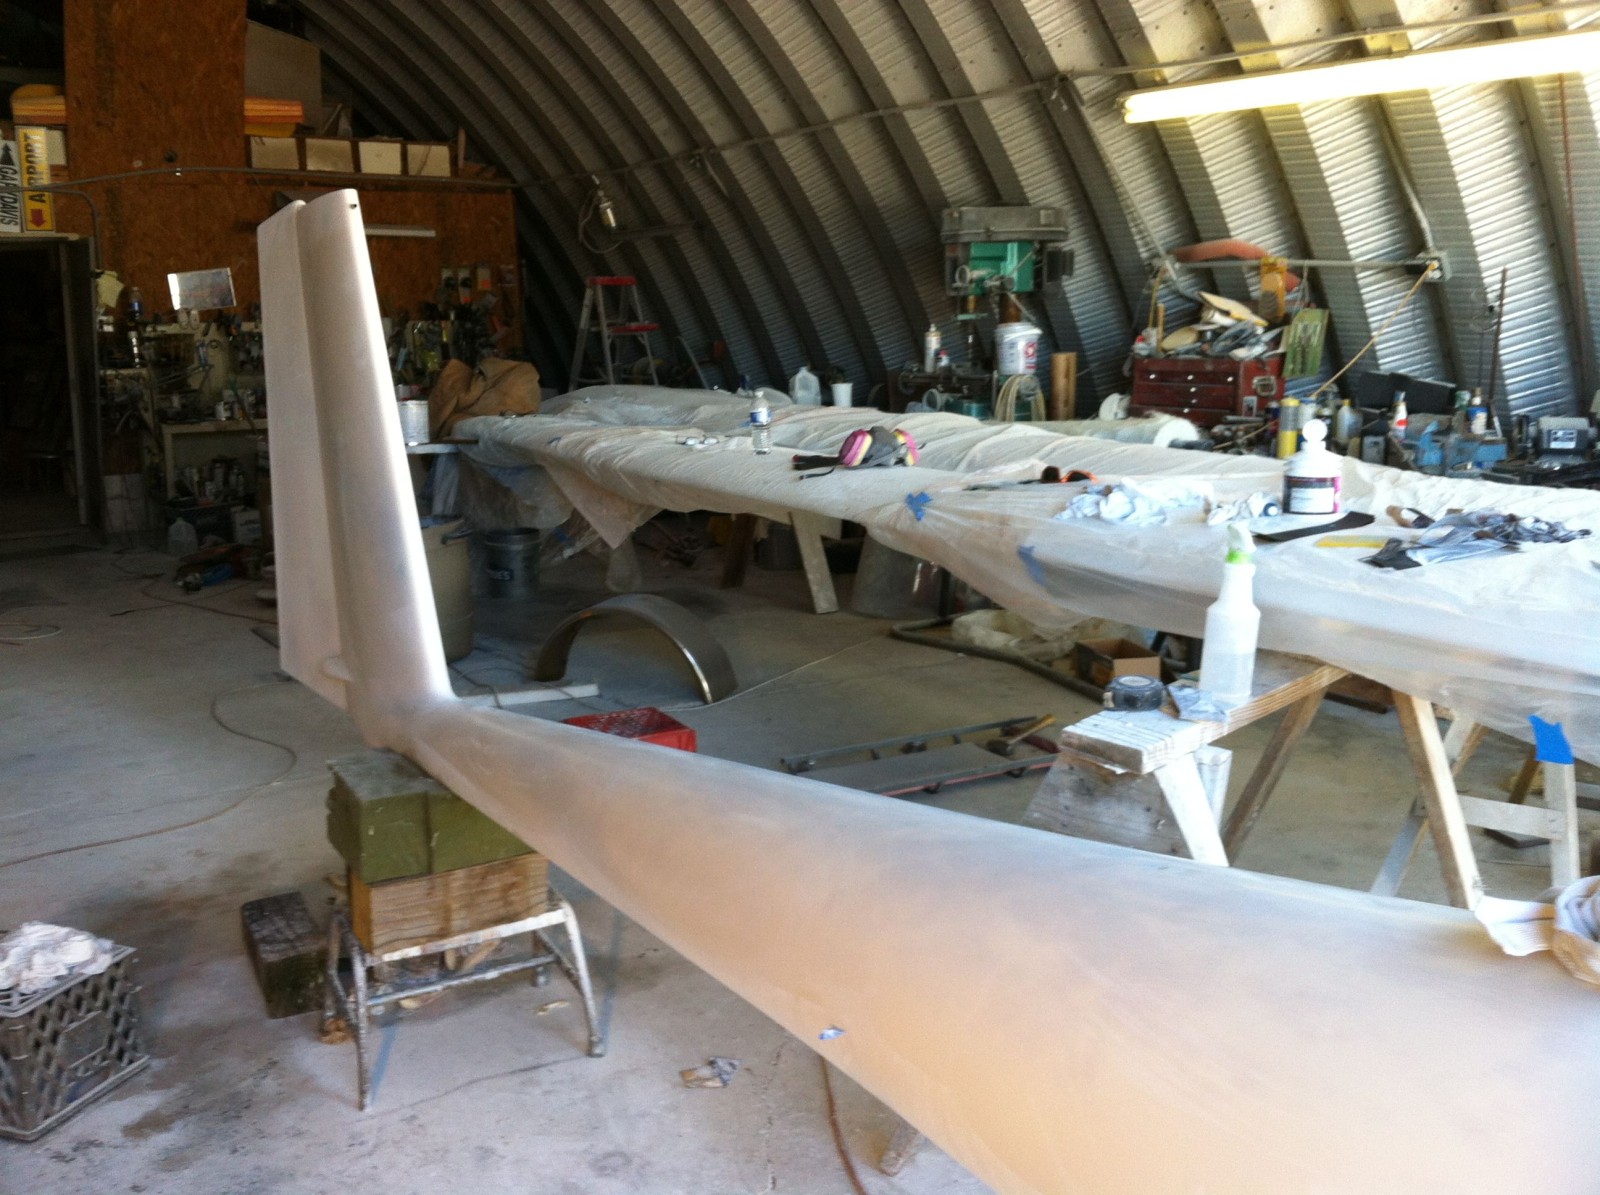
We used two orbital sanders with a fairly aggressive 80 grit, but used very low pressure. Remember, you are working on a curved surface. We then us ed a more reasonable 120 grit on a large profiling bar and a healthy helping of elbow grease to get a smooth surface. There is not much opportunity to rush this part of the process, this base sanding sets the stage for how good your paint will look.
2. Painting came next. Gary convinced me to put extra money into a top-of-the-line epoxy paint. We used a PPG paint that should last more years than I will be flying this aircraft. It was incredibly expensive but Gary assured me it was the best.
Here I would recommend letting an expert do his job. While applying paint can seem like an easy task, it is easy to botch up. Gary ran into delays working around the cold weather, but finally got the entire plane painted.
3. Once Gary got the base coat on it came to profiling and buffing the paint. It is incredible that you can take a paint job that looks good and make it look unbelievable. The process is easier than you can imagine.
Start by using a small sanding pad; a half inch think piece of soft foam designed to gently back sandpaper. Wrap the sanding pad with 2000 grit wet sandpaper and keep the surface wet while sanding until you get a very smooth surface.
When you start sanding, listen and feel how the sandpaper drags on the surface. A paint that has orange-peel will drag less than one that is flat. The idea is to take the very small imperfections in the paint out to make a flat surface. Not to take a lot of paint back off! Light pressure and liberal amounts of water are key. Again, feel and listen to the sandpaper, it really talks to you.
If you are not certain if you have sanded enough do not worry. Go ahead and do the following buffing step. If you do not like the outcome then go back to sanding some more.
 4. Buffing is the last step. While I am sure it is possible to do this by hand, I have no idea why you would want to. Wax-on / wax-off may be good exercise for Mr. Miyagi, not for me. Go to an automotive store or online and buy a decent buffing machine.
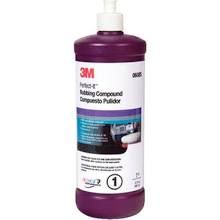
Begin by using the new buffing machine and 3M buffing compound. Despite using a power buffer, it is still very hard work. Working in approximately 2 to 3 foot square areas, following the directions on the container, buff until you get a shiny smooth surface. This took me approximately 8 hours.
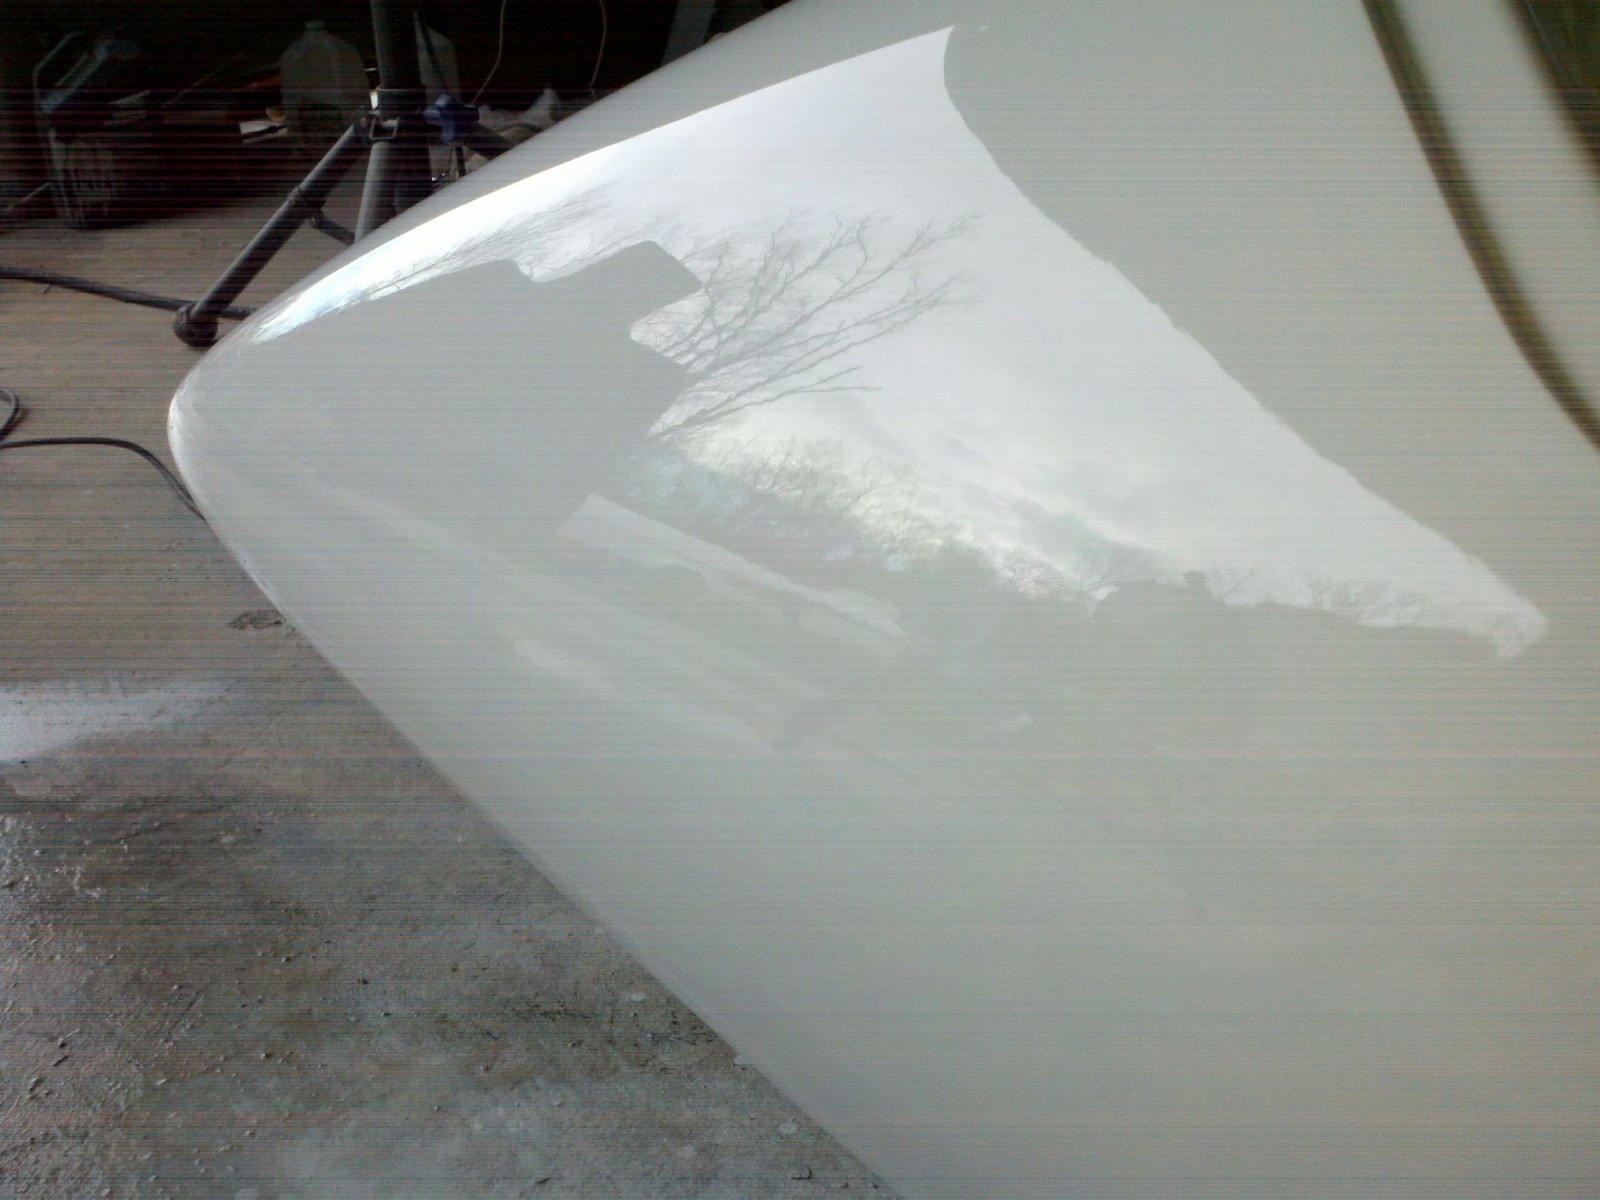
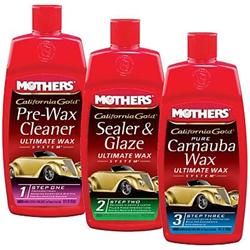 At this point you can call it done, you do have a smooth shiny surface. I wanted to take it a little further so I decided to follow the buffing compound process with the Mother’s 3 step polishing process that finishes with Carnauba wax. It gives it an unbelievable shine while protecting it from contaminates. Cleaning it is easy since nothing sticks to it.
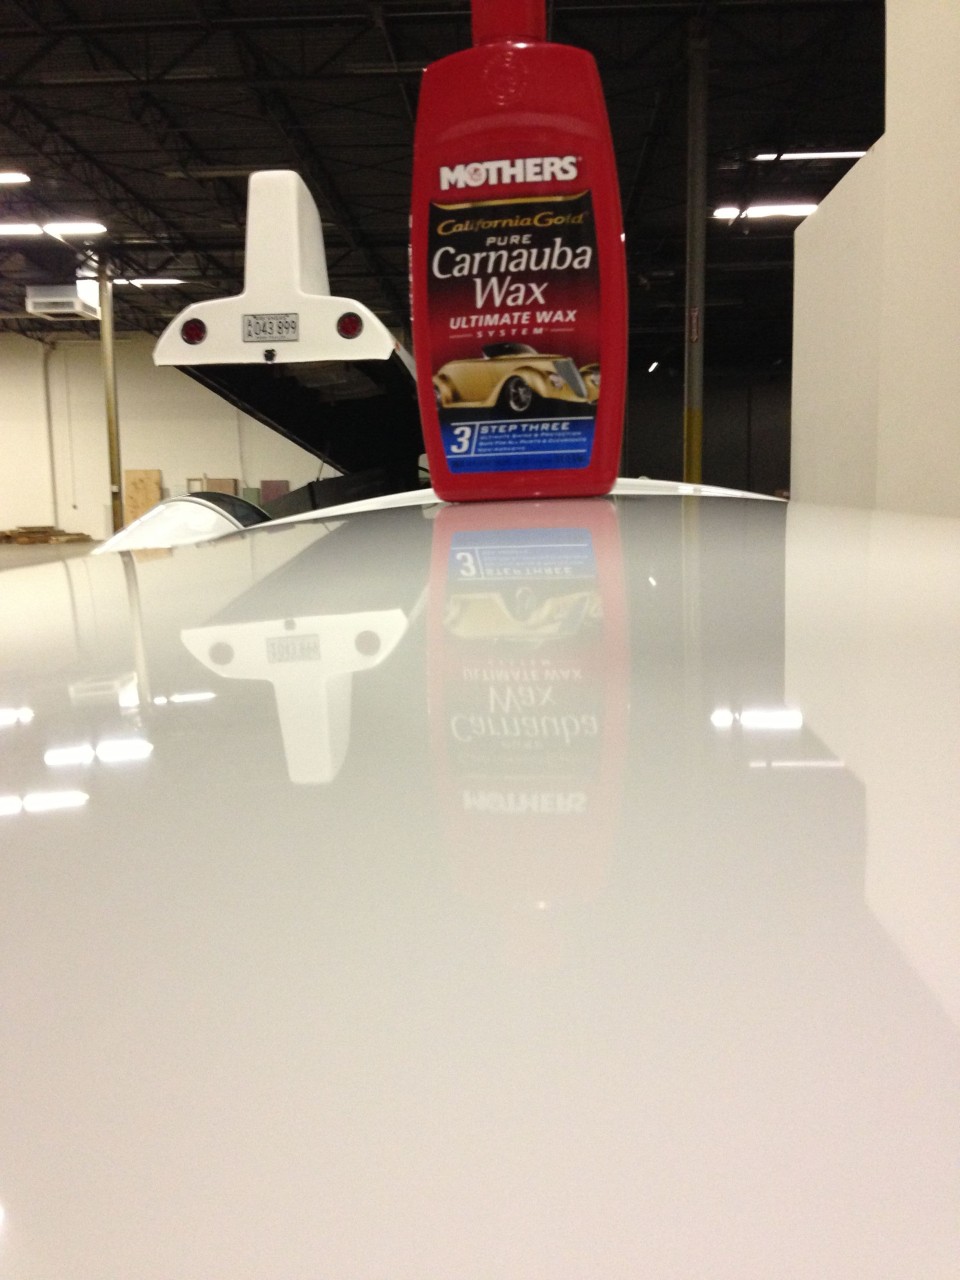
I used the same buffing machine (changing pads of course) for each step of the process. Although these steps did not take quite as long as the base buffing did, it still takes some time. But as you can see from the picture on the left, it came out great.
 One thing I did not do, but in retrospect wish I had, was install the gap seals on the glider before applying the final wax. I did have some problems with the tape not sticking despite my efforts to remove the wax in those areas.
Internal
The interior of the cockpit needed as much care as the outside. It was very dirty, to say the least.
After I pulled out the old avionics and all the removable panels, it was very evident that these areas had not been cleaned out in quite some time. There were indescribable remnants of critters among other things that roam around quiet hangars. The entire inside of the aircraft got power washed and cleaned.
While I had everything out, I removed old hoses and wires that were no longer being used. I purchased new pneumatic hoses and, except for what went through the tail, it all got replaced. We finished the interior with a coat of grey epoxy paint.
Panel
Bravo-Lima spent quite some time stored in a hangar. The avionics were probably state of the art at some point but they screamed to be updated.
Here, my power flying experience really helped. I received my instrument rating using a plane equipped with a Garmin G1000 glass cockpit. These new glass cockpits are incredible. Some people claim I cheated on my instrument rating by using the G1000! Having a glass panel cockpit with the highly enhanced situational awareness spoiled me. I wanted to have the same level in my glider.
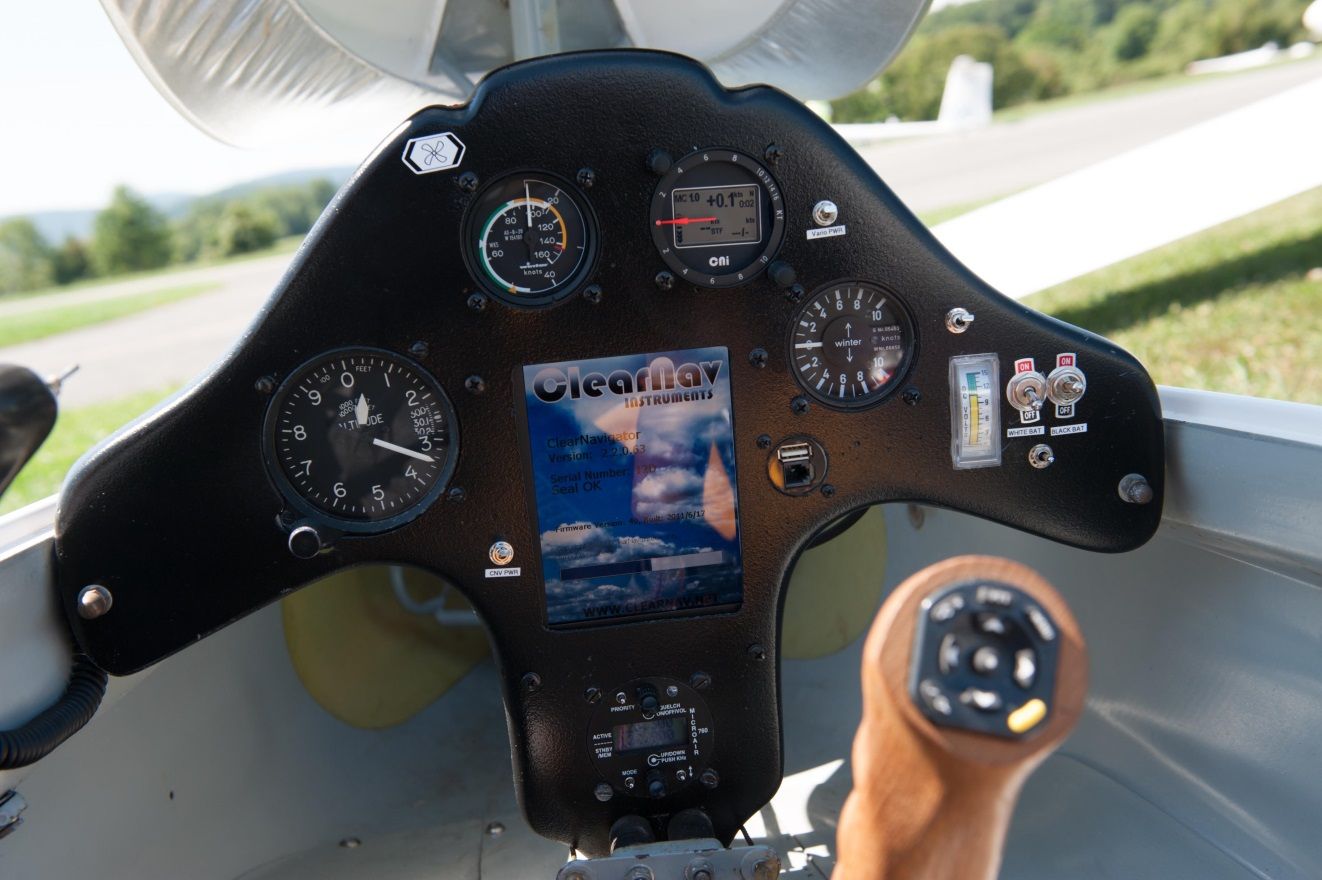
I reviewed and studied several options and ended up with the ClearNav system. I opted for both the ClearNav display and vario, hoping for optimization between the two instruments. ClearNav is a US based company that tailors its equipment for US style competition. They are fairly new and as a result are constantly developing updates and enhancements. It has a great display and tons of features I am still learning how to use.
Without spending too much time on the topic of flight computers, I strongly suggest you not only do your homework, but talk to others. If possible, fly using different computers to see what appeals to you. One feature I would highly recommend (that ClearNav does not have yet) is the ability to use the computer tied to Condor Glider Simulator. Learning how to use all the functions, and what to expect to see on the flight computer, is much easier in a controlled setting like a simulator.
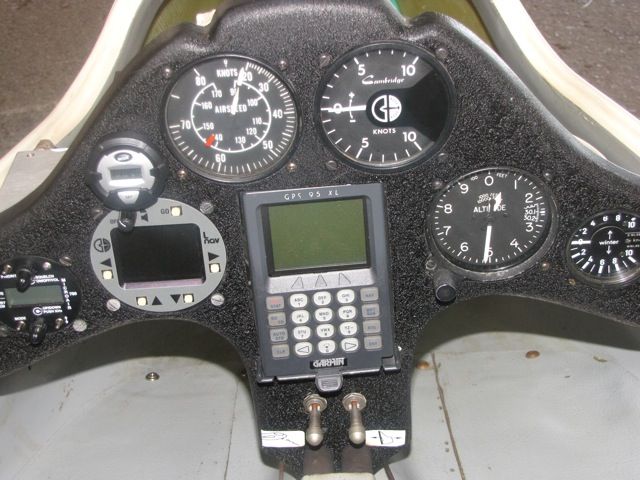
While power planes have expansive instrument panels that can accommodate many instruments and backups, a glider instrument panel does not have much real estate. And back in the 70’s when these gliders were designed, they did not give much thought to flight computers. In Bravo-Lima I wanted to install:
- Airspeed
- Altimeter
- Mechanical Vario
- Electronic ClearNav Vario
- ClearNav flight computer
- Radio
- Transponder
In order to fit all of this I needed to create some real estate. First step was to buy a smaller airspeed indicator. Although this was a help, it did not solve my problem. Gary took my existing panel and using a series of molds, he made me a new panel with a wider base that let me fit the ClearNav display. The one in the picture is the proof mold, a carbon fiber version is on its way.
I did install a FLARM core that plugged into the ClearNav display. It gives me full FLARM functionality without any additional panel space being used.
Canopy
Although there were no major dings or cracks in my canopy, there were a number of imperfections. Also, in the process I did manage to get some paint on it as well. I tried everything to clean the canopy but had no luck. One mark that was on the top of the canopy needed immediate attention and in the end I attacked it with sandpaper. Yes, sandpaper…
 What I discovered in the process, is that there is much you can do to repair small damage to your canopy. Grab some 2000 grit wet sandpaper and gently sand out the imperfections. Feather out your sanding patch, you do not want to make a small indentation.
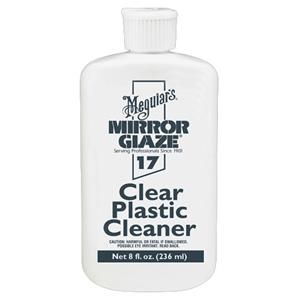
Once you have the imperfection out, use Meguiar’s Mirror Glaze Plastic Cleaner with a microfiber application pad. Here I did not use power tools but muscle power. With patience and a good bit of time and effort the canopy looks new. There are no signs of the imperfections or scratches.
Decals
A bright and shiny all-white glider sounds great but lacks any wow factor. I felt it needed something to make it unique and mine. I spent hours searching the internet for pictures of gliders that would inspire me to trick out Bravo-Lima. This proved to be harder than I thought, but I finally ended up loving some decals that I believe came on some new gliders.
The most difficult part of the decal process was finding a company that could take small pictures of different gliders and combine them into what I envisioned in my head. There were many design iterations dragging the process out for months.
The actual process of applying the decals was quite simple. Here again prep is key. First the surface needs to be very clean. Try to remove as much of the wax you have on the surface as possible. I used rubbing alcohol. Then use blue painter’s tape to mark the locations you want the decals Try to measure where possible to make the two sides consistent.
Once you have the decals positioned where you want them you will peel off the backing but not place the decal on the surface. Pick an edge and put the edge on the surface. Holding the other end of the decal and using a credit card, slowly work the decal onto the surface with the edge of the credit card. If an air bubble gets caught under the decal, peel it back to the bubble and restart the process. This takes time.
All this time you may be thinking that I lucked out finding an airplane with the N-Number and competition ID that matched my initials. Nope, I had to apply for my own FAA registered “N” number and an associated competition ID. Although it seems doing anything associated with the government would be painful, once I found the right forms it was pretty simple.
Trailer
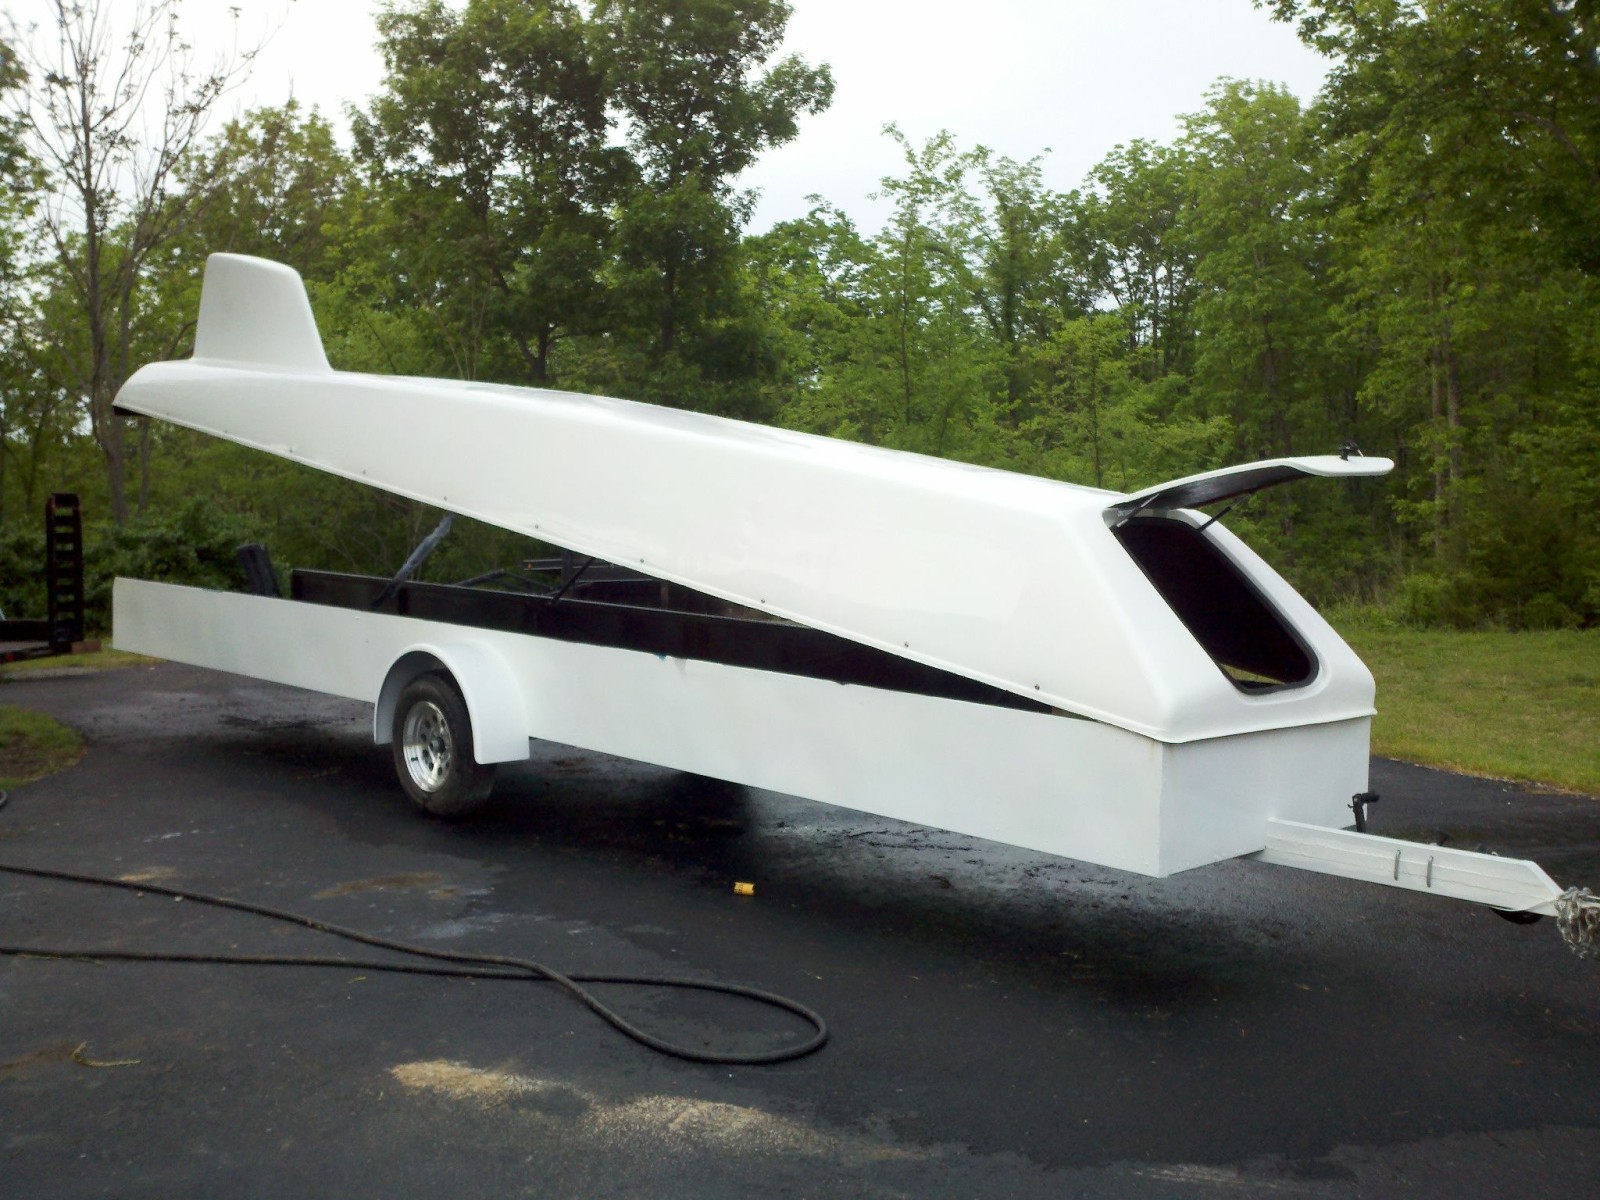 The trailer that came with my glider was in far worse shape than the airplane. It was constructed of ¾ inch marine plywood and must have weighed 2000 pounds empty. It was tough getting in and out of and needed too much work to be worth dealing with. It had to go. Here again, Gary stepped in. Gary’s company also builds exceptional glider trailers.
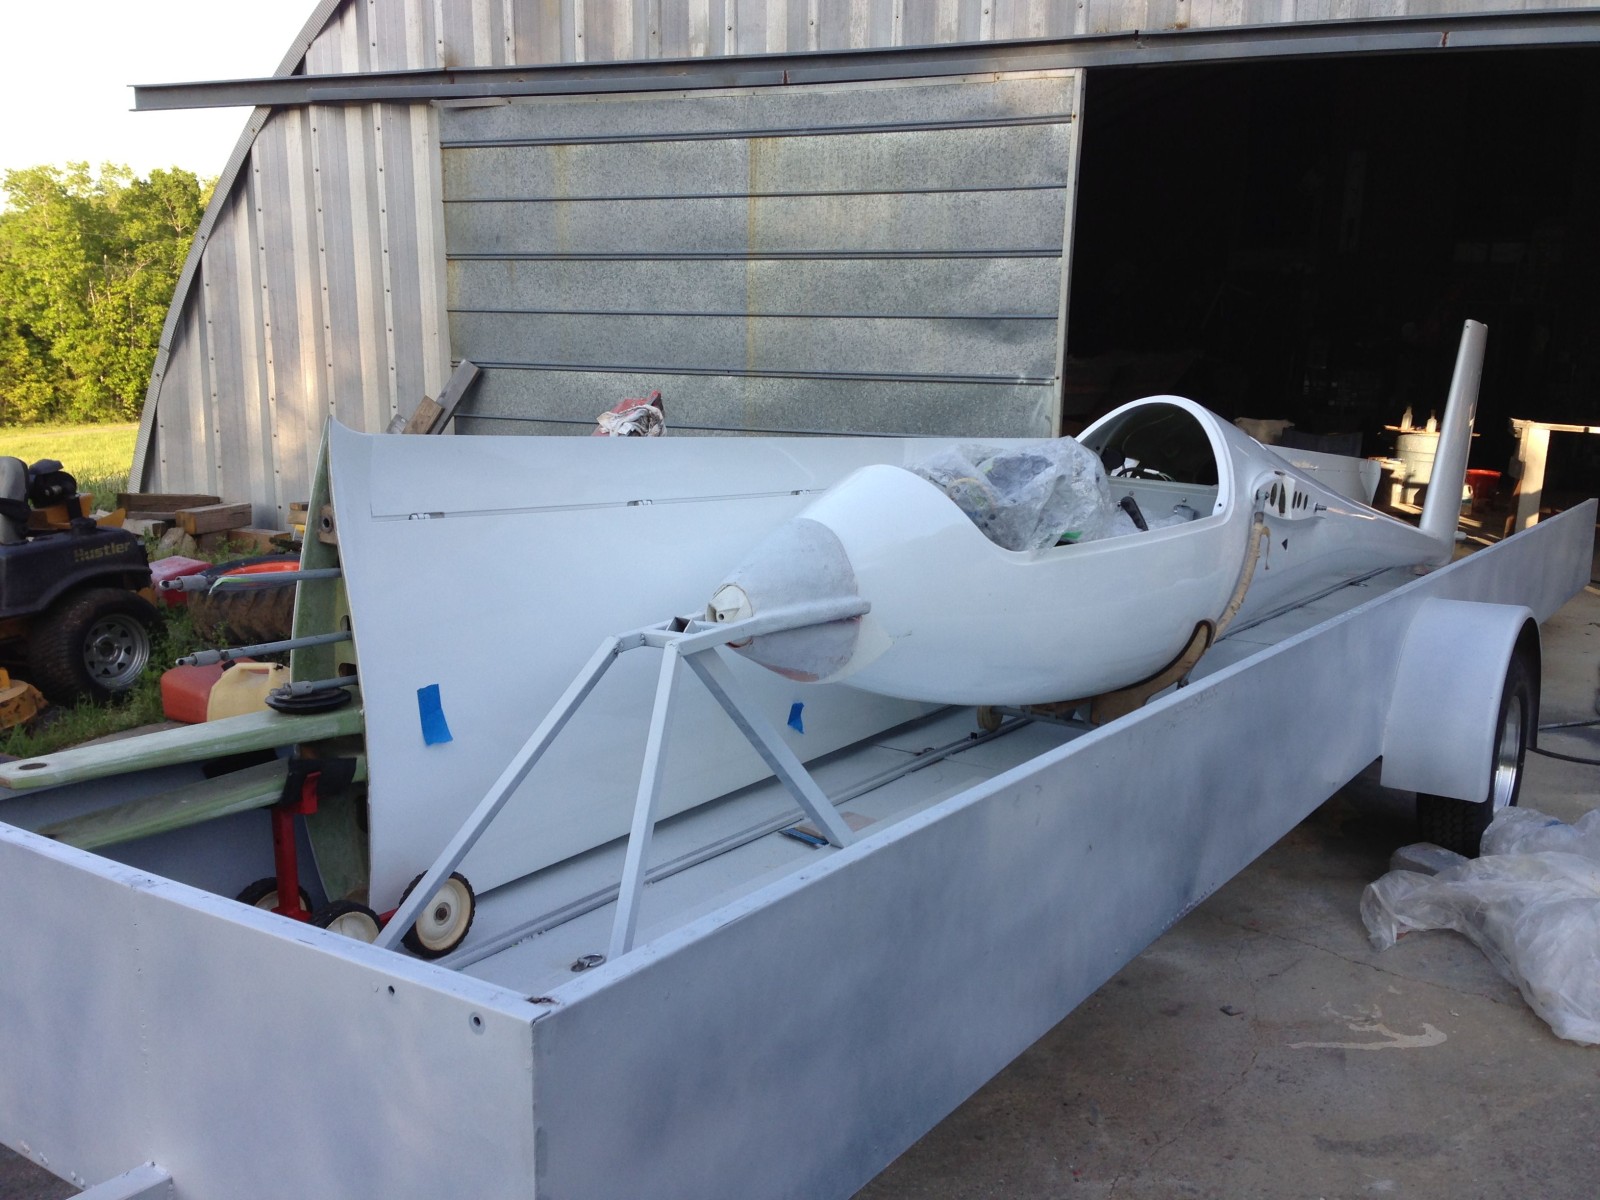
One thing I learned in this part of the process is that a lot more goes into a trailer than you would think. A shell of a trailer is only the starting point. How do you hold the wings? How do you secure the fuselage? Where do you have storage?
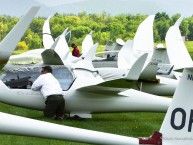
Having the aircraft disassembled and easily accessible helped this process along. There were a number of trial fits and tests to make sure everything worked.
The trailer is very solid with heavy duty frame construction and axle. I asked for the option of brakes which I would strongly suggest. It takes a lot of pressure off your car’s brakes and gives you a little cushion in stopping distance.
Final Comments
As I mentioned in the beginning of this article, I am very new to gliders and am completely enamored with the sport and experience. I try to sell anyone who will listen on the advantages of flying gliders. If you are just learning or want to learn to fly, it is an easy, economical, and functional way to get into aviation. Even if you are a seasoned pilot, gliders will improve your flying skills.
What I find surprising is the lack of good information out there for novices. While there are a few good books, which I have read nearly ten, in my mind they fall short. While I agree that experience is the best teacher, I also think you can learn from someone else’s trials, triumphs, and mistakes.
Organizations like AOPA do little or nothing to promote this area of GA, despite their charter to promote GA. You do not see articles in AOPA magazine about the benefits of gliders, or how incredible this sport is.
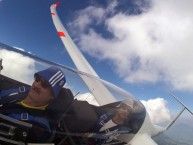
In reality, the inability of spectators to more closely observe and enjoy the events does not help. From their perspective all they see is a takeoff and landing followed by “someone” winning. I have tried to make some videos from the cockpit and wing perspective to give my family some flavor for what it is like to fly, but they lack the true sensory experience of being there. I am happy that there are people who are working on technology to help spectators engage in the sport.
On the flip side, are all of the great pilots out there who are more than happy to shepherd new pilots through the learning journey. Being part of great clubs such as Eagleville Soaring Club, and more recently, Mid Atlantic Soaring Association have brought camaraderie and learning that is invaluable.
As I approach my first soaring anniversary, I really want to thank those people who have helped me along the way. Without these folks, I would not be as pleased with, and far along, in the sport of gliding as I am. I hope the information I have shared adds to your enjoyment of the sport as well.
Sources:
- Gary Davis A&P garyinflight@yahoo.com
- Trailer GliderTrailers.net
- ClearNav Flight Computer www.clearnav.net
- 3M™ Perfect-It™ Rubbing Compound http://www.shop3m.com/60455071179.html?WT.z_bynt=1
- Mother’s California Gold® 3 step polishing system http://www.mothers.com/index.html
- Meguiar’s Mirror Glaze Plastic Cleaner http://www.meguiars.com/en/marine/products/m1708-mirror-glaze-clear-plastic-cleaner/
- If you need to contact me for further information – Brian LaBorde SoaringBravoLima@laborde.us
3 comments for “Refinishing Bravo Lima”